NMS044 Reference Manual Conducting a Final Equipment Check 28
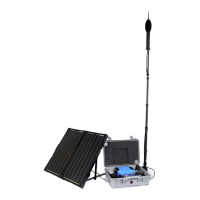
Step 8. After a few seconds, a message appears indicating the measured difference and
a prompt to save the results. Click Yes to save the calibration, or click No to
reject it.
Figure 3-12 Measured Calibration Difference
Step 9.
Carefully remove the calibrator from the microphone.
Step 10. Select the Calibration History tab to view the acoustic calibration or the
calibration check summaries.
Step 11. When the calibration process is complete, assemble windscreen and birdspike
back on the microphone.
3.7 Conducting a Final Equipment Check
We recommend that you complete these steps prior to leaving the system.
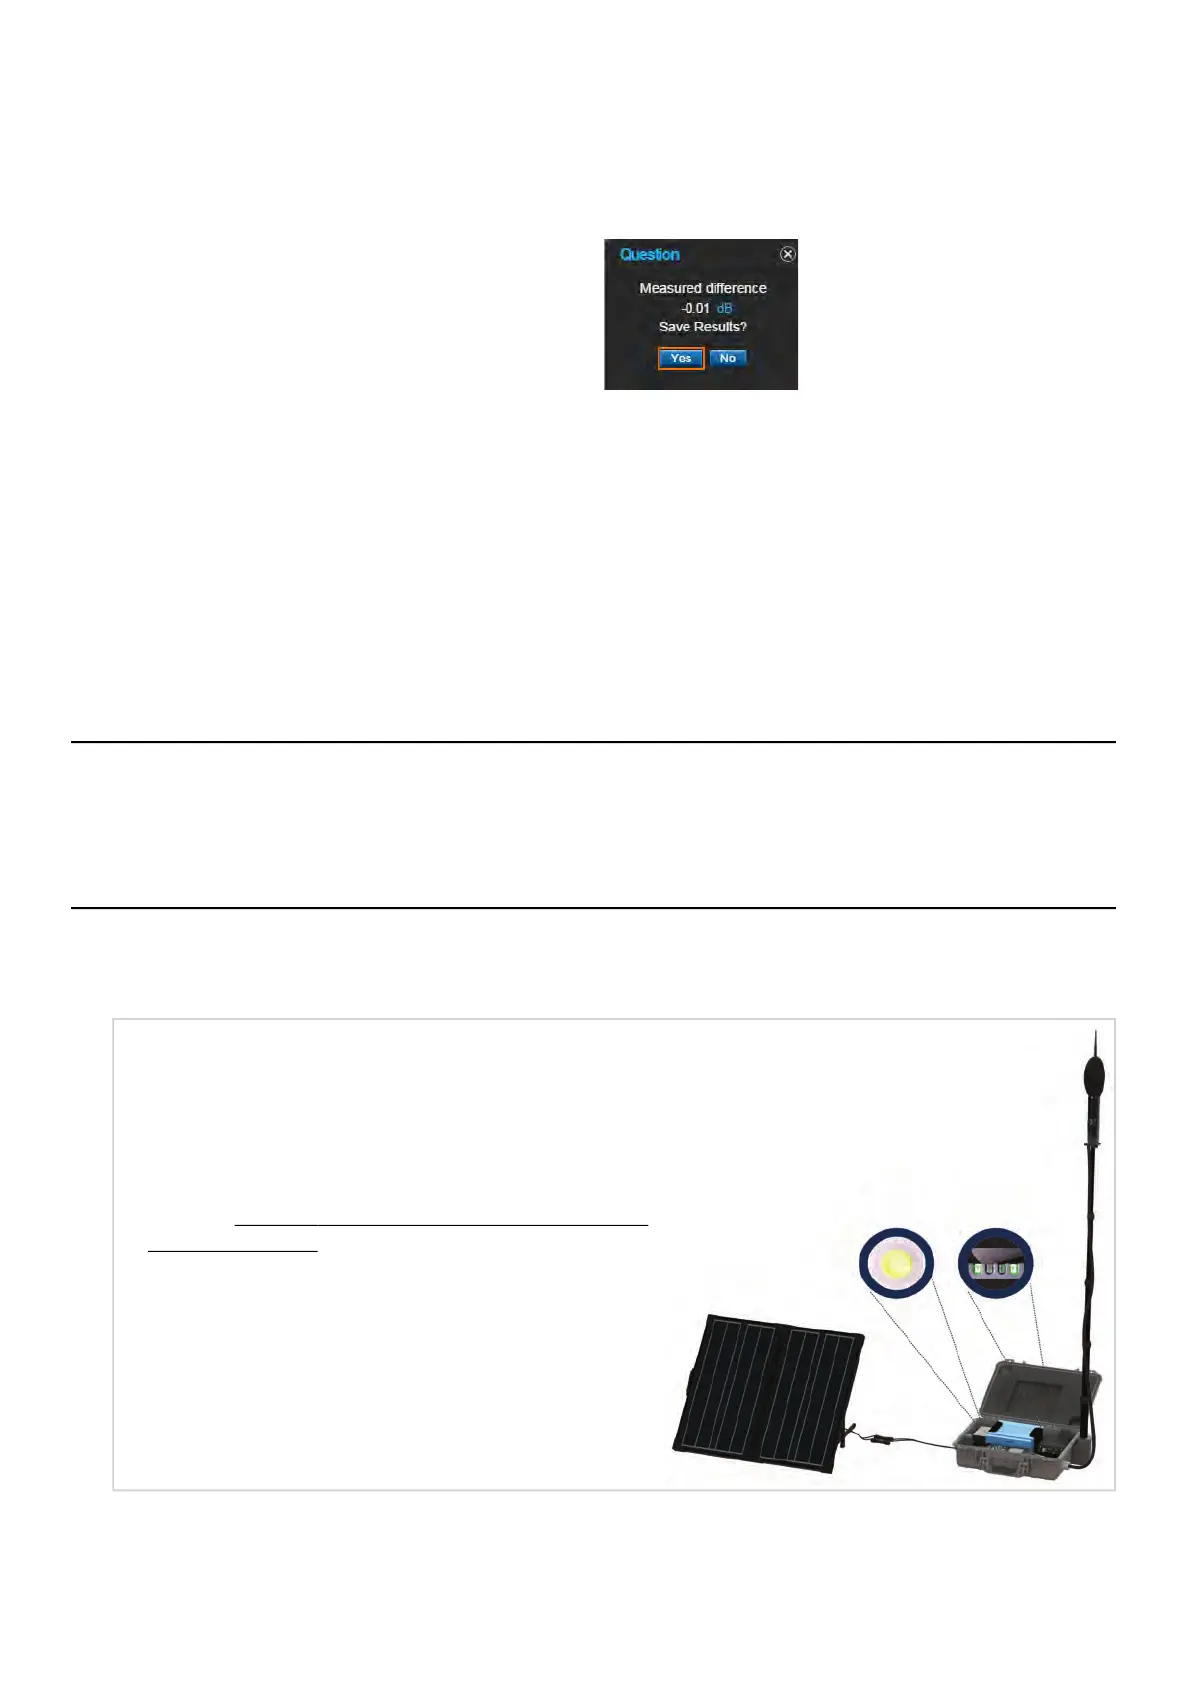
3.7.1 Checking System Status Indicators
Figure 3-13 explains the system status indicators.
Figure 3-13 NMS System Status LEDs
1. 2.
1.
Verify that the system battery is charged or
charging.
The system battery is fully charged when the solar
charge controller LED is solid green. A blinking green
indicates it is currently charging.
LEARN MORE All system battery status indications are
shown in
Table A.5 Genasun Solar Charge Controller LED
Indication Patterns.
2. Check the gateway status.
The RV50X gateway has 4 LED status indicators on the
side of the unit. From left to right, indicators inform
you of the gateway’s Network, Signal, Activity, and
Power.