6
OPERATION
Testing the System
1. Make sure the red light for the 12-volt DC power adapter/charger is on.
2. Turn the power on for the display monitor.
3. With the park brake applied, turn the vehicle ignition switch to the ON position.
4. Shift the vehicle in reverse to power the transmitter. The reverse camera image should display on
the screen. There may be a few-second delay.
5. If the image does not display, check your connections and make sure the camera view is not
obstructed.
6. The camera angle can be adjusted slightly by lightly bending the camera lens bracket.
Quick Start-Up Guide
The GPS is shipped in a partially charged state. BEFORE first use, charge the
battery using the 12-volt DC charging adapter. The light on the front of the GPS will be red
when charging. When the light turns green, the unit is fully charged. The unit can be used
while charging.
Charging Guidelines and Precautions
• Only use the charging adapter that was provided with the GPS. Use of other chargers or adapters
may void any warranty, cause damage to the GPS, increase risk of fire and/or result in personal
injury.
• Do not submerge the charging adapter in water or any liquid. Keep it dry and free of dirt/dust at all
times.
• Do not overheat or overcharge the battery.
NOTE: These steps will give you a brief introduction on how to use the GPS. For a more detailed
procedure, see “Exploring the Screens” on page 11.
1. Make sure the battery is fully charged. The light on the front of the unit will be green when fully
charged. When using in a vehicle, it is recommended that you leave the GPS plugged in.
2. Press and hold the power button for several seconds to turn the GPS on.
3. From the “Main Menu”, press the “Navigation” button.
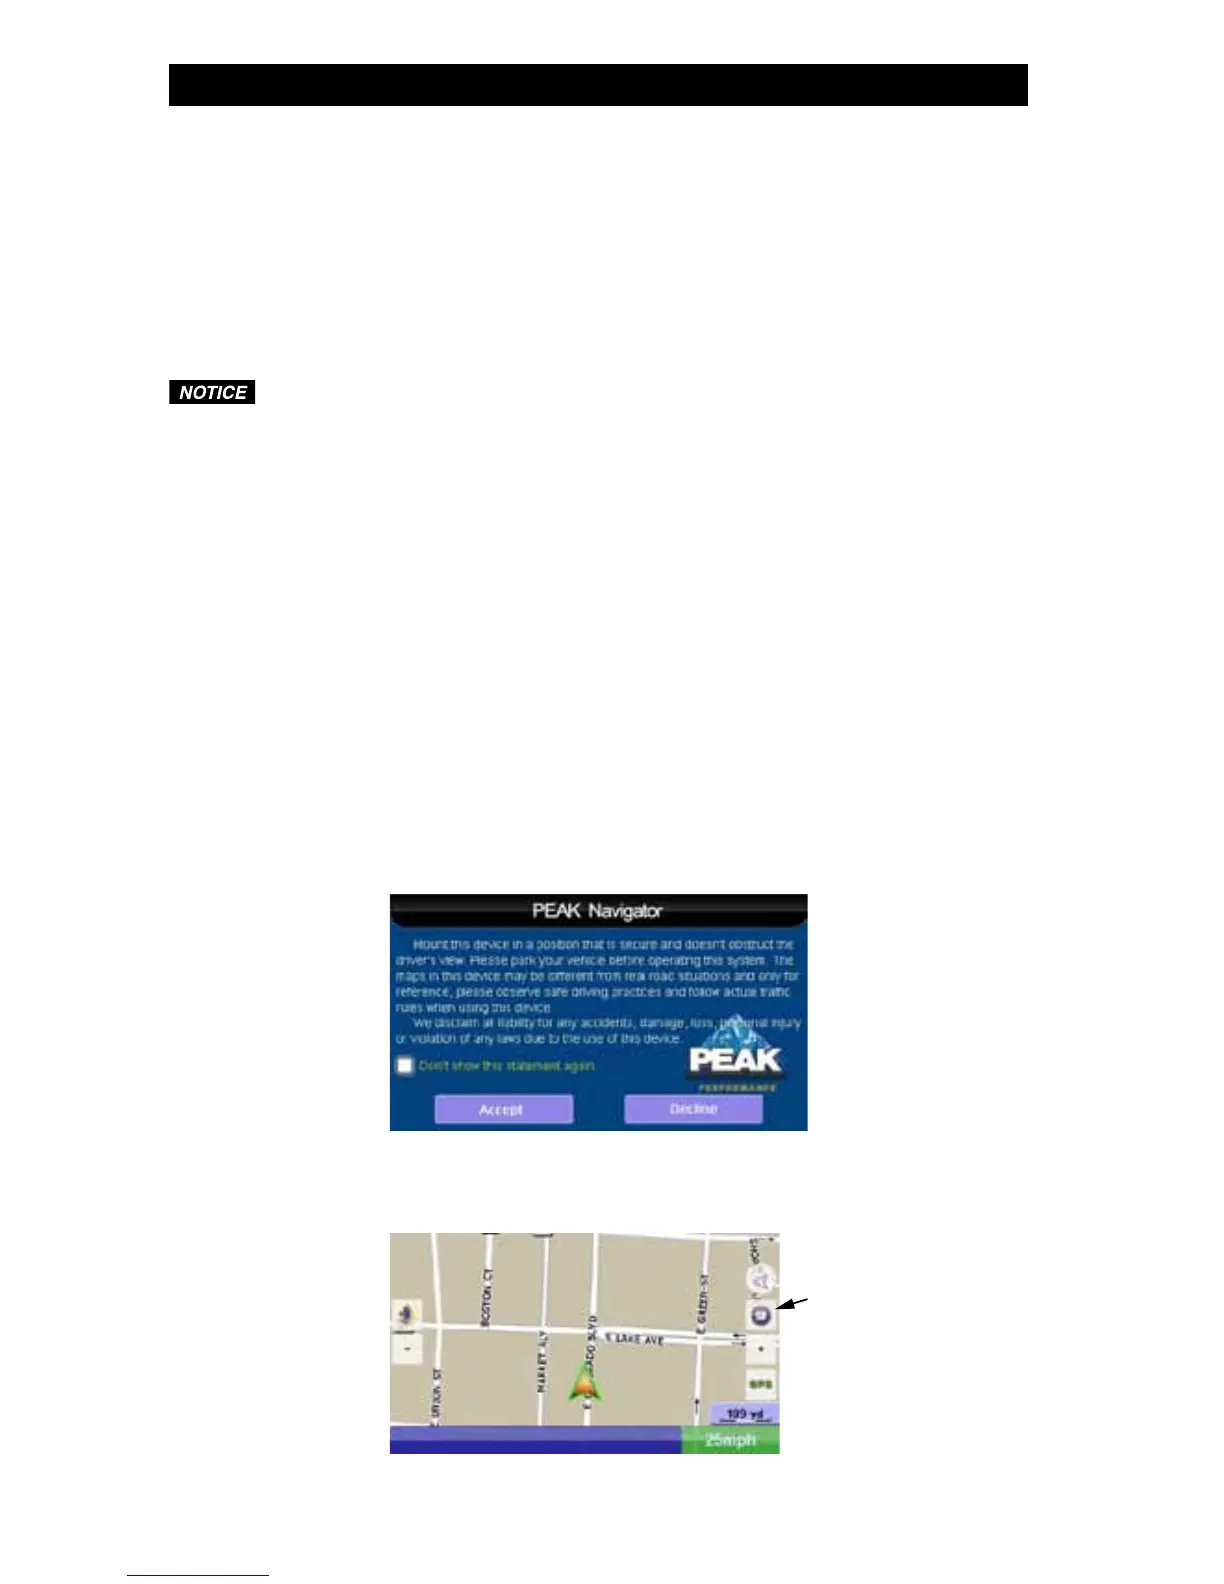
4. When the GPS is started for the first time, this screen will appear. Press the “Accept” button
to continue to the navigation screen. If you press the “Decline” button, it will exit the navigation
application.
5. It may take a few seconds for the next screen to load. Once the screen is loaded, you will be at
the “Navi Map” screen. Press the “Menu” button.