4 Instructions for Assembly and Use – Standard Configuration
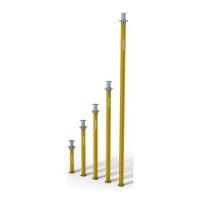
MULTIPROP Slab Props
A1 Assembly
Pre-assembling the slab
prop
For the safety of the user, the
following should be checked before
every use to see whether
– the slab prop is complete,
– the slab prop has no cracks, holes
or broken parts,
– the inner tube and collar are freely
movable and
– the end plates are level.
– Shown here is the assembly of a
free-standing MULTIPROP Slab Prop.
– When used in the system, the
“MULTIPROP System” Instructions
for Assembly and Use must be
adhered to.
– The numbers on the integrated
measuring tape show the complete
length (L) of the MULTIPROP Slab
Prop in metres [m], e.g. 1
25 = 1.25 m.
– The complete length of the
MULTIPROP Slab Prop can be read
at the top edge of the collar (4a).
– Adjusting range per complete turn:
36 mm.
– The prop can be continuously
readjusted by means of the adjusting
collar if partially loaded up to 15 kN.
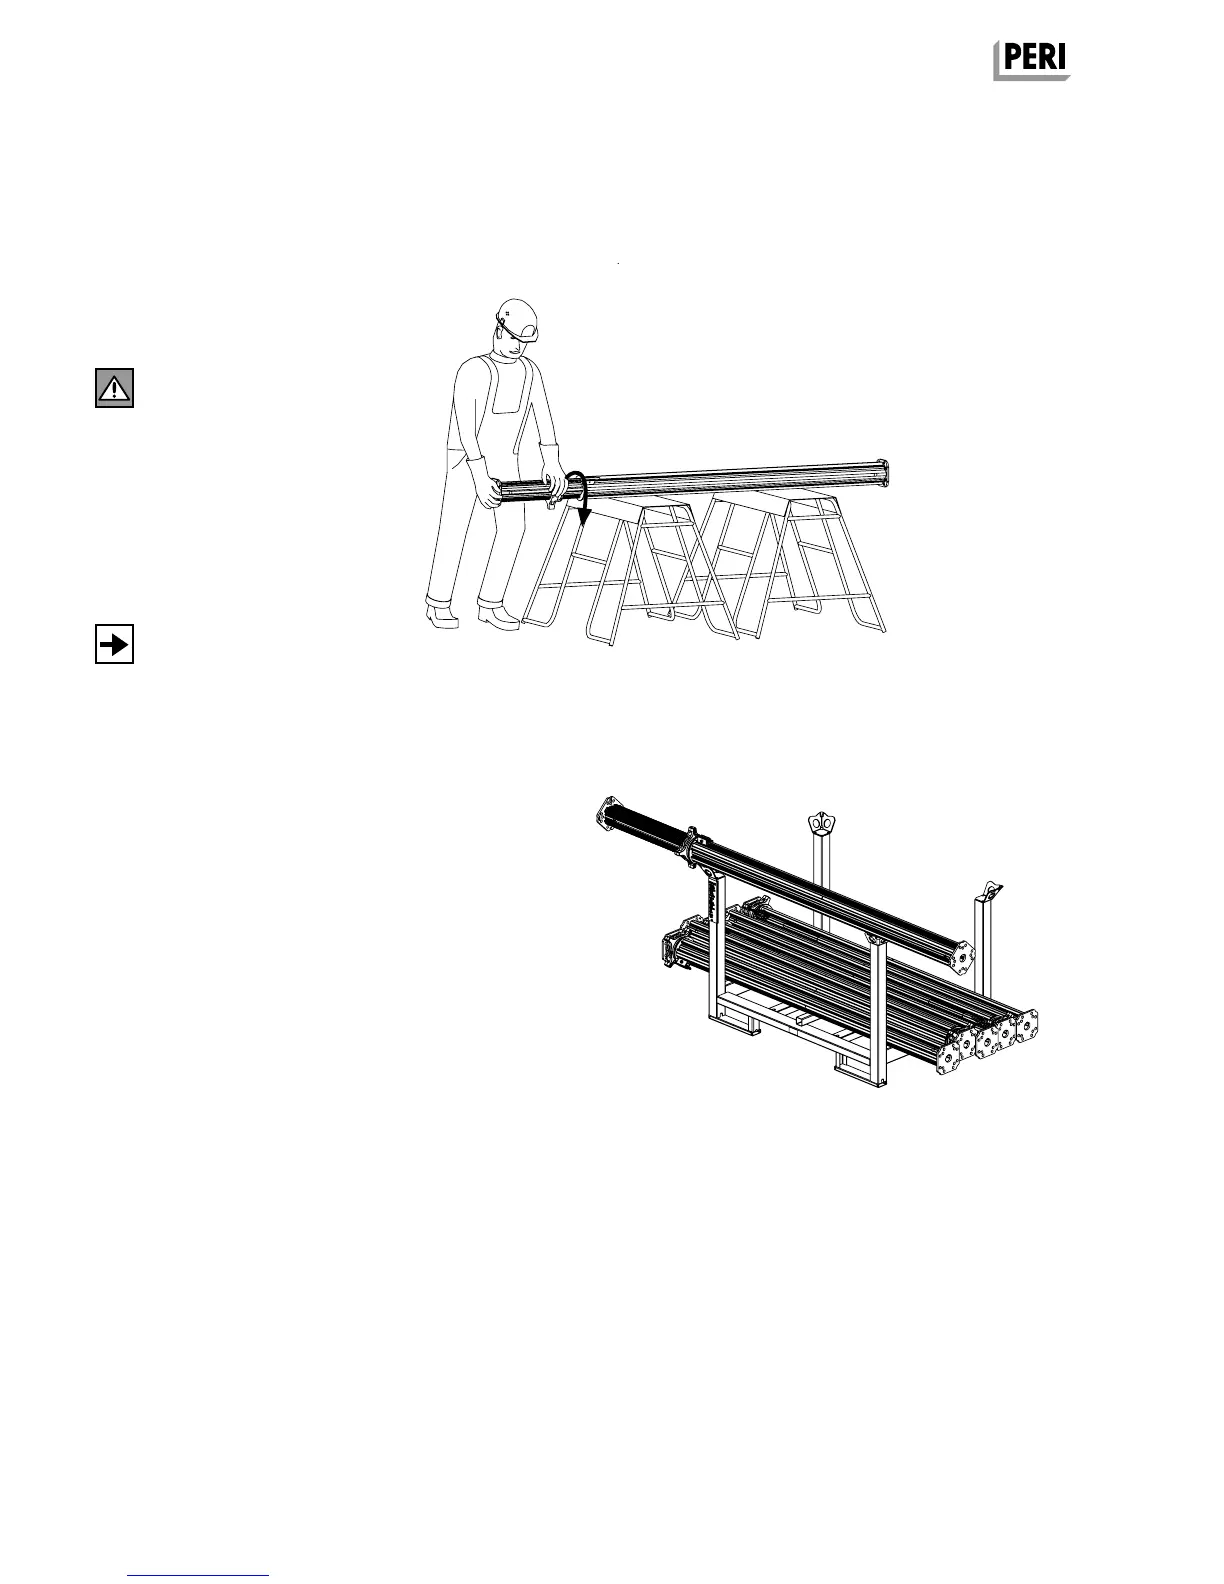
Preparation
MULTIPROP Slab Props are delivered
with retracted inner tubes in a Pallet
RP-2 as standard.
Place the prop on an available work
trestle or the Pallet RP-2.
(Fig. A1.01a + A1.01b)
Fig. A1.01a
Fig. A1.01b
EX_AuV_MULTIPROP_MP_Deckenstutzen.indb 4 24.03.16 15:10