Do you have a question about the PerkinElmer clarus 500 gc and is the answer not in the manual?
General hazards and potential hazards requiring user knowledge before operation.
Guidelines for safe electrical connections, handling high voltage, and grounding.
Procedures for safely handling gases, ventilation, and hydrogen use.
Details physical dimensions, weight, and required bench space for the instrument.
Specifies voltage, frequency, power consumption, and outlet needs.
Details minimum gas purity, types, and delivery pressure for GC operation.
A comprehensive checklist to ensure all installation requirements are met.
Instructions for installing the autosampler tower, cover, and syringe.
Steps for mounting the autosampler tower onto the GC.
Instructions for connecting the GC to AC line power, including US and international.
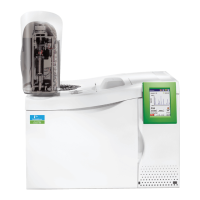
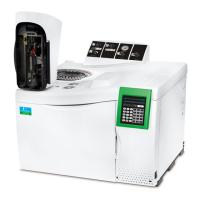
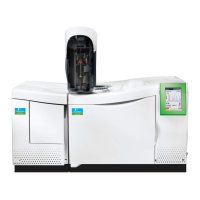
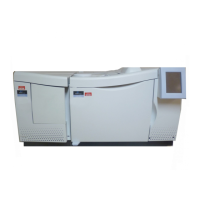
| Type | Gas Chromatograph |
|---|---|
| Model | Clarus 500 GC |
| Manufacturer | PerkinElmer |
| Maximum Temperature | 450 °C |
| Temperature Programming | Yes |
| Number of Detectors | Up to 3 |
| Injection Ports | Up to 2 |
| Column Oven | Yes |
| Autosampler | Optional |
| Detector Types | FID, TCD, ECD, NPD, FPD |
| Column | Capillary |
| Injection Modes | Split, splitless, on-column, PTV |
| Carrier Gas | He, H2, N2 |
| Pressure Control | Electronic Pneumatics Control (EPC) |
| Data Handling | TotalChrom |
| Power Requirements | 200-240 V, 50/60 Hz |