4:3
Quilting
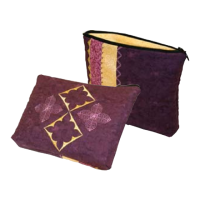
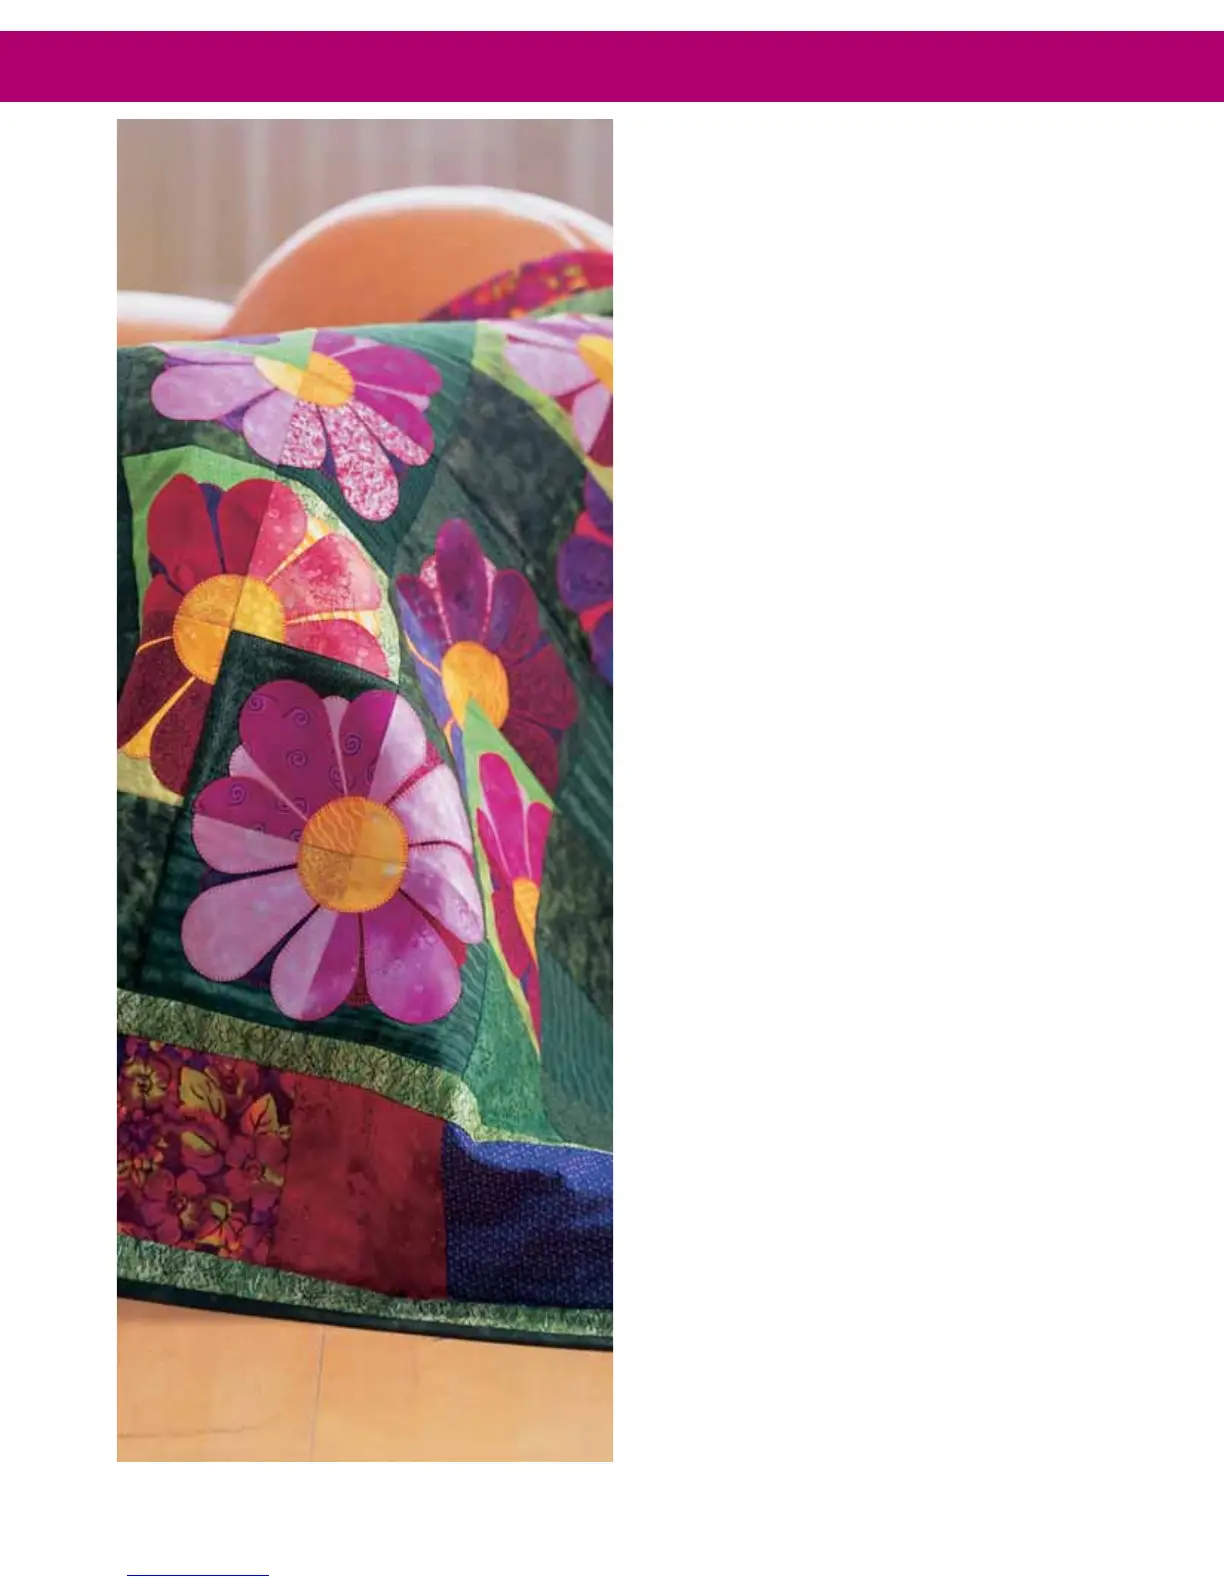
Quilt Appliques
Appliques add that special touch for your quilt.
There are many different ways of applying appliques to a
quilt. One way is to add the applique to the block before the
quilt is put together.
Set your quilt expression with stitch 3, stitch length 0.5,
stitch width 4-6 mm, presser foot 2A.
Adhere the applique piece to the block. Place stabilizer
behind the block and applique. Sew around the applique
with the satin stitch. Make sure the stitch is 80% on the
applique – just covering up the applique’s raw edge.
Another way to add an applique to a quilt is to fi nish the
edge of the applique and sew it on with the hand applique
stitch 29 or 31.
First prepare the applique. Cut the applique form out of
fabric and a piece of light weight iron on interfacing. Place
the right side of the fabric and the rough (iron-on) side
of the interfacing together. Use a straight stitch (1), stitch
length 2.0, center needle position and sew the fabric and
interfacing together using a ¼" seam. Trim around the
applique leaving 1/8" seam allowance and clip into curves.
Slash the interfacing so that the applique can be turned right
side out. Finger press the applique.
Place the applique on the quilt. When you are satisfi ed with
the position, iron it down.
Follow around the edge of the applique with the straight
part of the hand applique stitch. Let the horizontal part of
the stitch just catch into the applique. This is the part that
will keep the applique in place.
Tip:
Press the needle raised/lowered function to position the needle
in the fabric when you stop sewing. This makes turning easy with
your expression.