INSTALLATION GUIDE
VERSION 1.0
INSTALLATION GUIDE
| www.phanteks.com
03
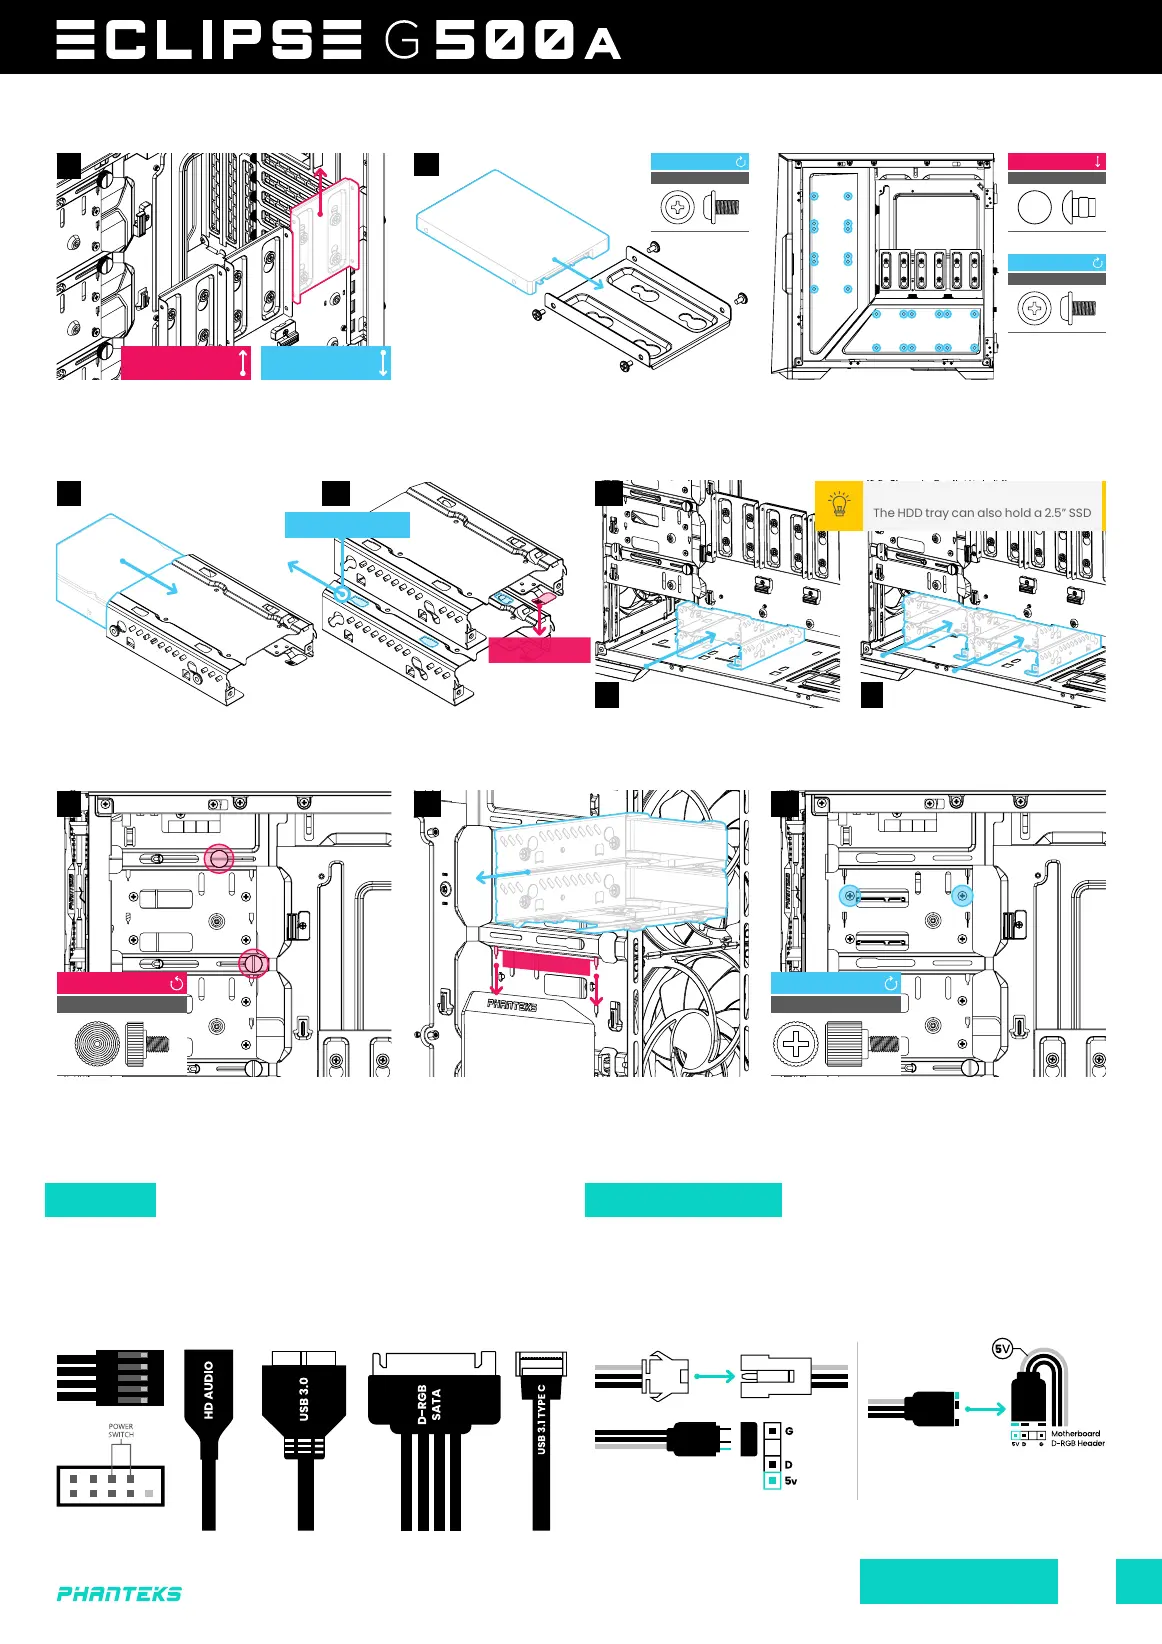
STORAGE | 2.5” SSD
STORAGE | 3.5” HDD
Slide the SSD Bracket up to remove it from
the chassis.
Slide the 3.5” HDD into the HDD cage. When installing 2x 3.5” HDD
brackets, stack them first before placing it into the chassis.
Slide the HDD bracket in, then press it
down to secure it.
To lock the HDD bracket, use 2x Thumb
screws per bracket.
Remove the HDD thumb screw to remove
the cable cover(s) on the inside of the
chassis.
Slide the HDD bracket into the bottom part of the chassis, make
sure they click when installed to be sure it is installed correctly.
Secure the SSD with 4x SSD screws to the
SSD Bracket.
For even more storage, secure the SSD with
4x SSD screws directly onto the panels.
Connect the front I/O cables to the motherboard and power
supply.
More D-RGB lighting products can be connected to the integrated
D-RGB controller. Optionally, lighting can be connected and
controlled via motherboard software.
MOTHERBOARD HEADER
MOTHERBOARD FRONT I/O EXPAND WITH MORE D-RGB PRODUCTS SYNC LIGHTING TO THE MOTHERBOARD
SLIDE UP TO
REMOVE
SLIDE DOWN TO
INSTALL
THUMB SCREW
REMOVE
1x THUMB SCREW
INSTALL
2x
CABLES D-RGB CABLES
A B
01 02 03
The HDD tray can also hold a 2.5” SSD
PRO TIP
SSD SCREW
INSTALL
4x
SSD SCREW
INSTALL
4x
PRESS DOWN TO
REMOVE BRACKET
SECURE BRACKET
3.5” HDD
2.5” SSD
STACK TOGETHER AND
SLIDE BACK TO LOCK
01
01 02 03
03
POWER_SW
SSD CAP*
REMOVE
4x
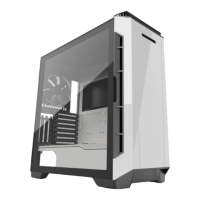
*WHITE MODEL ONLY
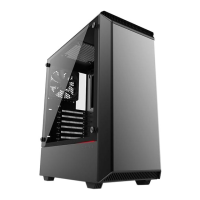
Only applicable for the following models:
PH-EC500GA_DBK01A, PH-EC500GA_DMW01A &
PH-EC500GA_DBK01B