20
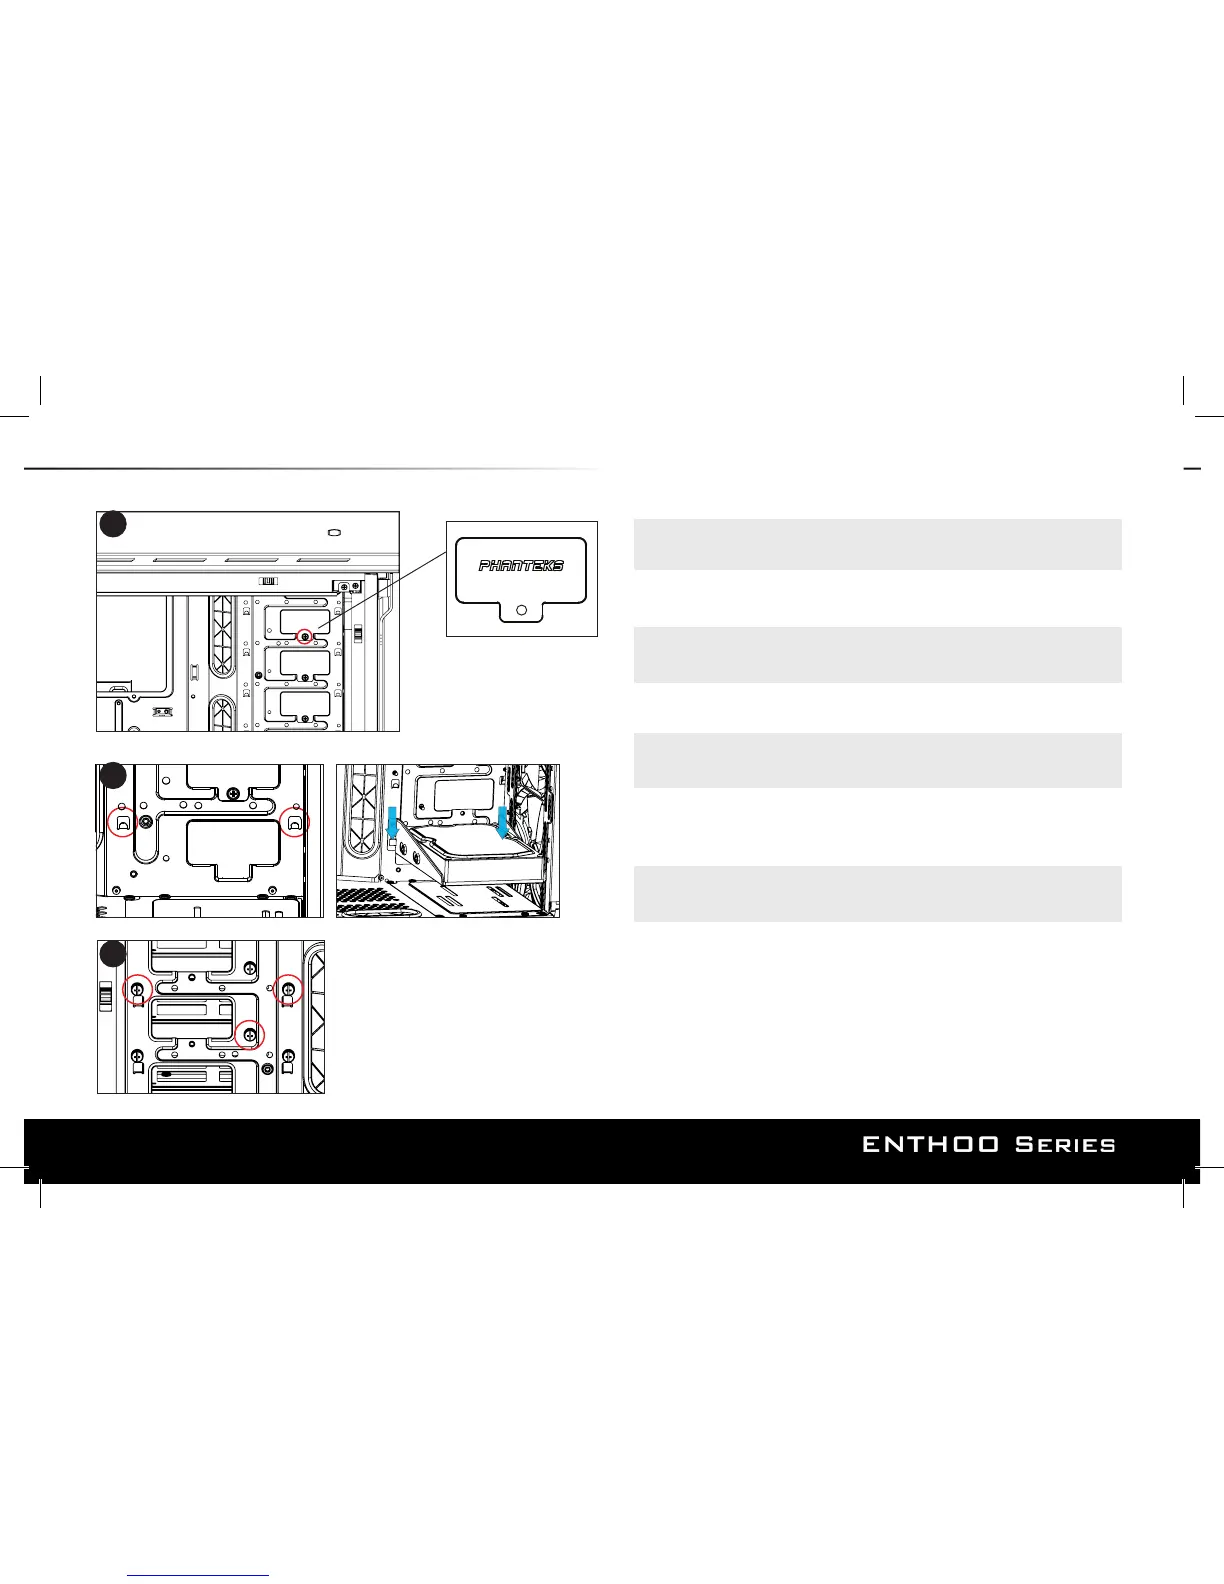
Step 1. Remove the HDD cover by removing the m3 Screw
Step 2: Align the HDD bracket to the slot and drop in.
Step 3: Screw in from the back with thumb screws to lock the bracket in place.
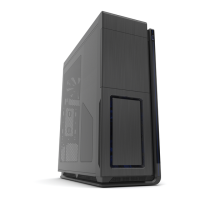
Front View
1
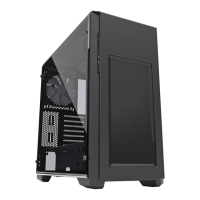
Back View
Passo 1: Retire a tampa do HDD retirando o parafuso m3
Passo 2: Alinhe o suporte do HDD ao slot e solte-o.
Passo 3: Parafuse da parte de trás com parafusos borboleta para travar o suporte no lugar.
2
3
Schritt 1: Entfernen Sie die Festplattenabdeckung durch Lösen der m3-Schraube.
Schritt 2: Richten Sie die Festplattenhalterung mit dem Steckplatz aus und stecken Sie sie hinein.
Schritt 3: Befestigen Sie die Halterung mit Rändelschrauben von der Rückseite kommend.
Fase 1. Rimuovere il coperchio dell'HDD svitando le viti m3
Fase 2: Allineare la staa del disco rigido nell'alloggiamento e inserirlo.
Fase 3: Avvitare all'interno dal retro con viti ad alette per bloccare la staa in posizione.
Passo 1: Retire a tampa do HDD retirando o parafuso m3
Passo 2: Alinhe o suporte do HDD ao slot e solte-o.
Passo 3: Parafuse da parte de trás com parafusos borboleta para travar o suporte no lugar.
Paso 1: Quitar la tapa de la unidad de disco duro retirando el tornillo M3.
Paso 2: Alinear el soporte de la unidad de disco duro con la ranura y colocar.
Paso 3: Atornille desde la parte posterior con los tornillos de apriete manual para bloquear el soporte en
su lugar.
Stap 1: Verwijder de HDD deksel door 1x schroef te verwijderen (M3)
Stap 2: Breng de HDD beugel in positie en schuif vast.
Stap 3: Gebruik 3 handschroeven om de beugel te bevesitigen.
12. HARD DRIVE INSTALLATION