5EN
3 Getting started
Remove all packaging of the lter before rst use.
Note: Make sure the air purier is unplugged from the electrical outlet before installing the lter.
1 Pull the back cover and remove it from the appliance (g c).
2 Pull the lter from the appliance (g d).
3 Remove all packaging materials of the air purication lter (g e).
4 Put the lter back into the appliance (g f).
5 Reattach the back cover (g g).
Status
Blink in orange
Connecting to the smartphone
Stable in orange
Connected to the smartphone
Blink in white
Connecting to the server
Stable in white
Connected to the server
O
Wi-Fi function disabled
Note:
•
Corporate/Enterprise networks (e.g. certicates, network proles) are not supported. We
recommend setting up the Philips Air Puriers on a dedicated network created for IoT devices or
WPA2-Personal networks.
•
Conguration details are provided in the Clean Home+ app (e.g. Mac address) to help set-up on
managed networks.
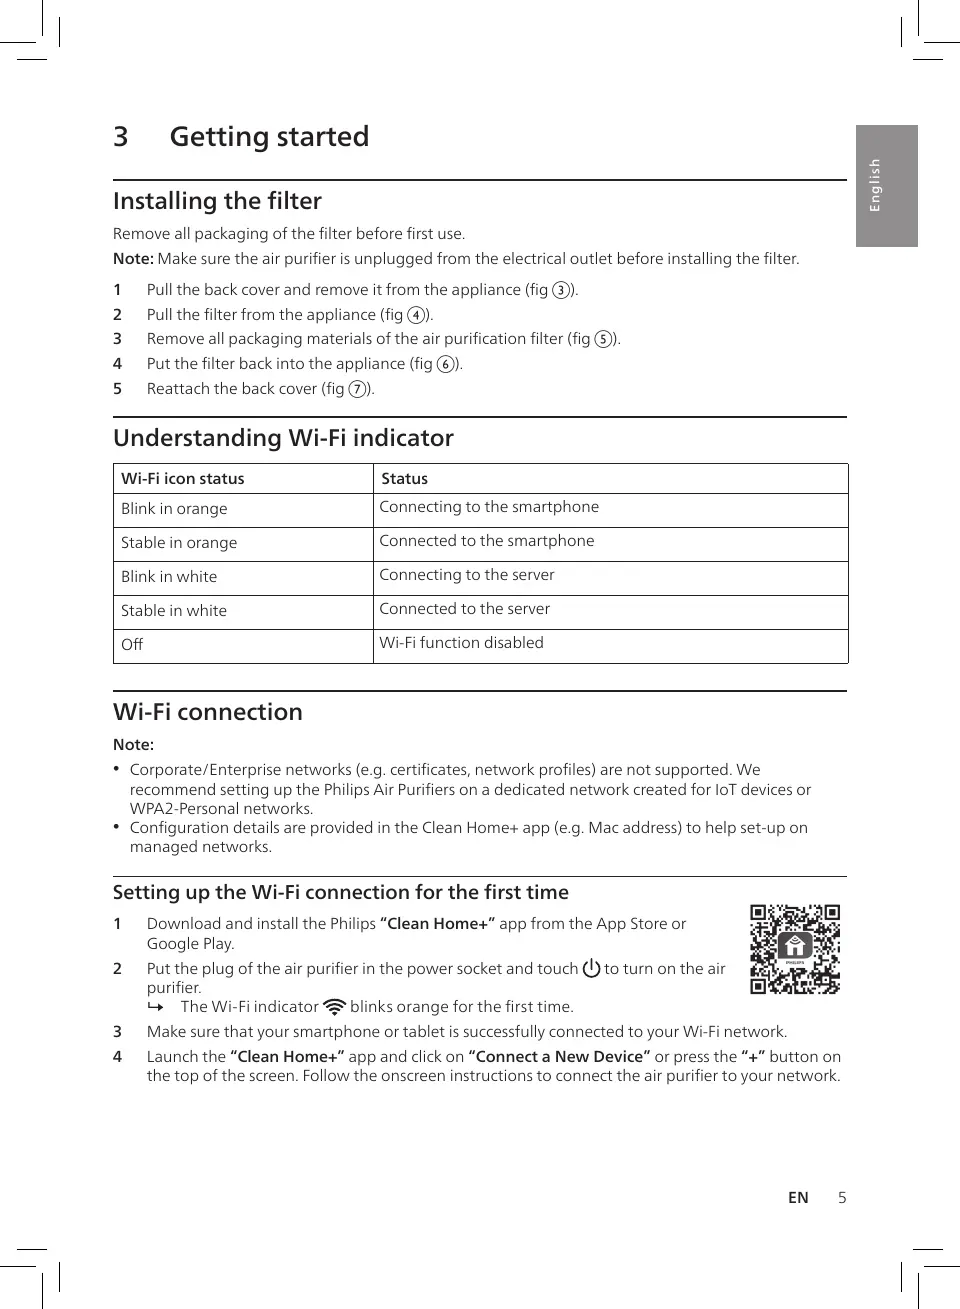
1 Download and install the Philips “Clean Home+” app from the App Store or
Google Play.
2 Put the plug of the air purier in the power socket and touch to turn on the air
purier.
» The Wi-Fi indicator blinks orange for the rst time.
3 Make sure that your smartphone or tablet is successfully connected to your Wi-Fi network.
4 Launch the “Clean Home+” app and click on “Connect a New Device” or press the “+” button on
the top of the screen. Follow the onscreen instructions to connect the air purier to your network.
 Loading...