DPM 9360 - User Manual
2
Chapter 2: Introducing the DPM
This chapter introduces the DPM 9360. Below you find a graphic of the device which shows and explains the
various parts. You also find a detailed description of the DPM display and useful information on how to operate
the device with batteries.
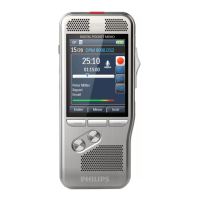
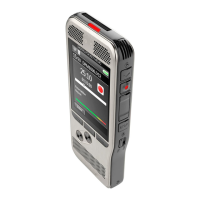
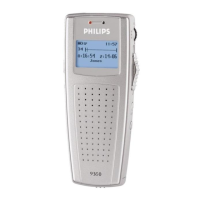
DPM graphic
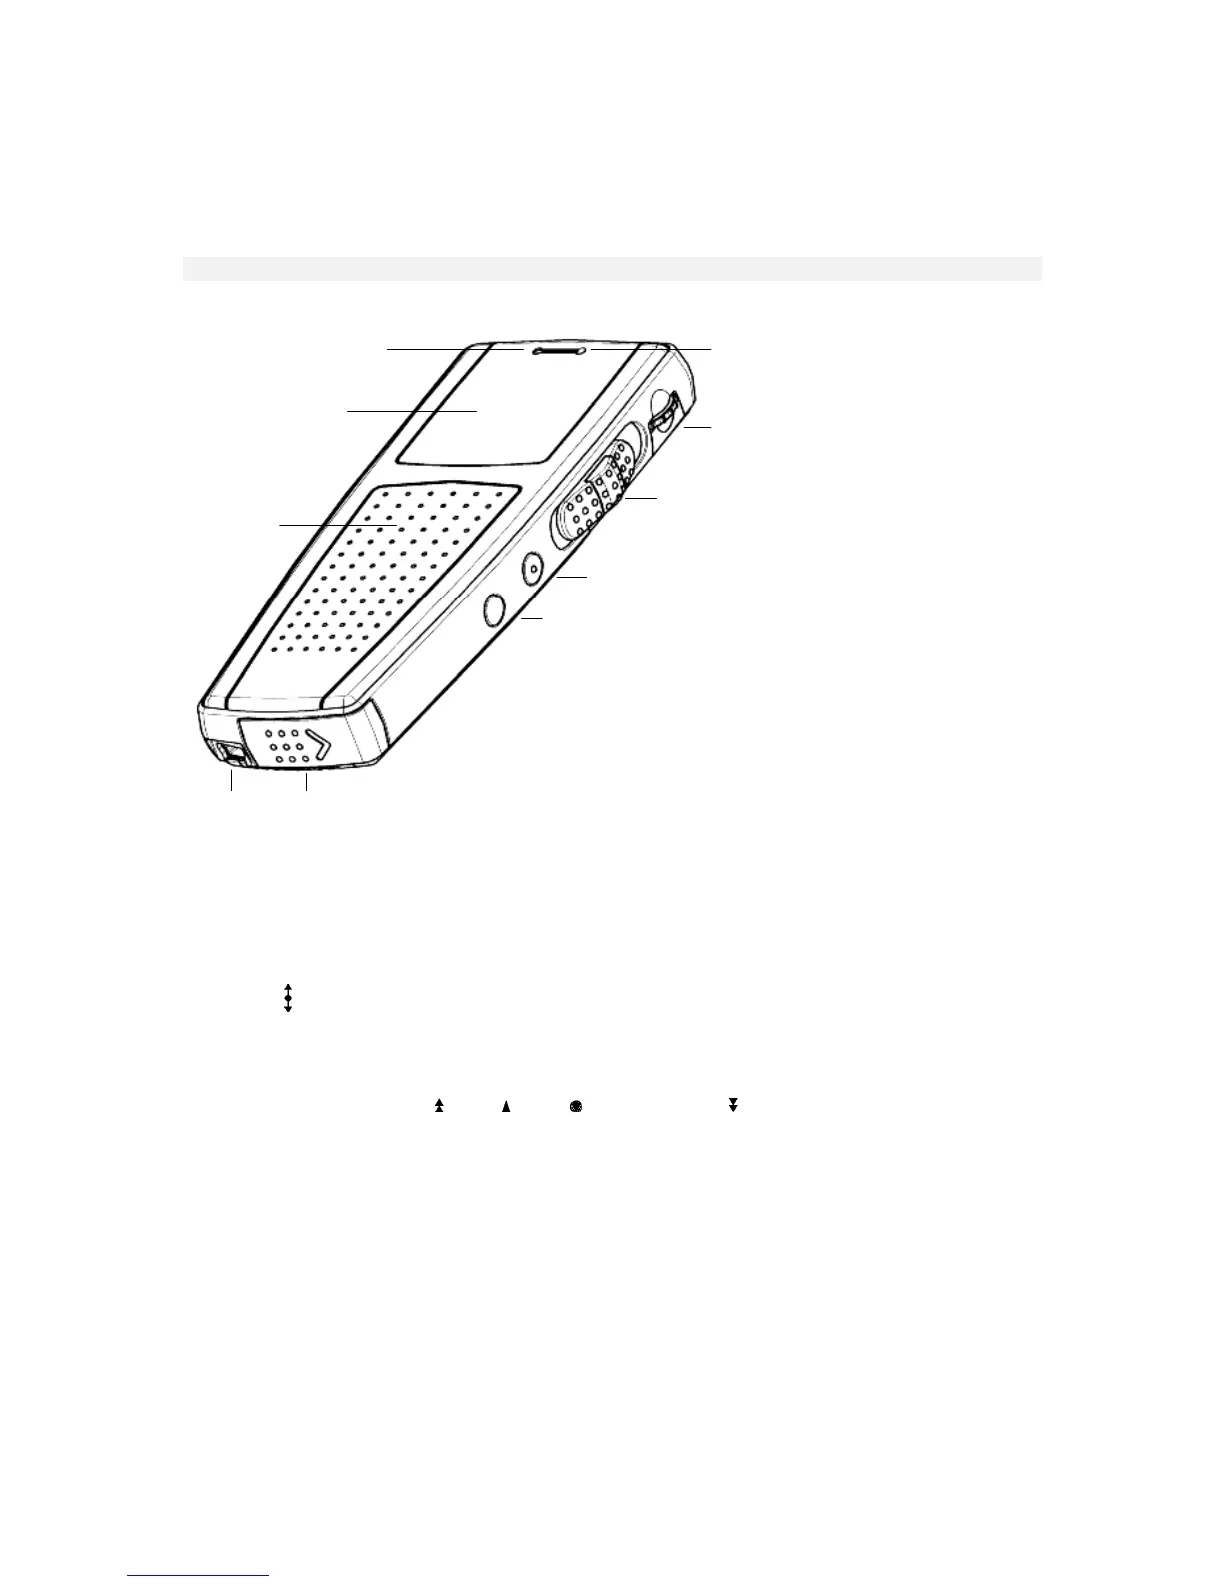
The following graphics show the device and the names of the various parts.
1
2
4
5
6
7
8
3
910
1: Record LED: Depending on the setting for the Recording mode, the LED can be either red or green. In
Overwrite mode the LED is red; Overwrite is the default setting for the Recording mode. In Insert mode, the
LED is green.
2: LCD display.
3: Built-in loudspeaker.
4: Built-in microphone.
5: Jog Dial ( ): Volume control, Skip Forward and Skip Back, access to the DPM menu and moving between
menu entries, and confirmation of selections.
6: 4-Position Switch with Lock/Hold switch functionality. Depending on your DPM model, the positions on the
4-Position Switch are (from top to bottom):
DPM 9360/00: Fast Forward (
), Play ( ), Stop ( ) and Fast Rewind ( ).
DPM 9360/52: Record (REC), Stop (STOP), Play (PLAY), Fast Rewind (FRWD).
7: INS/OVR: Button for switching between Insert (INS) and Overwrite (OVR) mode.
8: DEL: The Delete button.
9: USB socket.
10: Battery compartment.