Preset time for delayed cooking
• Unplug the Grain Master before starting to clean it.
• Wait until the Grain Master has cooled down suciently before cleaning it.
Interior
Inside of the top lid and the main body:
• Wipe with a damp cloth.
• Make sure to remove all food residue stuck to the Grain Master.
Heating element:
• Wipe with a damp cloth.
• Remove food residue with a damp cloth.
Exterior
Surface of the top lid and outside of the main body:
• Wipe with a cloth damped with soap water.
• Only use a soft and dry cloth to wipe the control panel.
• Make sure to remove all food residue around the control panel.
Accessories
Spatula, inner pot, and steam vent cap:
• Soak in hot water and clean with sponge.
Environment
Do not throw away the appliance with normal household waste at the
end of its life, but hand it in at an ocial collection point for recycling. By
doing this, you can help to preserve the environment.
Guarantee and service
If you need service or information, or if you have a problem, visit the
Philips website at www.philips.com.au or contact our Philips Customer
Care Team on 1300 363 391. You can nd its phone number in the
worldwide guarantee leaet. If there is no Customer Care Centre in your
country, go to your local Philips dealer.
Specications
Model Number HD4514
Rated power output 790-940W
Rated capacity 4.0L
Rice capacity 1.5L
You can preset the delayed cooking time for some menus. The preset
timer is available from 1 hour up to 24 hours.
1. Choose the function you need.
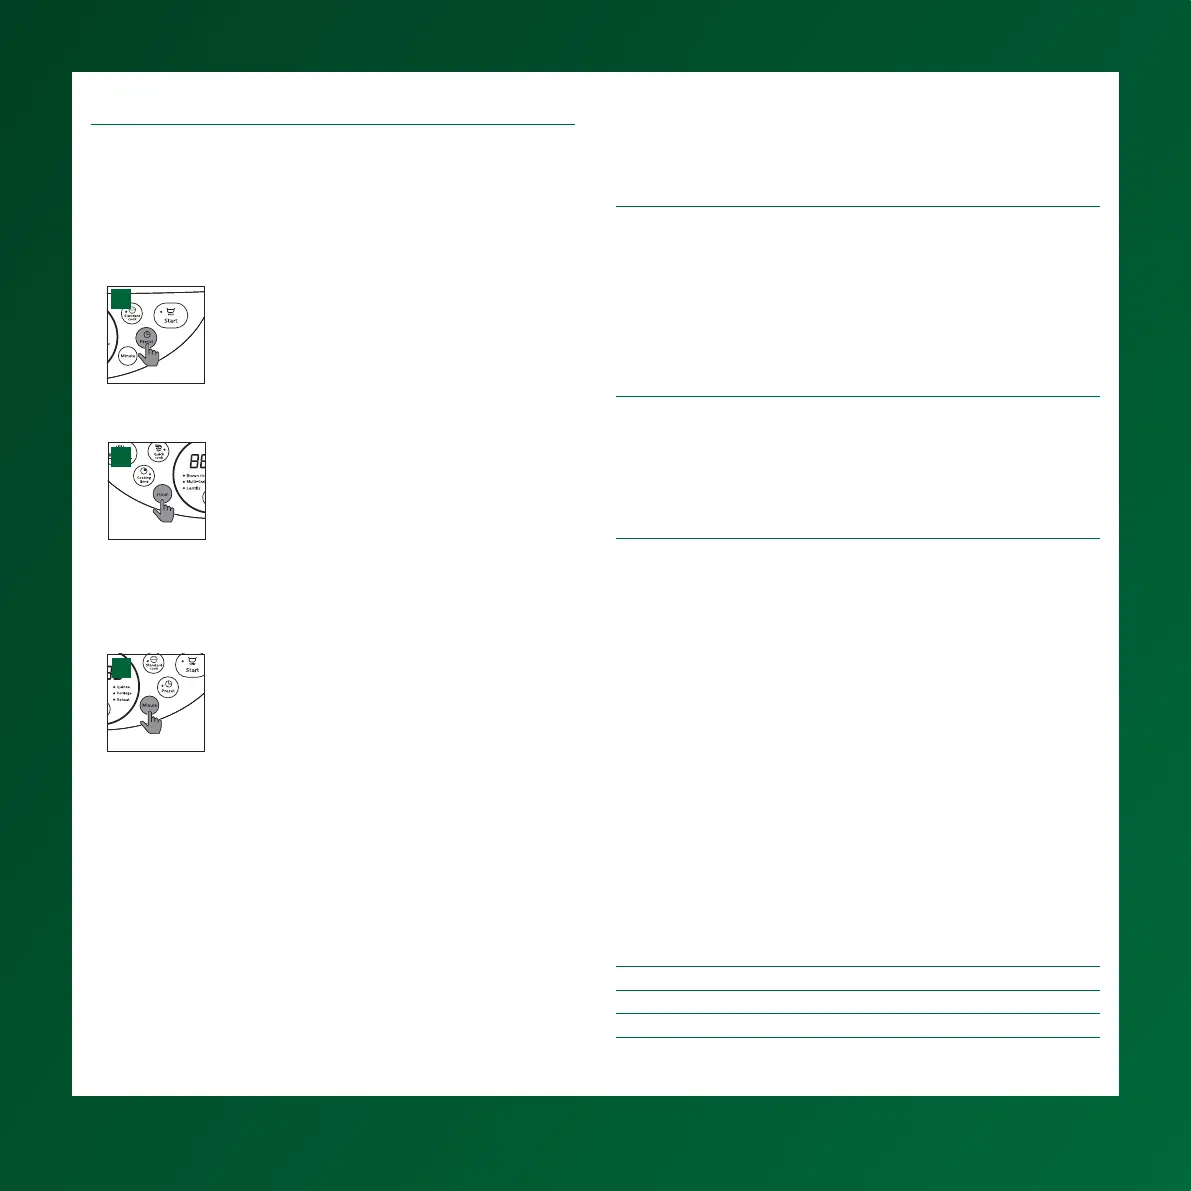
2. To preset time for delayed cooking, press the preset time button
(Preset), and the default preset time starts ashing on the display (g.
A).
A
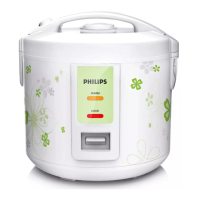
3. Press the hour button (Hour) to set the hour unit (g. B).
B
4 . After the hour unit is set, wait for a few seconds before the hour unit is
conrmed, and the minute unit starts ashing on the display.
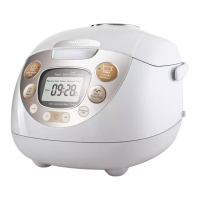
5. Press the minute button (Minute) to set the minute unit (g. C).
C
6. Press the start button to conrm the preset timer and start the cooking
process.
Cleaning and Maintenance
8