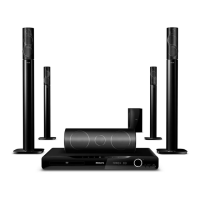
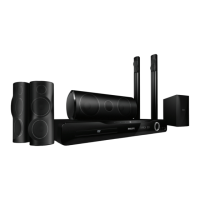
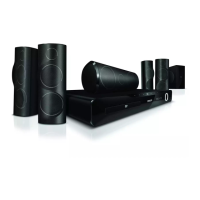
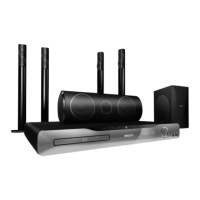
30
Microsoft Windows Media Player 11
Note
• Depending on your version of Microsoft
Windows, the screens might look different to
the following screens.
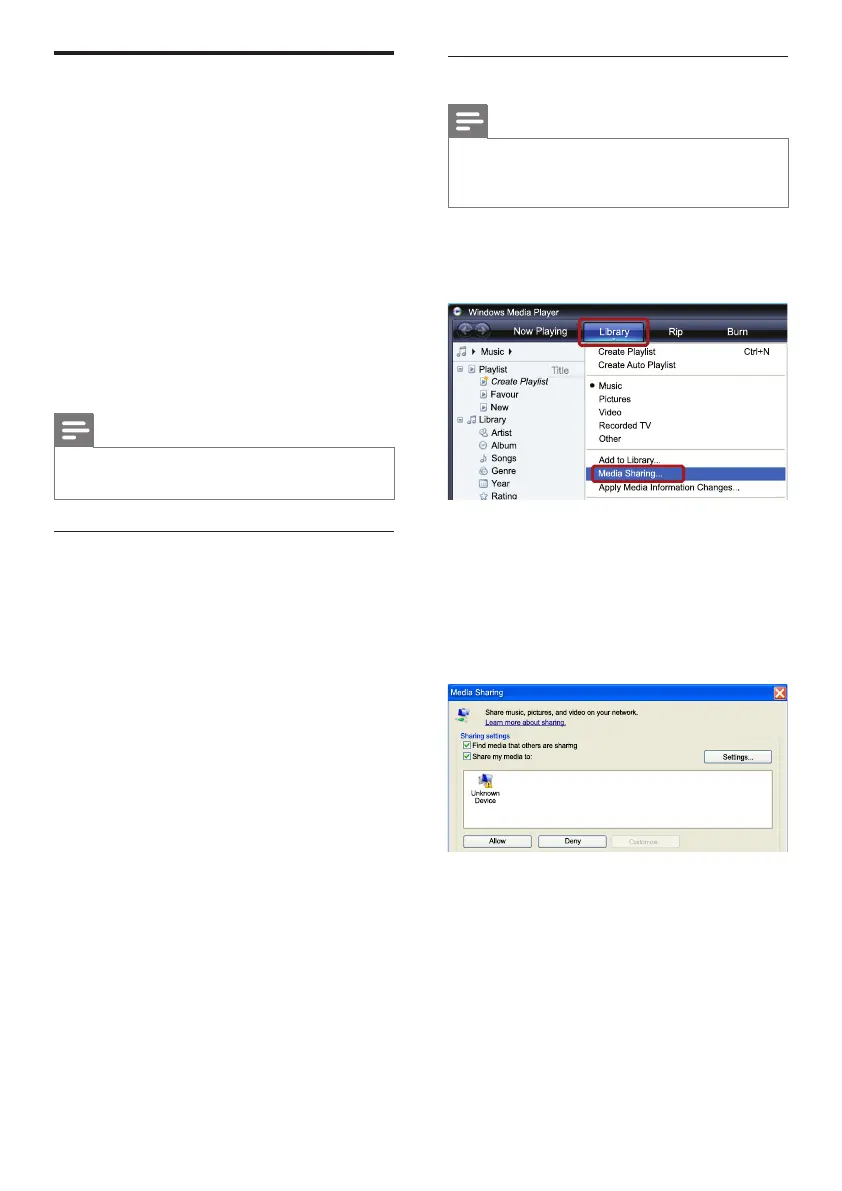
1 Start Windows Media Player on your PC.
2 Click the Library tab, and then select Media
Sharing.
3 ThersttimeyouselectMedia Sharing on
your PC,a pop-up screen appears. Check
the Share my media box and click OK.
» The Media Sharing screen is displayed.
4 In the Media Sharing screen, make sure
that you see a device marked as Unknown
Device.
» Ifyoudon’tseeanunknowndevice
after a minute or so, check that your PC
rewallisnotblockingtheconnection..
5 Select the unknown device and click Allow.
» A green tick appears next to the device.
6 By default, Windows Media Player shares
from these folders: My Music, My Pictures,
and My Videos
.Ifyourlesareinother
folders, select Library > Add to Library.
Browse PC through DLNA
When you connect your home theater to your
home network, you can enjoy music, photo, and
video stored on a computer or other media
server on the network.
What you need
• A wired or wireless home network,
connected with a Universal Plug and Play
(uPnP) router.
• A Philips wireless USB adapter or a LAN
cable to connect your home theater to your
home network.
• A media server such as:
• PC running Windows Media Player 11
orhigher;or
• Mac running Twonky Media Server.
Note
• For help to use other media servers, such as
TVersity, see the web site of the media server.
Set up media server software
To enable media sharing, set up the media server
software.
Before you start
• Connect your home theater to your home
network(see‘ComputersandtheInternet’
on page 18).
• Connect your computer to the same home
network(see‘ComputersandtheInternet’
on page 18).
• MakesurethatyourPCrewallallowsyou
to run Windows Media Player programs.
• Switch on your computer and the router.
EN