Page 26 of 33
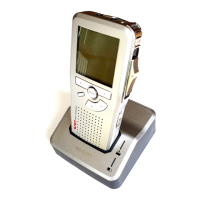
Transfer of Settings to your DPM Device
This step is very important so that the disc copy will playback on any computer.
1. Click on the DPM/DT Configuration option from the General Settings menu.
2. Click on the DPM Settings submenu option.
a. Look at the right pane and locate the Transfer settings from/to DPM section.
3. Next click on Transfer settings to device link.
4. The system will display a pop-up message informing you have successfully
transferred settings to the DPM device.
5. Remove the recorder from the docking station. You are ready to record.
6. Perform a test by recording a message on the recorder; lock your recording file.
and download the file onto the computer; burn a CD then play it back on a
different PC and verify the recording can be heard.
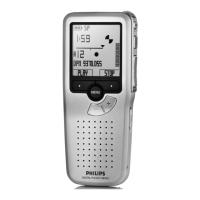
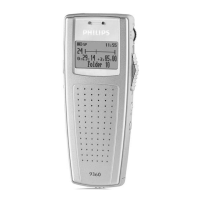
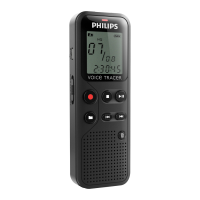
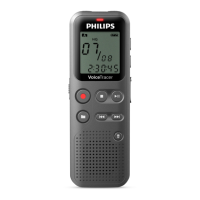
Record
1. Turn recorder ‘On’ by sliding the ON/OFF switch
to the ON position.
Always look at the recorder display to see if you
need to press the [New] smart button. The [New]
smart button will not display if this is your first
recording or if you have finished a recording and
have pressed the EOL button.
2. If ‘new’ displays in the middle of the display then
you are ready to record. Move the slide switch to
the REC position and begin recording.
3. Stop a recording by moving the slide switch to the STOP position.
4. Play a recording by moving the slide switch to the PLAY position.
5. Rewind a recording by moving the slide switch to the rewind position.
Holding the slide switch in that position will FAST REWIND.
6. Fast forward a recording by pressing and holding the FAST FORWARD button
on the left side of recorder.
Note: A beep will sound when the battery level drops below 10% or the remaining
recording time reaches two minutes. You can record with recorder in docking station
plugged into wall outlet.
Recording
Options
 Loading...