65BDL3652T/75BDL3652T/86BDL3652T
50
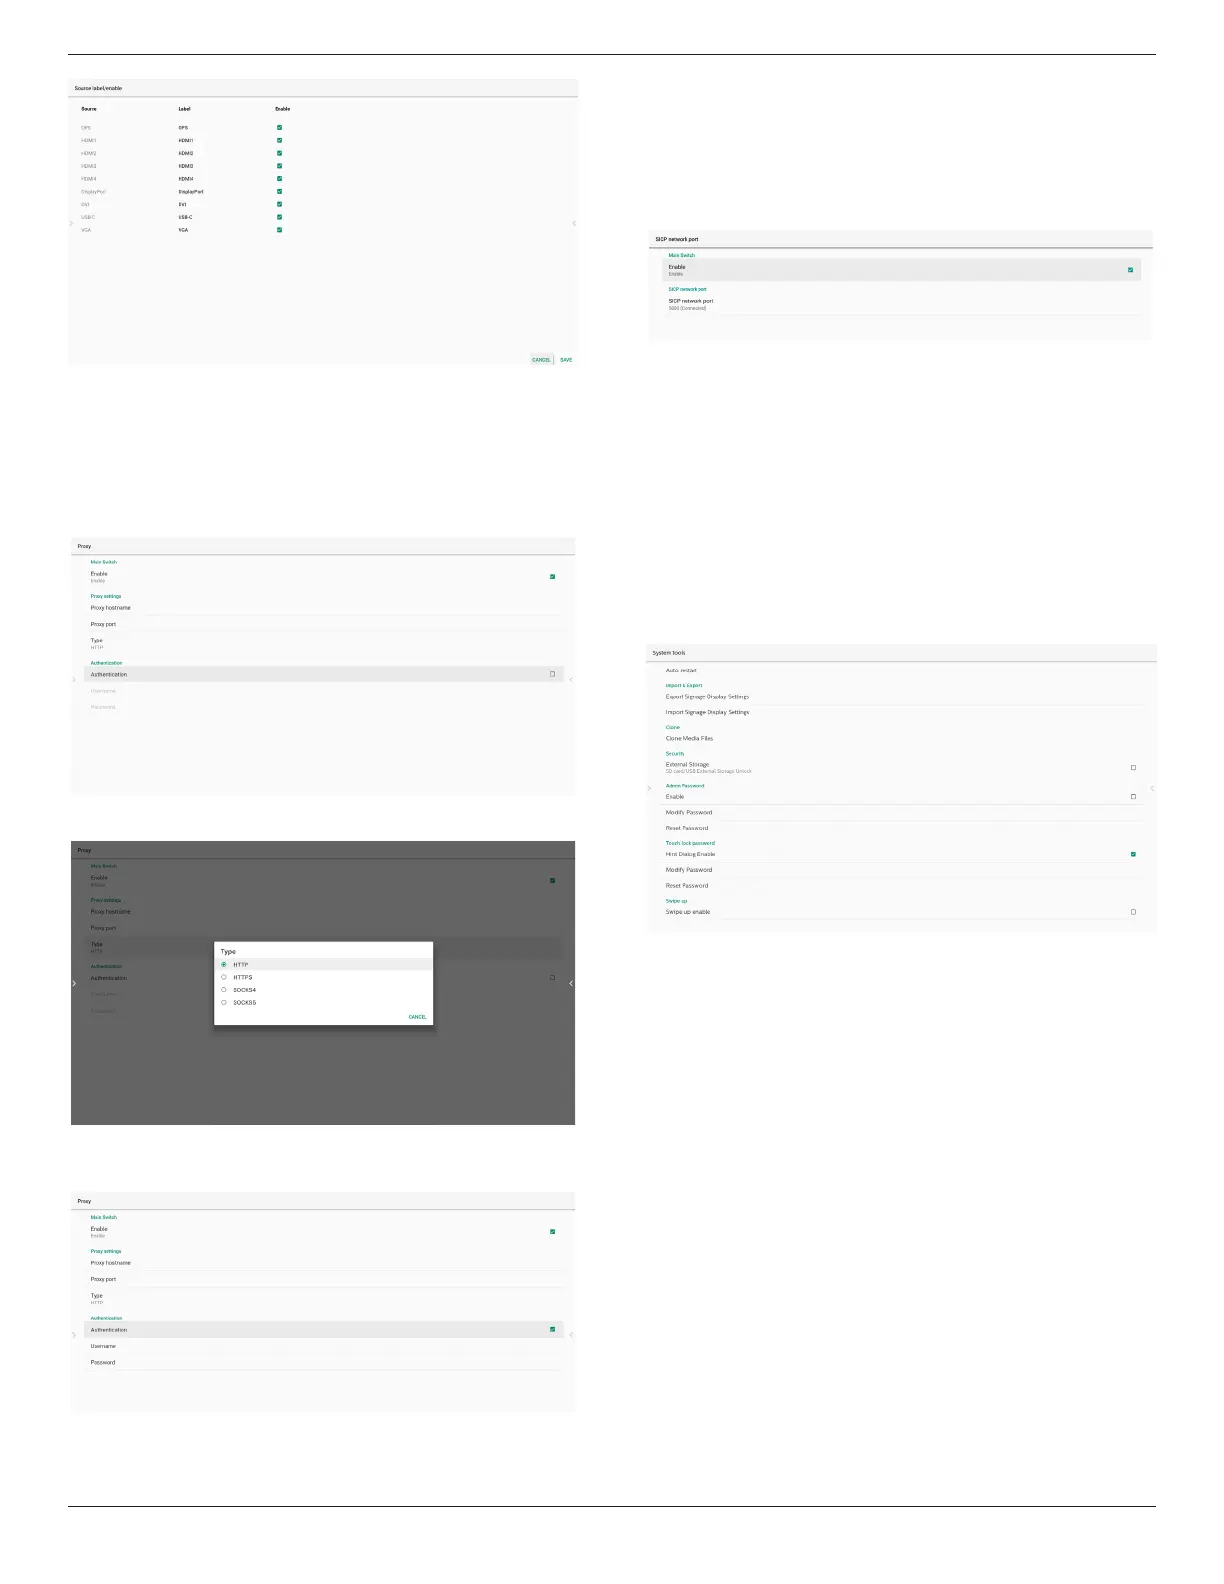
8.3.4. Network application
1. Proxy
Settings -> Signage Display -> Network Application -> Proxy
Enable/disable network proxy by click “Enable” checkbox.
User can set up host IP and port number of the proxy server.
Default is disabled.
System supports following proxy type: HTTP, HTTPS, SOCKS4,
and SOCKS5. Choose one for your proxy server.
If proxy server request authorization by login name and
password, enable Authentication and enter Username and
Password.
2. SICP Network Port
Settings -> Signage Display -> Network Application -> SICP
Network Port
Set up SICP default port and enable/disable network SICP.
Default SICP is enabled and using port 5000.
Note:
Port number range from 1025
~
65535.
Following port already been used, cannot assign to
SICP network port: 8000, 9988, 15220, 28123, 28124 and FTP
port (default 2121).
8.3.5. System Tools
System tools consist of 5 main functions:
(1) Clear Storage
(2) Auto restart
(3) Import & Export
(4) Clone
(5) Security
(6) Admin Password
(7) Touch lock password
(8) Swipe up
8.3.5.1. Clear Storage
The purpose is to clear data in the folder “Philips”. It is
divided into 4 modes:
(1) Clear all Philips folders.
(2) Clear the folder “Philips” from the internal storage only.
(3) Clear the folder “Philips” from the USB storage only.
(4) Clear the folder “Philips” from the SD card only.
A dialog box lists all folders that the system is going to clear.

 Loading...