Do you have a question about the Phrozen SONIC MIGHTY 8K and is the answer not in the manual?
Remove the resin vat and any objects from the machine's platform before calibration.
Attach and securely tighten the building plate to the printer.
Loosen all four screws on the building plate sides using an Allen wrench.
Place a piece of A4 paper on the LCD screen for leveling the building plate.
Navigate to TOOLS > Z CALIB on the touch panel to begin the calibration.
Press down on the building plate sides while it touches the paper to ensure it's level.
Tighten all four screws while keeping pressure on the building plate.
Confirm completion on the touch screen and wait for the plate to retract.
Remove the paper; the printer is ready for its first print.
| Layer Thickness | 0.01 - 0.30 mm |
|---|---|
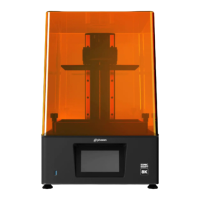
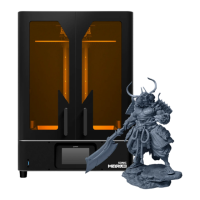
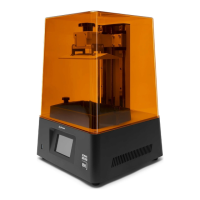
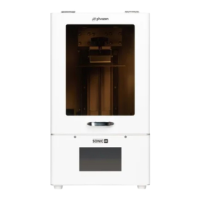
| Category | 3D Printers |
| XY Resolution | 28 microns |
| LCD Resolution | 7680 x 4320 |
| Light Source | UV LED |
| Connectivity | USB |
| Technology | Resin 3D Printing |
| Z Resolution | 0.00125 mm |