Do you have a question about the Phrozen SONIC 4K and is the answer not in the manual?
Remove the Resin Vat and any objects present on the machine's platform.
Prepare A4 paper to level the building plate on the LCD screen.
Loosen the building plate screws with a wrench to ensure it is loose and movable.
Click Z CALIB to start the process; wait for the platform to touch the A4 paper.
Press down on the building plate sides after it touches down, adjusting it against the paper.
Tighten the building plate screws while holding the plate down with the other hand.
Click DONE on the touch screen and wait for the building plate to retract.
Remove the A4 paper after retraction; the printer is ready for use.
| XY Resolution | 35 µm |
|---|---|
| Light Source | ParaLED Matrix 3.0 |
| Connectivity | USB |
| Weight | 15 kg |
| Printing Speed | Up to 90 mm/hr |
| Resin Compatibility | 405 nm UV Resin |
| Slicer Software | ChituBox |
| Technology | LCD-based SLA |
| UV Wavelength | 405 nm |
| Power Consumption | 60W |
| LCD Resolution | 3840 x 2160 pixels |
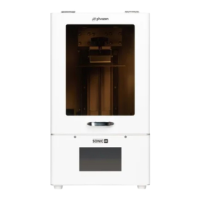
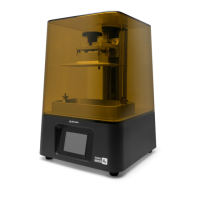
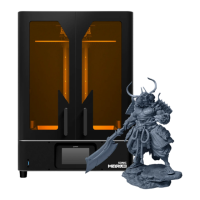
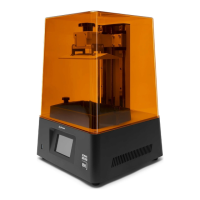
| Print Technology | LCD Resin 3D Printer |
| Z Resolution | 0.00125 mm |
| Operating System | Windows, macOS |
| Z-Axis Resolution | 0.00125 mm |
| Print Speed | 90 mm/hr |
| Power Input | 100-240V, 50/60Hz |
| Operating System Compatibility | Windows, macOS |
| Machine Size | 28 x 28 x 44 cm |
| Dimensions | 28 x 28 x 44 cm |