
R
Rachel ContrerasAug 2, 2025
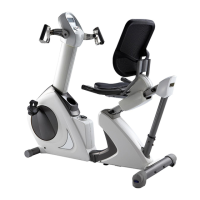
What to do if my PhysioCycle XT-800 Exercise Bike shows E1 error?
- DDavid RodriguezAug 2, 2025
The E1 error on your PhysioCycle Exercise Bike typically indicates a malfunction in the motor or magnetic system. It could also stem from wiring issues or a console problem. Try these steps: * If the motor or magnetic system is faulty or stuck, consider replacing the magnetic system or flywheel. * Check the connection wires to ensure they are securely connected. If any wires are broken, replace them. * If the issue persists, the console may be malfunctioning, and you might need to replace it.