- 2 -
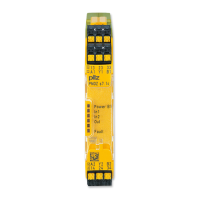
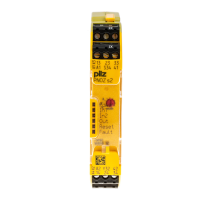
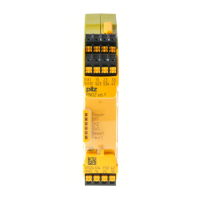
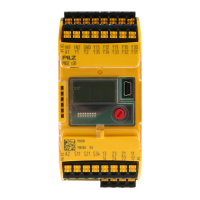
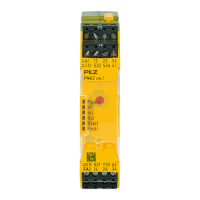
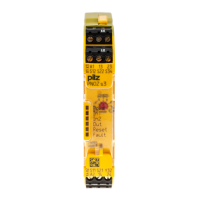
Blockschaltbild/Klemmenbelegung Block diagram/terminal configuration
内部回路ブ ロ ッ ク 図 / 端子配列
*Sichere Trennung nach EN 60947-1, 6 kV *Safe separation in accordance with EN 60947-1,
6kV
*
EN 60947-1 に基づ く 安全な絶縁、 6kV
Funktionsbeschreibung
mit PNOZsigma Grundgerät:
Zweikanalige Ansteuerung über PNOZsigma
Verbindungsstecker
ohne PNOZsigma Grundgerät:
Einkanalige Ansteuerung: ein Eingangskreis
wirkt auf die Ausgangsrelais
Function description
with PNOZsigma base unit:
Dual-channel operation via PNOZsigma connec-
tor
without PNOZsigma base unit:
Single-channel operation: one input circuit affects
the output relays
機能の概要
PNOZsigma ベースユニ ッ ト を使用す る場合 :
PNOZsigma コネクタを使用した2チャンネル
運転
PNOZsigma ベースユニ ッ ト を使用し ない場合:
1 チ ャ ン ネル運転 : 1 つの入力回路が出力 リ
レーに影響します。
Montage
Kontakterweiterungsblock ohne Grundgerät montie-
ren:
Stellen Sie sicher, dass der Abschluss-
stecker seitlich am Gerät gesteckt ist
Grundgerät und Kontakterweiterungsblock PNOZ-
sigma verbinden:
Entfernen Sie den Abschlussstecker seitlich am
Grundgerät und am Kontakterweiterungsblock
Verbinden Sie das Grundgerät und den Kontakter-
weiterungsblock mit dem mitgelieferten Verbin-
dungsstecker, bevor Sie die Geräte auf der
Normschiene montieren.
Montage im Schaltschrank
Montieren Sie das Sicherheitsschaltgerät in einen
Schaltschrank mit einer Schutzart von mindestens
IP54.
Befestigen Sie das Gerät mit Hilfe des Rastele-
ments auf der Rückseite auf einer Normschiene.
Sichern Sie das Gerät auf einer senkrechten
Normschiene (35 mm) durch ein Halteelement
(z. B. Endhalter oder Endwinkel).
Vor dem Abheben von der Normschiene Gerät
nach oben oder unten schieben.
Installation
Install contact expander module without base unit:
Ensure that the plug terminator is inserted at the
side of the unit.
Connect base unit and PNOZsigma contact expander
module:
Remove the plug terminator at the side of the base
unit and at the contact expander module
Connect the base unit and the contact expander
module to the supplied connector before mount-
ing the units to the DIN rail.
Installation in control cabinet
The safety relay should be installed in a control
cabinet with a protection type of at least IP54.
Use the notch on the rear of the unit to attach it to
a DIN rail.
Ensure the unit is mounted securely on a vertical
DIN rail (35 mm) by using a fixing element (e.g.
retaining bracket or an end angle).
Push the unit upwards or downwards before lift-
ing it from the DIN rail.
取り付け
接点増設モジュールの取り付け(ベースユ
ニットなし):
ユニ ッ ト の側面にプラグター ミ ネータが挿
入されているこ とを確認して ください。
ベースユニ ッ ト と PNOZsigma 接点増設モ
ジ ュ ールの接続 :
ベースユニ ッ ト 側面 と接点増設モジ ュ ール
のプラグターミ ネータを取り外して く だ さ
い。
ユニ ッ ト を DIN レールに取り 付ける前に、付
属のコ ネ ク タ を用いてベースユニ ッ ト と接
点増設モ ジ ュールを接続 し て く だ さ い。
制御盤への取 り 付け
安全 リ レーは、 保護構造が少な く と も IP54
の制御盤に取 り付ける必要があ り ます。
ユニ ッ ト の背面にあ る ノ ッ チ を使用し て、
DIN レールに取 り付けます。
固定器具 (固定ブ ラ ケ ッ ト やエ ン ド ア ング
ルなど) を使用し て、 ユニ ッ ト が DIN レー
ル (35 mm) に垂直に し っかり と固定されて
いるこ とを確認して く ださい。
DIN レールから ユニ ッ ト を取 り 外す際は、 ユ
ニ ッ ト を上方向または下方向に押し て取 り
外して く ださい。
Input
A1 A2
=
Power
=
K1
K2
13
23 33 51
24 34 52
14
43
44
*
Interface
base
unit
63
73 83
74 84
64
93
94

 Loading...