10
4. Hardware Installation
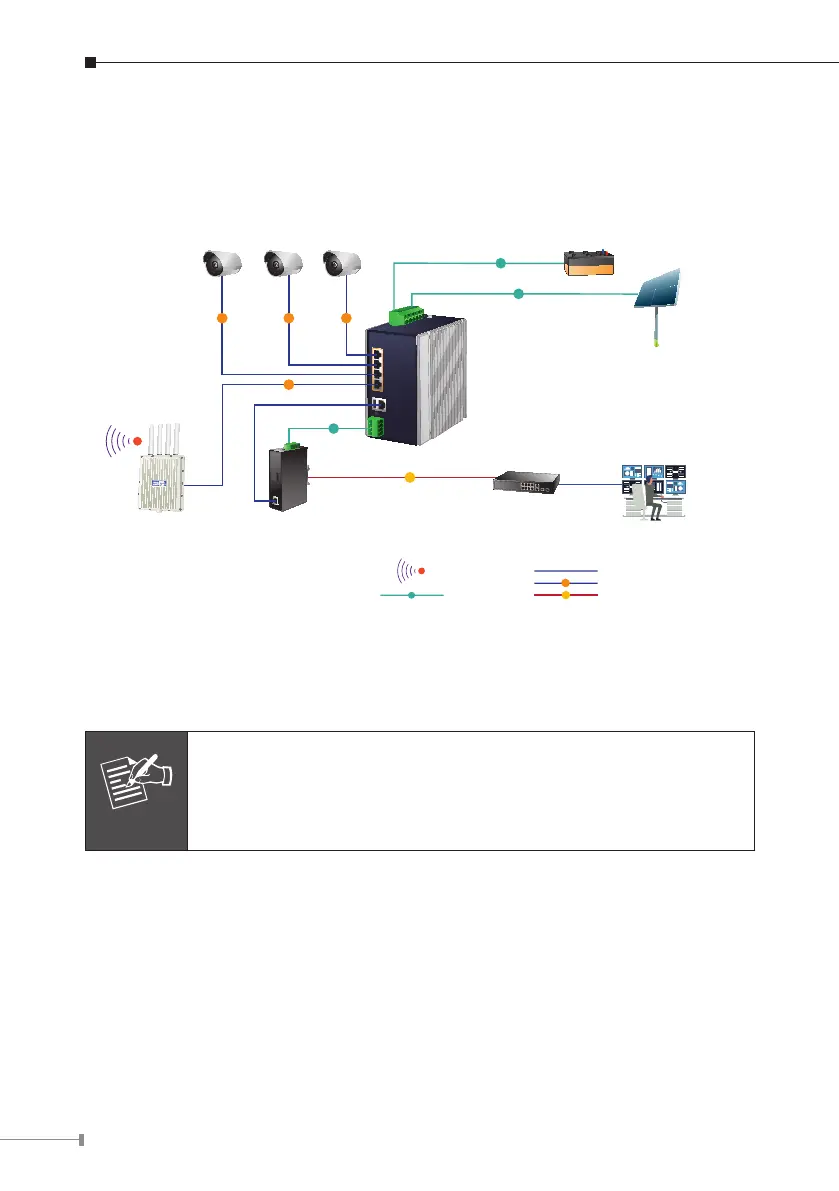
The following section describes the hardware installation of the BSP-360. Before
connecting any network device to the BSP-360, read this chapter carefully.
BSP-360
DC
DC
BatteryCAM1 CAM2 CAM3
Outdoor
Wireless AP
PoE PoE
PoE
PoE
Media Converter/
DC Powered Device
Solar PV
DC
DC
1000BASE-T UTP
PoE
1000BASE-T UTP with PoE
2.4GHz 802.11n
N
N
1000BASE-SX/LX Fiber Optic
1000
1000
Ethernet Switch
Monitoring Center
Please follow the following steps to install the system:
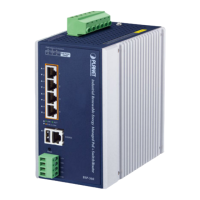
Step 1. Installing BSP-360
Place the BSP-360 in a desired location using the wall-mount or Din-rail xtures.
Note
a. Please install the BSP-360 in a proper enclosure or shelter.
b. The BSP-360 must be grounded.