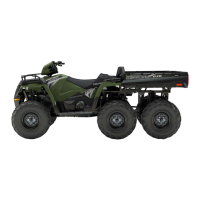
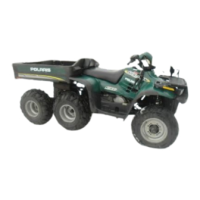
GENERAL INFORMATION
7.3
systems. When the AWD button is switched off, the
machine will have the steering ease of a 2 wheel drive
unit; and with the switch turned on, All wheel drive will
be engaged whenever the rear wheels lose traction.
FRONTHUBREMOVAL(AWD)
If an AWD problem is encountered, thoroughly inspect
the electrical portion of the system as well as the front
hub mechanism. Refer to the electrical chapter.
1. Carefully lift and support the front end of the
machine as shown with the jack stands under the
front end of the foot rests. CAUTION: Make sure
the machine is solidly supported before
proceeding. Serious injury could occur if the
machine tips or falls.
2. Remove the front wheels and thoroughly clean
the area around the hub, strut casting, brake
caliper and brake disc.
3. Remove the two brake caliper attaching bolts.
CAUTION: Do not hang the caliper by the brake
hose. Use wire to hang the caliper to prevent
possible damage to the brake
line.
4. Place a catch pan beneath the front hub and
remove the hub cap.
5. Remove cotter pin and nut.
6. Remove front hub and bearings.
HUB/WHEEL BEARING
INSTALLA
TION
1. Thoroughly inspect the hub internally. If the hub
bearing sleeve is damaged or shows signs of
movement, the hub assembly must be replaced.
When the sleeve is pressed into the hub it should
be flush with the outside surface of the hub.
2. Grease hub seal to allow it to slide over roller
clutch components.
3. Install wheel hub inner bearing. NOTE: All
bearings must slide freely onto the spindle. If
bearings do not slide freely, wheel bearing torque
will be affected.
4. Install wheel hub, outer bearing, washer, and
attaching nut. NOTE: It is very important that the
hub is not moved outward once installed, or the
seal on the hub will disengage the armature plate.
 Loading...