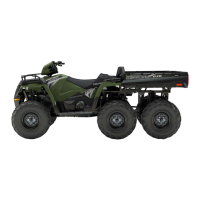
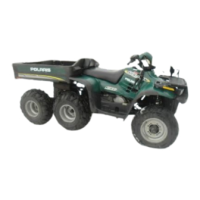
TRANSMISSION
8.8
case areas. Tap with a soft face hammer to seat
shaft assemblies.
NOTE: Make sure high/reverse shift shaft pin is
properly positioned within legs of shift fork shaft return
spring.
NOTE: After installation, the High / Reverse shift arm
must be placed in the neutral position to complete
reassembly.
Large I.D.
7. Install output shaft and gear assembly along with
sprocket and chain.
8. Install snap ring.
Large I.D. washer
Needle bearing
Small I.D. washer
Dog gear
Low gear
9. Place shift fork and dog gear assembly (dogs face
outward) on shaft. Place dog gear on shaft and
shift fork shaft into case, aligning splines of gear
with shaft while engaging shift shaft pin in legs of
shift fork shaft return spring. Push the assembly
into case until seated.
10. Install thrust washer (with larger inside diameter)
on shaft (against splines of shaft).
11. Install low gear with slots facing dog gear.
12. Lubricate and install needle bearing in low gear.
13. Install washer (small inside diameter) on shaft.
14. Install ball bearing.
15. Prior to reinstalling the cover make sure the
mating cover surfaces are clean and dry. Apply
Loctitet 518 (PN 2870587) or Crankcase
Sealant (PN 2871557)tomatingsurfaces.
16. Reinstall cover and torque bolts in a criss-cross
pattern in 3 steps to 18 ft. lbs. (25 Nm).
17. Install drain plug with a new sealing washer.
Torquedrainplugto14ft.lbs.(19Nm).
18. Install transmission and add Polaris AGL
Gearcase Lubricant in the recommended
amount. Refer to Maintenance Chapter 2.
High/Rev
Low
19. Install gear indicator switches. Apply Loctitet
242 (PN 2871950) to threads of switch screws
and torque to 13-16 in. lbs. (1.5-1.9 Nm).
 Loading...