27
all the parameters are set, push the button to save adjustments. Without pushing the
button, no adjustments can be saved.
If neither of these buttons is not pushed within 15 second, then the time adjustment mode resets.
Setting the cleanup start time.
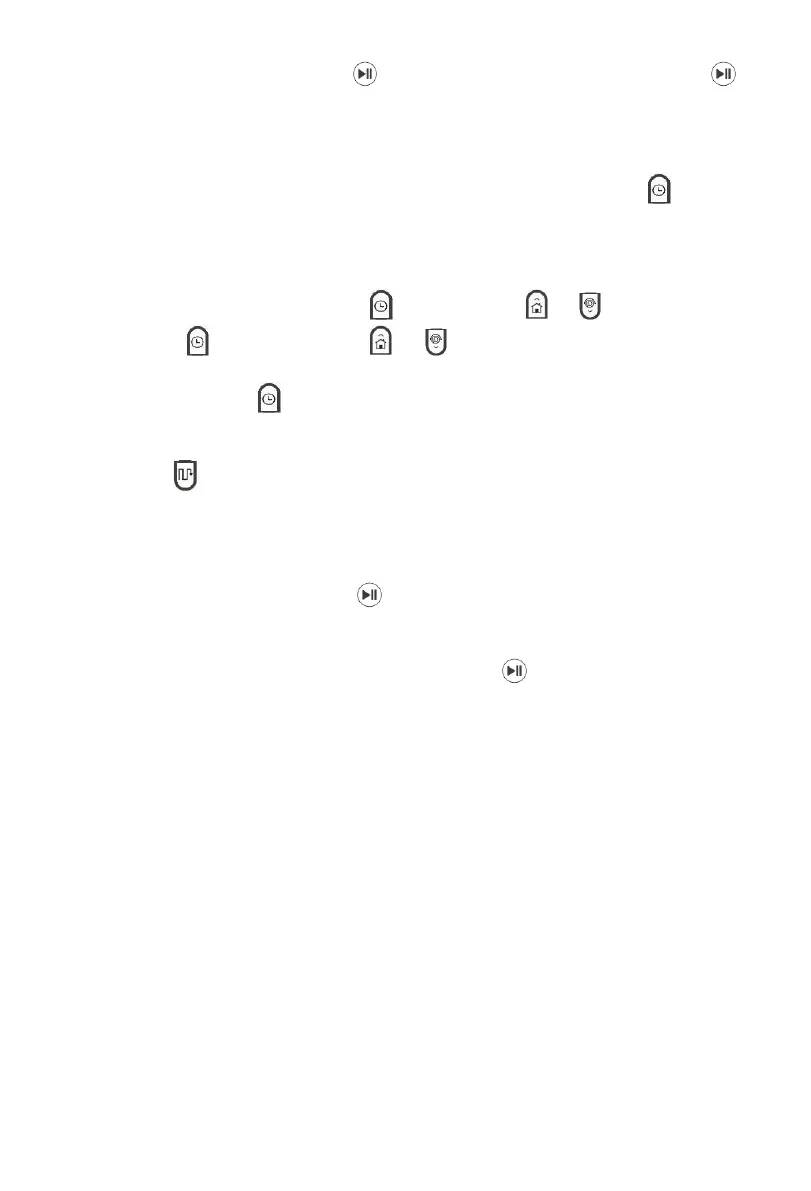
Turn on the vacuum cleaner under the Pause mode. Make a single-shot push on the button to
access the cleanup start time adjustment mode. A push on this button causes displaying the
flashing Hour and "MON" icons.
This menu allows to set the cleanup start time separately for each of 7 week days, and to select
days on which the vacuum cleaner shall perform the cleanup.
Upon one more single-shot push on the button, manipulate and buttons to set hours,
then push again, and manipulate and buttons to set minutes. This time value is
preset for Monday.
The next push on the button causes displaying TUE icon. Analogously set the start time for
Tuesday, and for subsequent days of the week: WED - Wednesday, THU - Thursday, FRI - Friday,
SAT - Saturday, SUN - Sunday.
Push the button to either activate the cleanup on any day of the week (at that, the start time
illuminates), or cancel the cleanup. This causes displaying dashes against a week day for which
the cleanup is canceled.
If neither of these buttons is not pushed within 15 second, then the adjustment mode resets. No
adjustments are saved.
Once all the parameters are set, push the button to save adjustments.
The vacuum cleaner carries out cleanup only on such week days for which the start time has been set,
and the activation has been performed.
To switch the device to the Sleep mode, push and hold down button for more than 3 seconds.
Replacement of power supply elements causes resetting of parameters. Therefore, remember
to re-adjust the time after electric battery replacement.
ACCUMULATOR CHARGING
1. CHARGING BASE USAGE
During use of the charging base, the necessity of charging the accumulator and the charging
base location is automatically determined by the device. The I/O switch on the device body
shall be in the "I" position.
Place the charging base right against the wall beside a power outlet in a room to be cleaned,
insert the adapter plug into the outlet. This causes illumination of the signal indicator on the base.
There shall be no obstacles at a distance of 1 meter from two lateral sides, and at a distance of 2
meters from the front side of the charging base. At the base location area, there shall also be no
mirrors and intensively reflecting surfaces within 15 cm heightwise from the floor. In case of
presence of such surfaces, they shall be blanketed.
Do not place the base against a window if exposure to direct solar radiation is possible. (Fig. 18)
To start charging, move the power switch to the ON position, and put the vacuum cleaner on the
base. Make sure that contact leads on the base align with contact leas on the device.
 Loading...