Managing the Studio USB Device
Topics:
▪ Initialize the Studio USB Device Using the Setup Wizard
▪ View Studio Information
▪ Update the Studio USB Device and the Remote Control
▪ Studio User Settings
▪ Studio Admin Settings
▪ Studio Troubleshooting
You can use Polycom Companion to show basic information, update the firmware, and configure the user
and admin settings for the Studio USB device.
Initialize the Studio USB Device Using the Setup
Wizard
When you start up the Studio USB device for the first time, or after you factory reset the system, the setup
wizard leads you through the minimum configuration steps.
Ask your network administrator for the provisioning server used in your deployment before you choose
the Server Type.
Note: If you select Auto provisioning mode, make sure that you already have the provisioning server
address, user name, and password in your DHCP option 66 or 150. For example, https://
username:password@company.com.
Procedure
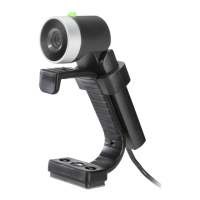
1. Connect the Studio USB device to your computer, then select the Poly Studio tile from your
Polycom Companion.
2. Enter the admin password in the Password field (the default password is Polycom12#$).
3. Accept the End User License Agreement, and click Sign In.
4. Change the default password:
▪ Select the Simple Password check box to enter a simple password.
▪ Enter a password that adheres to the on-screen requirements.
5. Select Confirm.
6. Select your country, and select Next.
7. Optional: Change the device name, or select Skip.
8. Optional: Configure Wi-Fi network settings, or select Skip to ignore the settings.
Option Description
Wi-Fi Status Selects On to enable the Wi-Fi function.
8