1998-2015. VirtualPBX.com, Inc. All rights reserved. Virtual PBX, TrueACD, and ProSIP are ® trademarks of VirtualPBX.com, Inc.
VirtualPBX.com | 111 N. Market St., Suite 1000, San Jose, CA 95113 | Toll Free: 800.914.VPBX | Fax: 888.825.0800
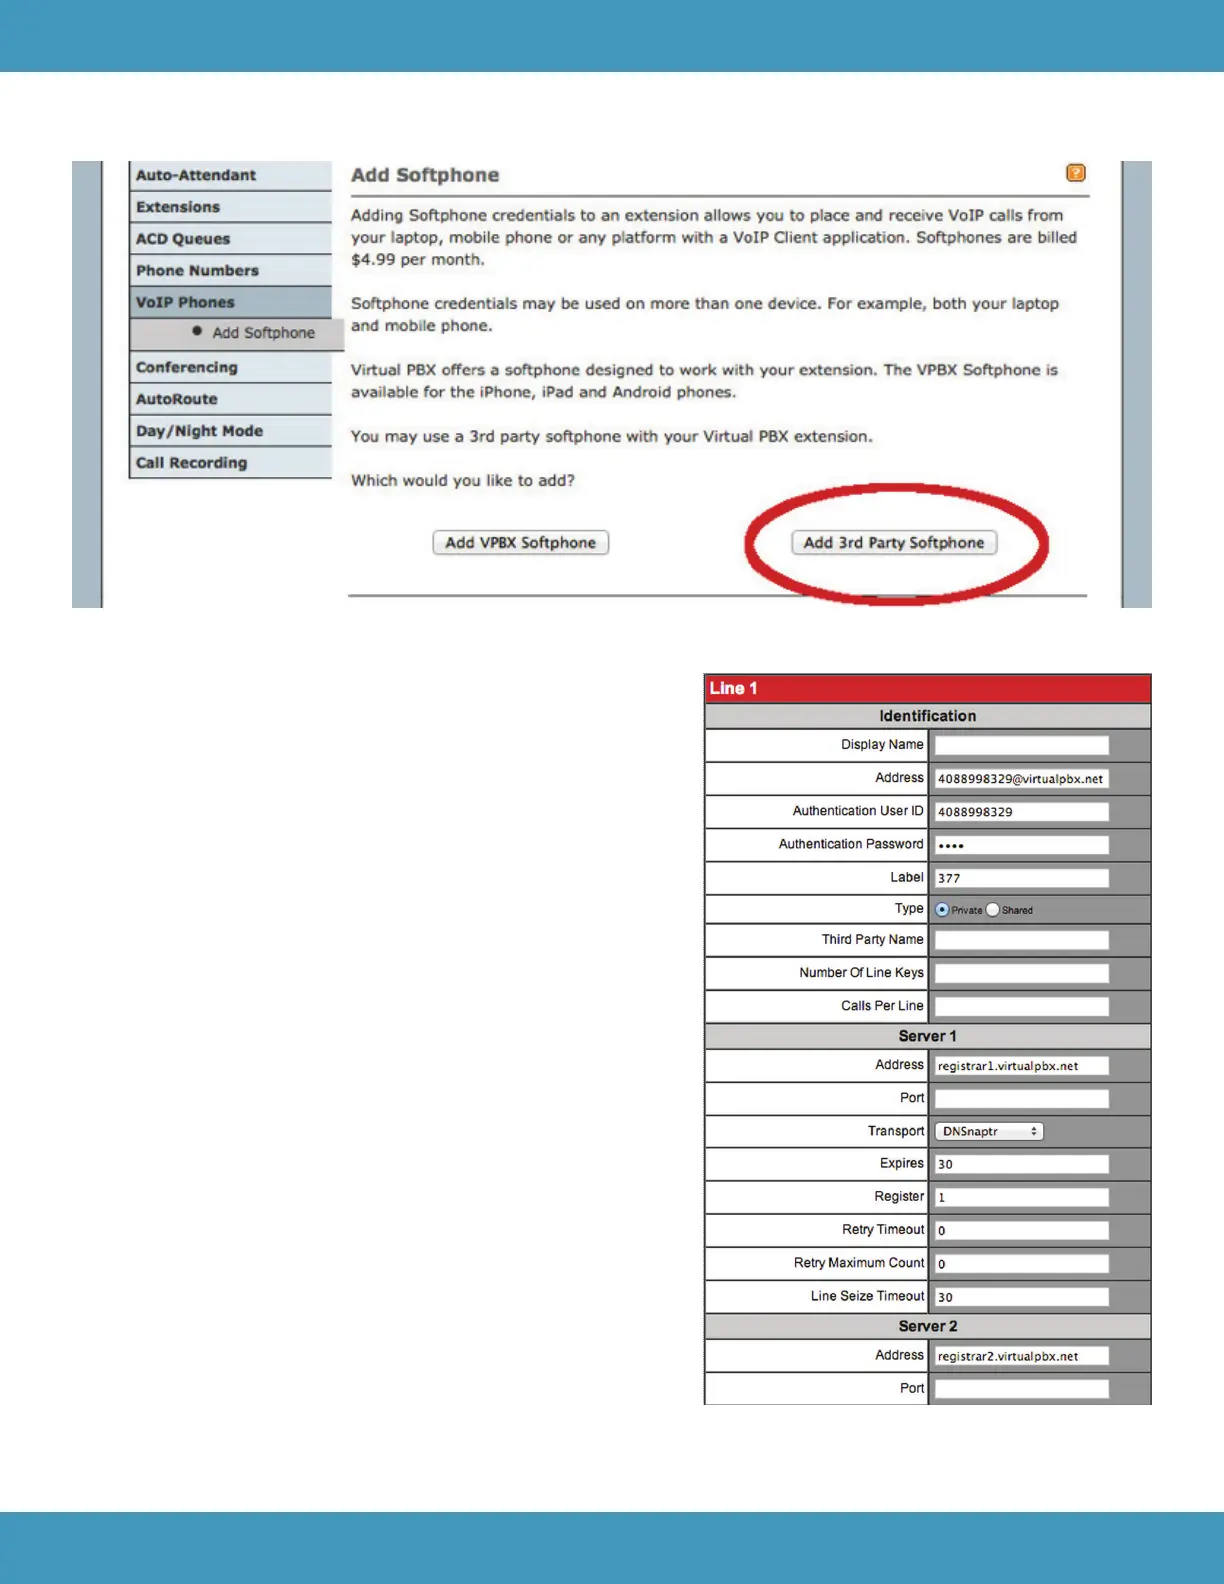
5. Click on Add 3rd Party Softphone
6. Record the username, password, and server
Configuring Your Phone
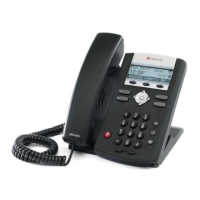
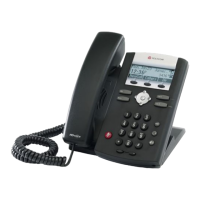
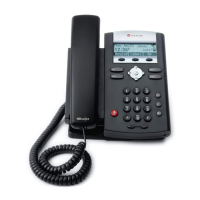
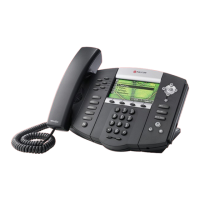
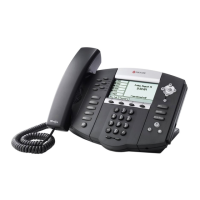
The following steps are for manually provisioning a new Polycom
SoundPoint IP p hone or one that has been reset back to factory
defaults. If in doubt, reset your Polycom SoundPoint back to its
factory default settings (instructions at end of document).
7. Start up your phone and identify its IP address. You can find
your phone’ s IP address by going to the Status section within the
menu. Once in the Status section, click on the N etwork o ption
and select T CP/IP Parameters. Example: 1 92.168.1.123
8. Point your browser to the phone’s web interface by typing
http:// and the phone’s IP address. Example: http://192.168.1.123
9. You’ l l now need to register your Polycom SoundPoint with
VirtualPBX. Click on the L ines t ab to begin.
10. In the Identification s ection of the Lines t ab:
a. Set A ddress to the u sername combined with
v irtualpbx.net, as shown to the right.
b. Set Auth User ID to the username
c. Set A uth Password to the extension’ s password
d. Set L abel to the name you want to appear on
the phone’ s display
 Loading...