NOTE: Zoom Rooms supports up to 10 controllers and 10 schedulers.
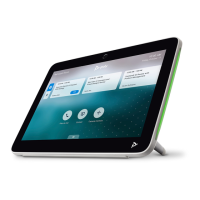
1. With the Zoom Rooms app open on your Poly TC10, select Sign in.
2. To sign in to the Poly TC10, follow the onscreen instructions:
● For Zoom Rooms Controller only: Enter the pairing code displayed into the Zoom Room
software of a Mac or PC that is logged in to your account.
● For Zoom Rooms Controller and Scheduler: Log in with your Zoom Rooms account login
details, use a pairing code at https://zoom.us/pair, or enter an activation code. An activation
code is generated in the room settings in the web portal by the administrator who set up the
Zoom Room.
3. Select the Zoom Room that you want to control.
The Poly TC10 is paired and ready to control the Zoom Room app.
Switch Between Zoom Controller and Zoom Scheduler Mode
You can switch between Zoom Rooms Controller and Zoom Rooms Scheduler in the Poly TC10 user
interface settings.
1. On the Poly TC10, choose Settings.
2. Select General.
3. Scroll down and select Switch to Controller or Switch to Scheduler.
NOTE: The option available depends on what mode that you're currently running.
Configuring Network Settings
If your environment uses DHCP, after plugging it into a LAN port in the room with your video system,
the Poly TC10 automatically connects to your primary network.
You can also manually configure the network settings if, for example, your environment needs static
IP addresses or the DHCP server is offline.
NOTE: Network settings are available prior to pairing with a codec or in standalone mode.
Manually Configure IPv6 Address Settings
Your system gets its IP address information automatically by default. However, you can manually
configure the IPv6 address settings.
1. In the device local interface, go to Settings > Network.
2. Turn the Enable IPv6 setting on.
3. Turn the Obtain Automatically Using DHCP setting off.
Switch Between Zoom Controller and Zoom Scheduler Mode
15