16
PORA ELECTRIC MACHINERY CO.,LTD.
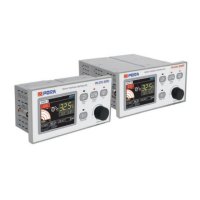
Taper Tension Controller
Set Up & Operation
1. Simple use of the product
The unit can be seriously damaged by the wrong connection (observe the diagram of load connection) of the power
terminal, contacts between the DC input/output wiring and power line, and the short circuit of the output line.
Before supplying, ensure the appropriate connection between power and grounding, and the input/output wiring.
Precaution
: Check power input and wiring
Manual mode
1.Press Fn button long to activate DATA and then select a number by turning the dial.
2.Press Fn button to activate Starting Voltage.
3.Set the voltage by turning the dial.
4.If the tension of the actual fabric is proper, switch to auto mode.
Auto mode
1.Observe change in the tension while the line is in progress.
2. If the tension is not proper, activate Number of Revolutions by pressing Fn button twice and then
adjust the tension by changing the number of revolutions.
3.Nullify all activations by pressing Fn button once.
Completion of the
work
1. When the work is completed, switch to manual mode and then reset it to the initial value by
pressing the RESET button long before starting the work again
2. The starting voltage and number of revolutions shall be set only once at the beginning. After
initially setting it for work, if the fabric is same as the previous one, use it from the next work
only after switching between auto and manual modes.
3. If the data number is required to be changed, press Fn button long to activate DATA, and then
change the number by turning the dial. Nullify all activations by pressing Fn button once. If the
button is not activated to violet color, there will be no change when the dial is turned.
Checking before use
1.Check the wiring conditions of all cables before applying the power to the product.
2.Check the input power (22 ~ 26 VCD or 100 ~ 240 VAC) and apply the correct power.
Voltage algorithm

 Loading...