17
)LJ+
)LJ+
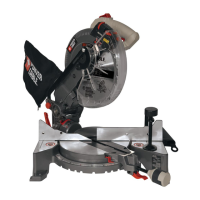
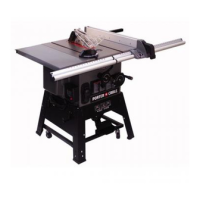
SAW BLADE
NOTE: The miter saw comes with the saw
blade already installed.
0DNHVXUHWKHEODGHLVLQVWDOOHGFRUUHFWO\
DQGLVWLJKWEHIRUHRSHUDWLQJ6HHSDJH
LQDGMXVWPHQWVWRWLJKWHQRUUHPRYHWKH
VDZEODGHLIQHFHVVDU\
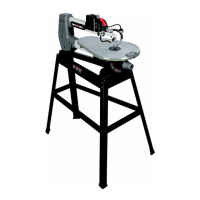
SAW BLADE WRENCH STORAGE (FIG. I)
For convenient storage and prevention of
loss, there is a slot (1) in the carrying handle
for storing the blade wrench (2) when not
in use.
)LJ,
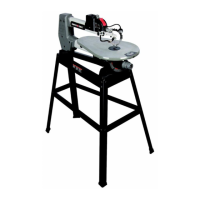
MOUNTING THE MITER SAW (FIG. J, K)
7RDYRLGLQMXU\IURPXQH[SHFWHGVDZ
movement:
ŏ %HIRUHPRYLQJWKHPLWHUVDZ
GLVFRQQHFWWKHSRZHUFRUGIURP
WKHRXWOHWDQGORFNWKHFXWWLQJDUP
LQWKHORZHUSRVLWLRQXVLQJWKH
KROGGRZQODWFK
22
WARNING
!
2
1
WARNING
!
127(7KHKROGGRZQODWFKLVIRU
FDUU\LQJRUVWRULQJWKHWRRO,WLVQRW
WREHXVHGIRUKROGLQJWKHVDZZKLOH
FXWWLQJ/RZHUWKHFXWWLQJKHDGDQG
SUHVVLQKROGGRZQODWFKWRVHFXUHWKH
FXWWLQJKHDG
ŏ 1HYHUFDUU\WKHPLWHUVDZE\WKHSRZHU
FRUGRUE\WKHWULJJHUVZLWFKKDQGOH
&DUU\LQJWKHWRROE\WKHSRZHUFRUG
FRXOGFDXVHGDPDJHWRWKHLQVXODWLRQ
RUZLUHFRQQHFWLRQVDQGUHVXOWLQ
HOHFWULFVKRFNRU¿UH
ŏ 7RDYRLGLQMXU\IURPÀ\LQJGHEULV
GRQRWDOORZYLVLWRUVWRVWDQGEHKLQG
WKHVDZ
ŏ 3ODFHWKHVDZRQD¿UPOHYHO
ZRUNEHQFKZKHUHWKHUHLVURRPIRU
KDQGOLQJDQGSURSHUO\VXSSRUWLQJ
WKHZRUNSLHFH
ŏ 6XSSRUWWKHVDZRQDOHYHOZRUN
VXUIDFH
ŏ %ROWRUFODPSWKHVDZWRLWVVXSSRUW
0RXQWLQJLQVWUXFWLRQV
1. )RUVWDWLRQDU\XVH, place the saw in the
desired location, directly on a workbench
where there is room for handling and
proper support of the workpiece. The
base of the saw has four 3/8 in. mounting
holes. Select the proper mounting
holes based on the size of bolts used.
Bolt the base of the miter saw (1) to
the workbench (5), using the fastening
method as shown in Fig. J.
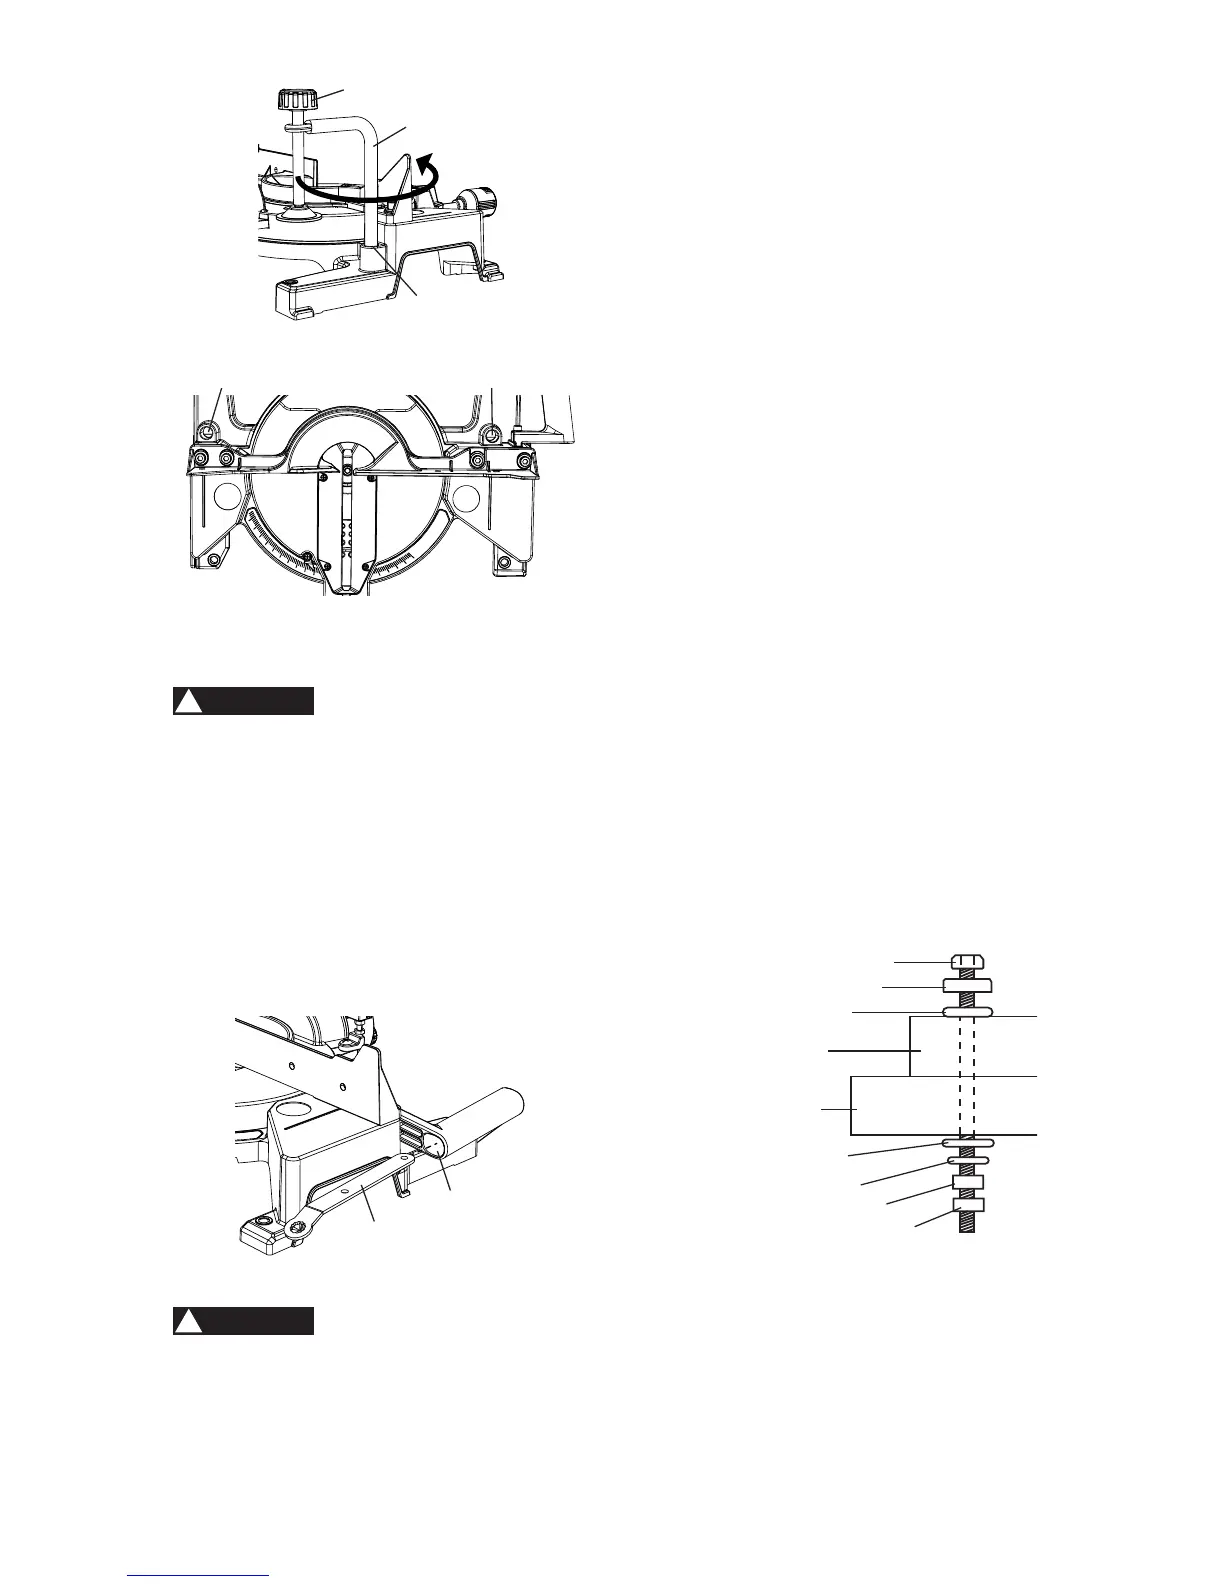
)LJ-
NOTE: Mounting hardware is not included
with this tool. Bolts, nuts, washers, and
screws must be purchased separately.
2. )RUSRUWDEOHXVH, place the saw on a
3/4 in. thick piece of plywood. Bolt the
base of the miter saw securely to the
plywood using the mounting holes on
the base. Use C-clamps to clamp this
mounting board to a stable work surface
at the worksite. (Fig. K)
1. Miter saw base
2. Hex head bolt
3. Rubber washer
4. Flat washer
5. Workbench
6. Flat washer
7. Lockwasher
8. Hex nut
9. Jam nut
1
2
3
4
5
6
7
8
9
2
1
3