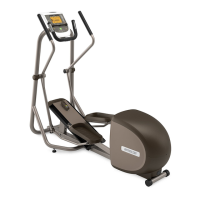
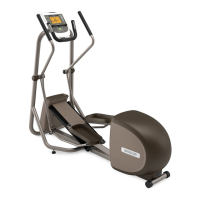
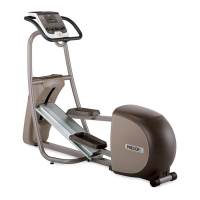
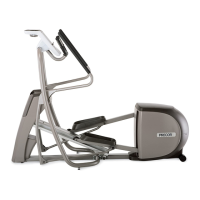
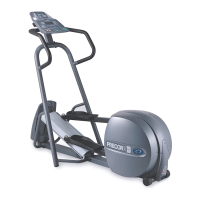
5.21i Ellipitical Fitness Crosstrainer
Page 6
3. Watch the display as the LED test progresses. The test is programmed to display the
following LED illumination sequence:
a. The test name “DISPLAY TEST” will be scrolled.
b. All of the L.E.D.s on the display will be illuminated.
3. Press the RESET key to proceed to the keyboard test.
4. The test name “KEYBOARD TEST” will be scrolled.
5. A graphical representation of all the keys on the keyboard will be displayed. When a key is
pressed the representation of the key will become a single dot. Check all of the keys on the
keyboard in this manner.
6. Press and hold the RESET key for a minimum of 2 seconds to proceed to the heart rate test.
7. The test name “HEART RATE TEST” will be scrolled.
8. A chest strap heart rate transmitter or a heart rate test transmitter must be used in
conjunction with this test.
9. When a heart rate signal is received, the Polar heart rate will be displayed as “P XXX” and
the SCAN L.E.D. will flash in time with the heart rate.
10. Press the RESET key to proceed to the lift test.
11. The test name “LIFT A/D” will be displayed for 2 seconds.
12. The lift calibration number will be displayed on the right. The lift calibration number indicates
the physical position of the incline and is used to calibrate the lift motor.
13. Press the RESET key to proceed to the brake test.
14. The test name “BRAKE” will be displayed for 2 seconds.
15. The resistance level will be displayed on the left side of the display and the corresponding
power bits (duty cycle) will be displayed on the right side of the display. Initially, the power
bits level will be zero, pressing the
, keys will change the number of power bits being
applied to the eddy current system.
16. Press the RESET key to exit the diagnostics program.