Do you have a question about the Precor Discovery Series and is the answer not in the manual?
Precor commercial strength equipment is designed and tested according to EN 957-1/2 standards.
List of tools recommended for inspecting and maintaining the equipment, including wrenches and a rubber mallet.
Instructions on how to contact Precor for service, dealer information, and customer support.
Procedure for cleaning upholstery using a mild soap and water solution, avoiding harsh chemicals.
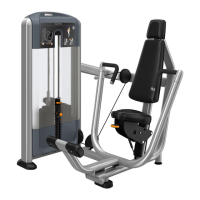
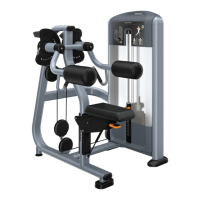
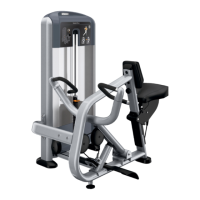
Guidance on checking upholstery, stitching, staples, and bolts for wear and damage on pads.
Instructions for cleaning frames with soap and water, and inspecting for cracks, rust, or damage.
Daily check to ensure warning and instructional labels are visible and properly adhered, with replacement instructions.
Weekly cleaning of upholstery using a lanolin-based cleaner or upholstery cleaner.
Procedure for inspecting and lubricating bronze bushings and sealed bearing pivot points.
Checking the seat lever for sticking and lubricating the pivot pin with Teflon spray lubricant if necessary.
Monthly inspection of frames and movement arms for cracks, paint damage, rust, and proper function.
Monthly check to ensure all nuts, bolts, and screws are tight and properly installed, especially at bolted joints.
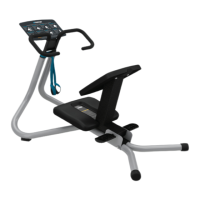
Instructions on opening boxes and removing packing materials for assembly.
Critical requirements for unit assembly, including assistance, space, surface, and fastener tightening procedures.
Procedure for testing and adjusting the equipment's adjustable feet to ensure stability and prevent rocking.
Steps to position and secure the upright support assembly to the base frame using M12 screws and washers.
Instructions for positioning and securing the seat frame to the base frame and upright supports.
Procedure for installing movement arms onto the pivot brackets using axles and screws, requiring an assistant.
Steps to attach interchangeable handlebars to the movement arms using buttonhead screws and washers.
Optional procedure to link independent movement arms using a crossbar for dependent motion.
Procedure for attaching weight horns to movement arms and weight storage horns to the frame.
Steps to position and secure the seat pad to the seat bracket using hex head screws and washers.
Procedure for attaching the gas spring to the seat assembly and frame using stems and nylon lock nuts.
Steps to install knee roller pads and end caps onto the roller bar using set screws and flat head cap screws.
Procedure for adjusting seat rollers to ensure smooth and stable seat movement, requiring assistance.
Instructions for attaching the instructional placard and safety labels to the equipment frame.
| Brand | Precor |
|---|---|
| Model | Discovery Series |
| Category | Fitness Equipment |
| Language | English |