EasyManua.ls Logo

Prepac SS-4824 User Manual

Prepac SS-4824
12 pages
To Next Page IconTo Next Page
Page #1 background imageLoading...
Page #1 background image
Shoe Cubbie
Required Tools
Screwdrivers
Flat Head
Using a power screwdriver
will speed up assembly.
Caution
Do not over tighten any screw.
The last few turns of each screw
should be done very slowly or by hand.
Phillips Head
Optional Tools
DATE STAMP
Prepac Manufacturing Ltd.
6705 Dennett Place
Delta, BC V4G 1N4
LB-0670
2015-01-13
Model #
SS-4824
Assembly Instructions
CALL US FIRST
1-877-PREPAC1
1-877-773-7221
Mon - Fri 7am - 4pm PST
10am - 7pm EST
For help with assembly
If you have received a damaged or defective part or
are missing hardware.
We will process replacement parts
UPS Ground or mail.
Before you call please:
2) Note the
3) Review the contents of your shipment to determine
what you are missing.
in 2 business days or
less. Parts are shipped via
1) Record the following information from the shipping
label on the outside of the box. You will need it for
warranty purposes:
Ship To Name
Sales Order Number
product model number.
Hammer
This product is shipped in
1 carton
1 of 1
Online Option:
Fill out the Replacement Parts Order form in the Product
Support section of our website: www.prepacmfg.com
Question and Answer IconNeed help?

Do you have a question about the Prepac SS-4824 and is the answer not in the manual?

Prepac SS-4824 Specifications

General IconGeneral
BrandPrepac
ModelSS-4824
CategoryIndoor Furnishing
LanguageEnglish

Summary

STEP 1: Prepare Sides and Bottom

Insert Cams into Panels

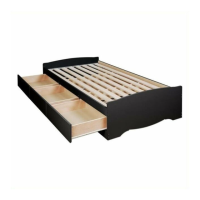
Insert cam fittings into the designated holes on the side panels (C3, C4) and bottom (C5).

Attach Twister Dowels

Screw green twister dowels into the left (C3) and right (C4) side panels.

STEP 2: Attach Sides to Bottom

Connect Left Side Panel

Attach the left side panel (C3) to the bottom (C5) and tighten cams.

Connect Right Side Panel

Repeat the process to attach the right side panel (C4) to the bottom (C5).

STEP 3: Add Stabilizers

Attach Front Stabilizer

Connect the front stabilizer (C6) to the sides (C3, C4) using screws.

Attach Rear Stabilizer

Attach the rear stabilizer (C7) to the bottom (C5) using screws.
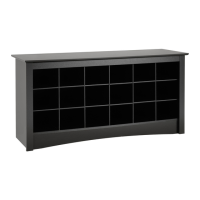
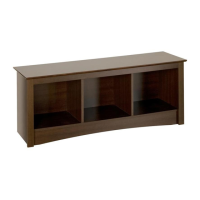
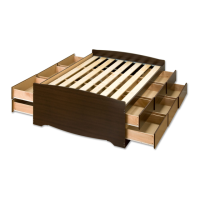
STEP 4: Attach Top Panel

STEP 5: Install Moldings

STEP 6: Assemble Dividers

STEP 7: Insert Dividers

STEP 8: Attach Backer

Related product manuals