10
Wi-Fi Protected Setup (WPS) lets you join a secure WiFi
network without typing the network name and password.
1) Press the WPS button on the front panel of the ex-
tender. The WPS LED blinks.
2) Within two minutes, press the WPS button on your
router or access point. When the extender connects to
your existing WiFi network successful, the extender's
new WiFi network name will change to “Prescitech
X12_2.4G_EXT or Prescitech X12_5G_EXT", and the
Status LED will light blue or amber (check the WLAN
LED Descriptions on Page ?), confirm it on your comput-
er or WiFi device. If the extender could not connect to
your existing WiFi network, try again. If it still does not
work, see Method 1: Connect with a web browser on
page 07.
3) Unplug the extender and move it to a new location
that is about halfway between your router and the area
with a poor router WiFi signal.
Note: WPS does not support WEP network security. If
you are using WEP security, follow the instructions in
Method 1: Connect with a web browser on page 07.
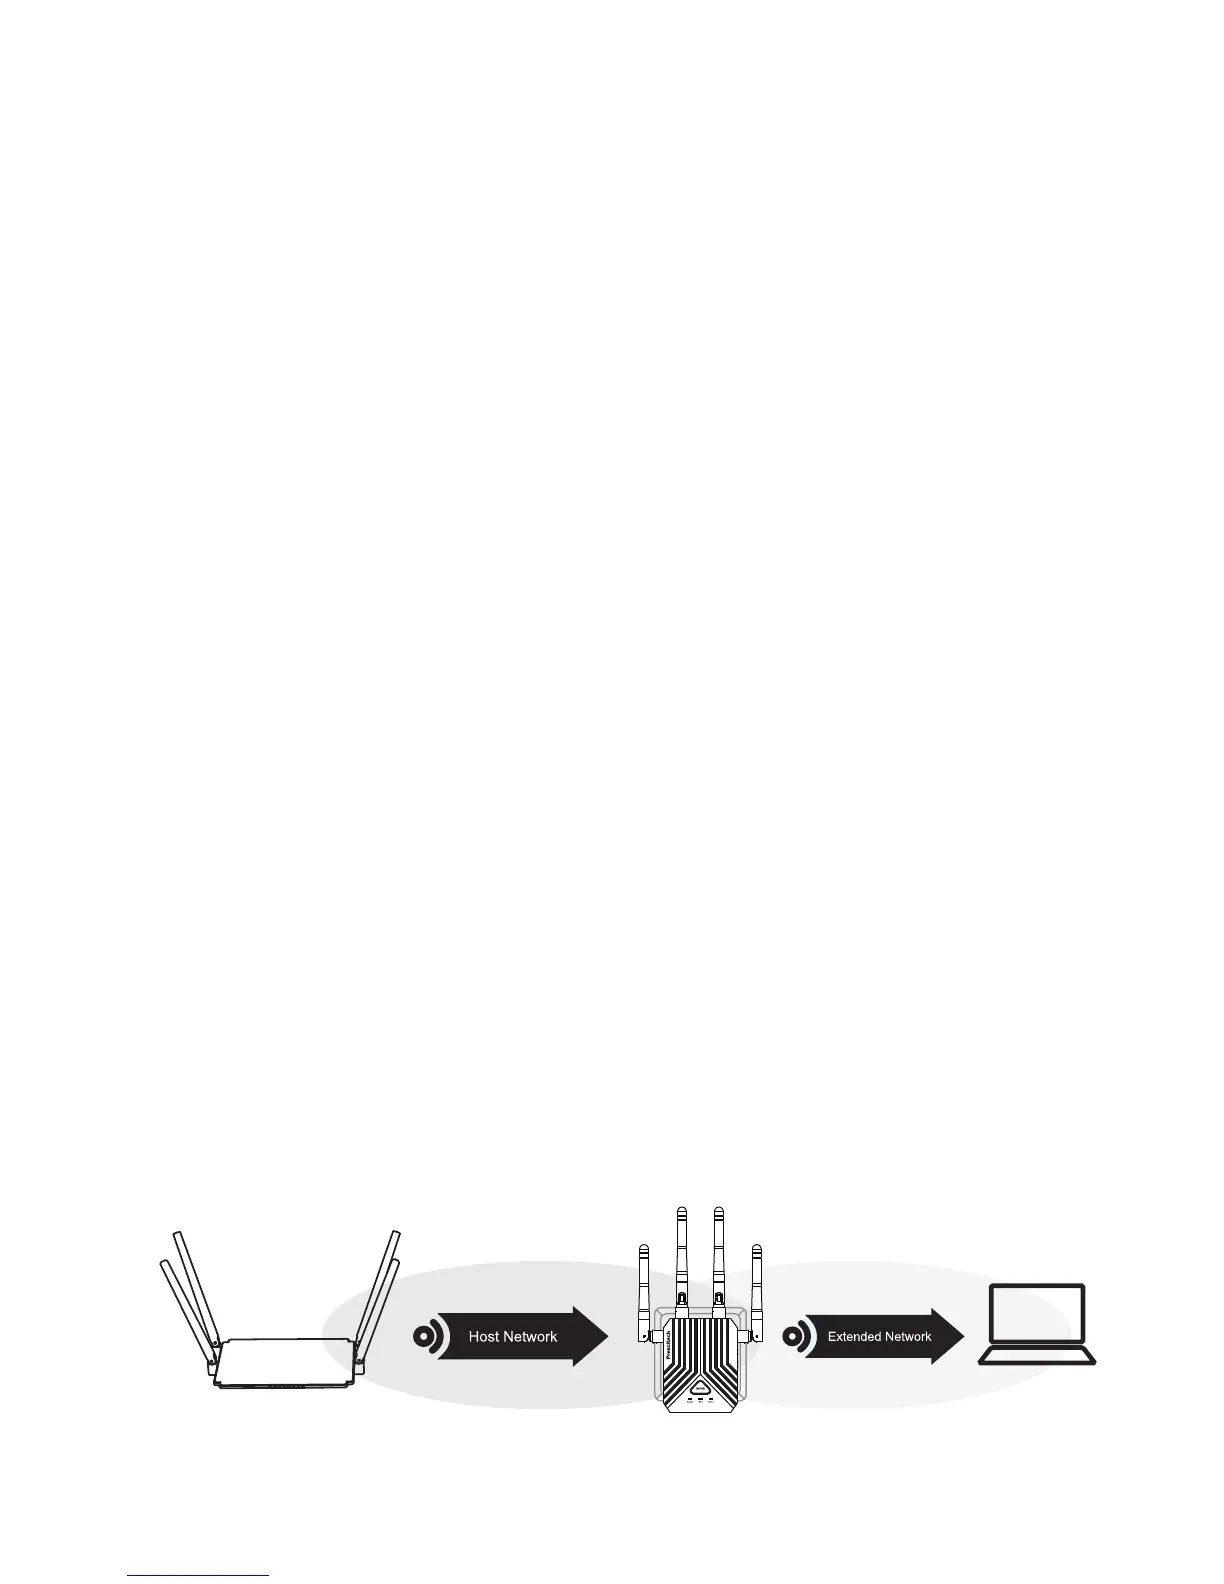
Method 2: Connect with WPS
Host Wi-Fi