EN • 33
ENGLISHFRANCAISNEDERLANDSESpAñoLITALIANoDEuTSCH
664Y3300
CLEANING THE EXCHANGER
- Disassemble the burner.
- Remove the burner’s insulation.
- Use a vacuum cleaner to clean out the chamber.
- Disconnect the chimney from the exchanger.
-
Check if the condensate collector is dirty and clean it if necessary.
-
Check the burner’s insulation and seal. Replace them if needed.
- Check the electrode and replace it if needed.
- Reassemble the burner and check for any leaks.
- Power the appliance on again. Set the appliance to maximum
Power mode and check for leaks.
- Check the gas pressure and the CO2 setting as described in
the previous section.
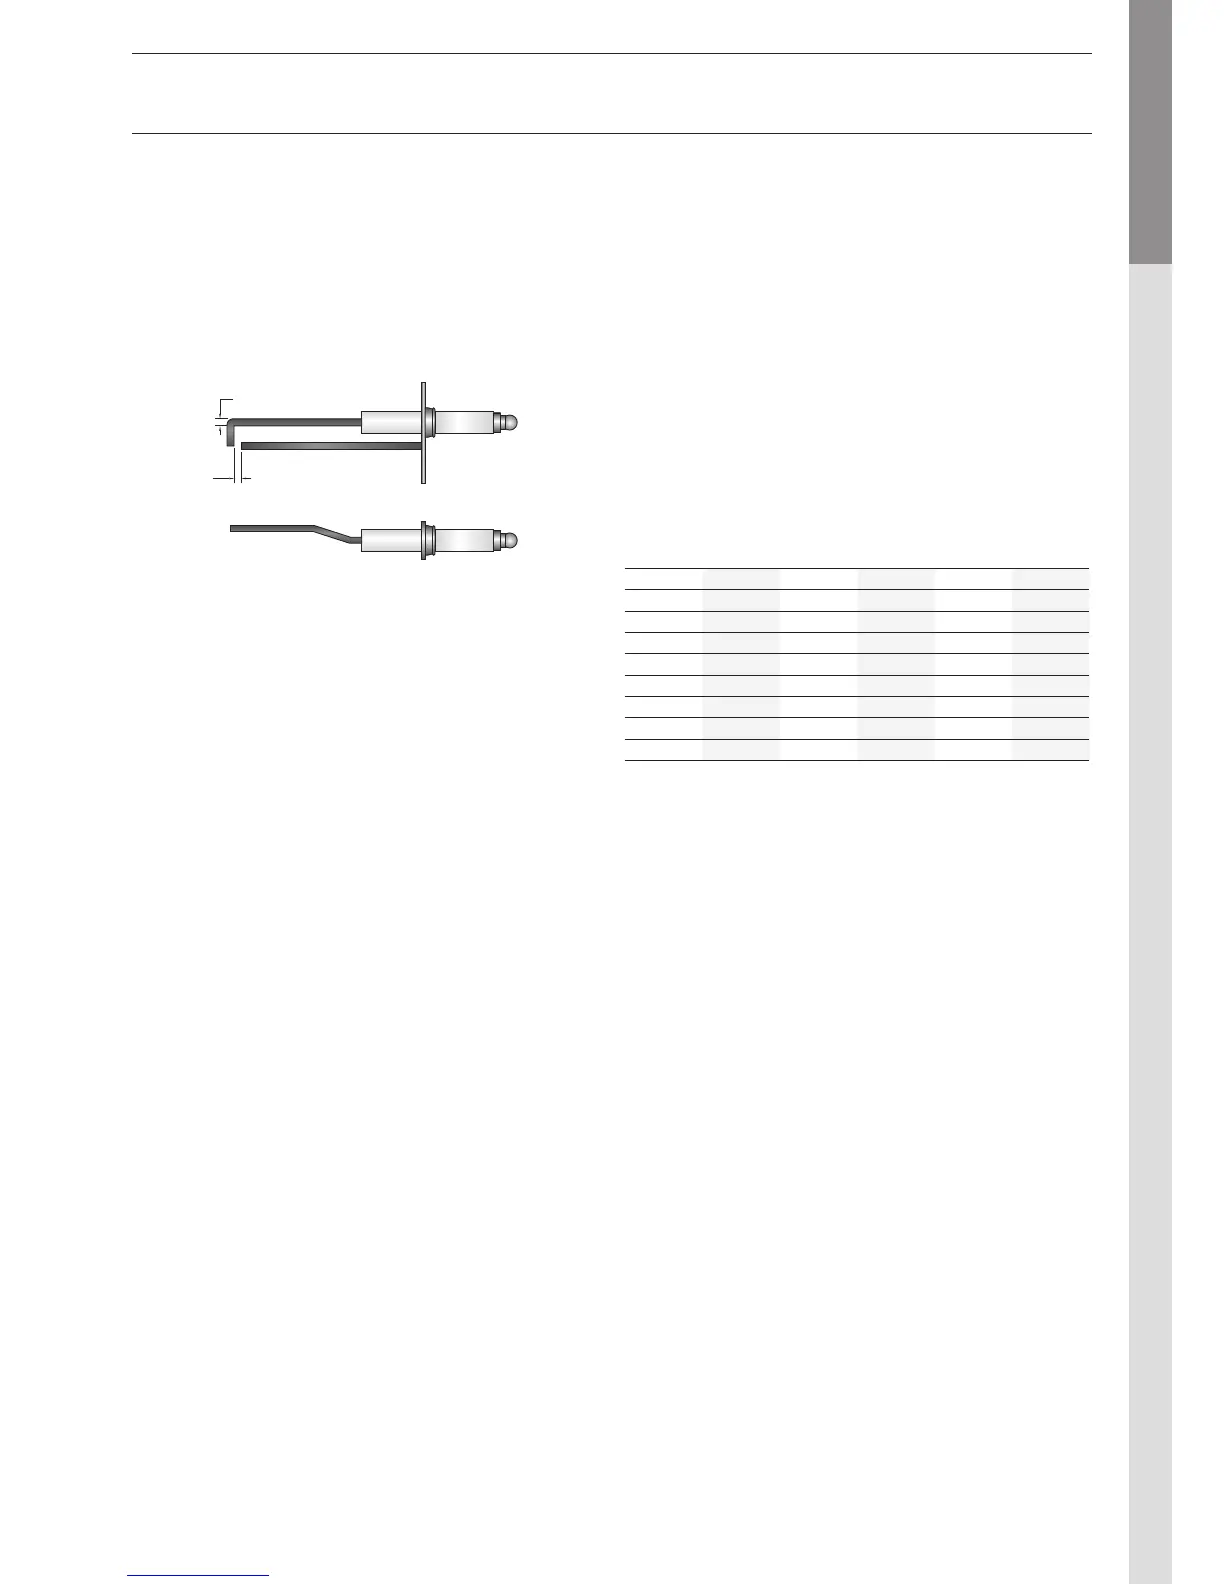
RESISTANCE OF THE TEMPERATURE SENSORS
DISASSEMBLING AND INSPECTING THE
ELECTRODE
- Dismantle the ignition cable.
- Unscrew the two retaining screws.
- Disconnect the earth connection from the electrode, but make
sure that the lock washer is fastened between the earth cable
and the electrode during assembly.
- Check the seals and replace them if needed, then reassemble
the electrode by following the above procedure in reverse
order.
CommISSIoNING AND mAINTENANCE
R Ω R Ω R Ω
- 20 98200 25 12000 70 2340
- 15 75900 30 9800 75 1940
- 10 58800 35 8050 80 1710
- 5 45900 40 6650 85 1470
0 36100 45 5520 90 1260
5 28600 50 4610 95 1100
10 22800 55 3860 100 950
15 18300 60 3250
20 14700 65 2750
DISASSEMBLING THE EXCHANGER
- Use the system’s drain valve to drain the water from the
central heating system.
- Let the appliance empty completely.
- Dismantle the electric connections located downstream from
the burner, as well as the NTCs.
- Dismantle the exchanger’s flow and return pipes.
Use caution while disassembling: residual water may escape
from the exchanger.
- Dismantle the condensate trap connection.
- Lift up the exchanger in a single piece, standing upright.
The exchanger detaches from its hook and is completely
released.
- Check the condition of the seals and replace them if necessary,
then reassemble the exchanger, following the same procedure
in reverse order.