2
1
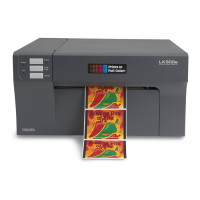
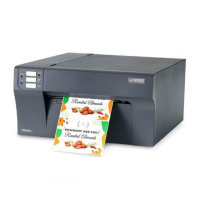
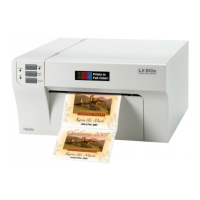
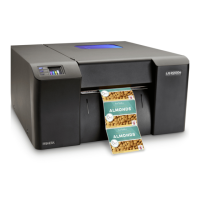
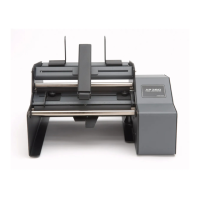
Unpacking Your Printer
The following items are contained inside the box:
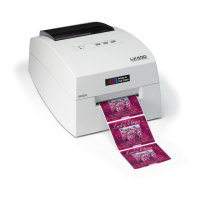
• Printer
• Power Adapter
• Separate Power Cord
• USB Cable
• Software Installer CD
• Color Ink Cartridge
• Starter roll of high gloss label stock
• Warranty Statement and Registration Card
• This manual and other printed information
Save the carton and packing materials. They will
come in handy when transporting the printer.
Installing the Software
Installing the PC Software
The Installer Disc has a menu that will guide
you through the process of setting up your
printer. Please refer to the following for more
information on each step:
1. Place the Installer CD in your CDRom
Drive. The Installer
application should auto-
matically launch in a few
moments. If it does,
proceed to Step 2. If it
does not automatically
launch, follow these steps:
• Double-click the My Computer Icon,
then double-click the icon of the
appropriate CD drive containing the
Software Installer disc.
• Double-click Installer.exe
2. In the Installer Application, click the
Standard Install button. Steps 3-8 are
shown below as well as on the monitor. You
may follow either to complete the setup.
Installing the Mac Software
1. Insert the Installation
CD-ROM in your system's
CD-ROM drive.
2. Double-click the CD-ROM
icon.
3. Double-click on the Color Label
Installer.mpkg file icon. Follow the
on-screen instructions.
4. The volume containing the operating
system should be selected for installation.
Click the Continue button. All components
will be installed to their proper locations.
5. Once the installation has completed,
click Quit.
3
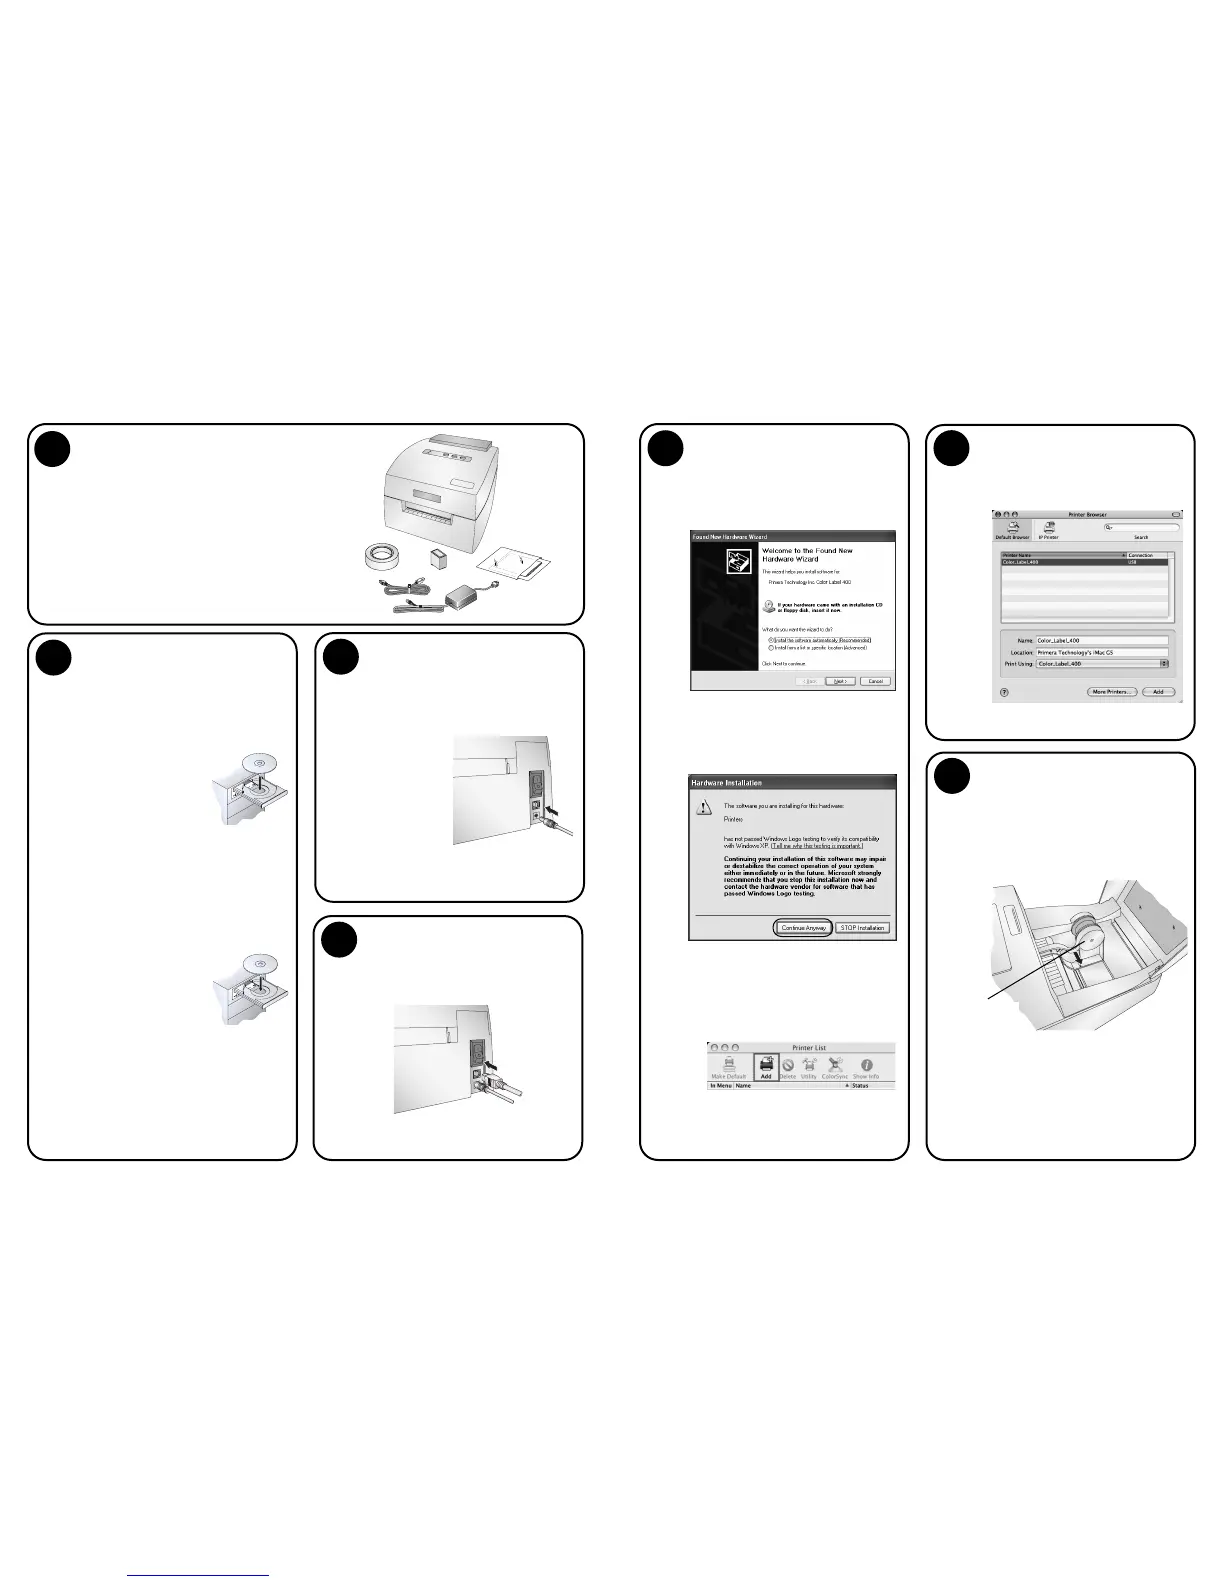
Connecting Power
4
Connecting the USB Cable
2. Click Add. Select the Color Label 400
from the list of available printers. Click
Add again.
Note: These instructions and screen captures are for use
with OS 10.4.x
4
1. Locate the power adapter supplied with
your printer.
2. Place one end of the adapter cord into
the power port on the rear panel of the
printer.
3. Plug the
power cord of
the adapter
into an avail-
able wall out-
let or surge
protecting
power strip.
Once the
power cord is connected, the printer can
be switched on and off using the power
switch.
(continued)
4
Connecting the USB Cable /
Installing the Printer Driver
Connect the printer to your PC or Mac with
your beige USB 2.0 Cable.
If you are using a PC:
After a few moments, Windows will tell you
it has found new hardware and is looking
for software to install it.
Select "Install the software automatically"
and click Next. You may see a notice like the
one shown here stating that the Printer has
not passed Windows Logo Testing. Click
Continue Anyway to continue installing the
printer driver for your Publisher.
If you are using a Mac:
When connecting USB to a Mac it may be
necessary to Add the printer via the Printer
Setup Utility.
1. Open the Printer Setup Utility located in
the Applications -Utilities folder.
Connecting the USB Cable
(continued)
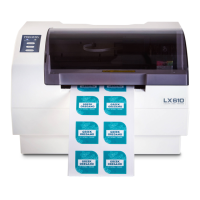
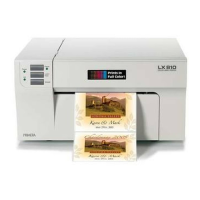
Installing Label Stock
5
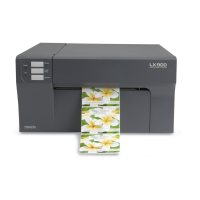
Your printer will utilize a wide variety of
paper label stock. See Section 6 in the Users
Manual for label and roll specifications.
1. Open the Top Cover.
2. Pull the spring loaded label stock guide
out far enough to fit the label roll.
Note: Remove any shipping tape from your label stock roll
to ensure that it can unroll freely, making certain
that no adhesive portion is exposed.
Label Stock Guide
 Loading...