Printed in USA 04/16 © 2016 8 540-537revG-EN
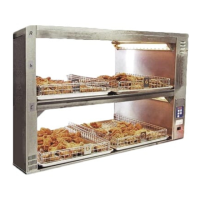
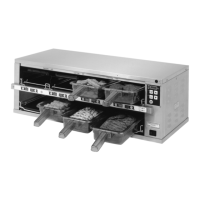
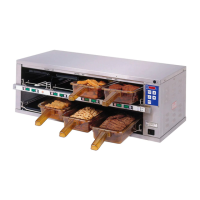
Extend Holding Bin
EHB Series
The unit has multiple shelves, each with both an upper and lower heater for each zone.
The heaters follow the default setpoints of the preset products for each pan
Each heater has a programmable range of 150° – 275°F (66° – 135°C).
Use the instructions below and the following steps to set the setpoint temperatures for each heater.
NOTE: Only applicable in stand-alone mode when not connected to Product Management sys-
tem, setpoint cannot be changed when connected to a kitchen manager.
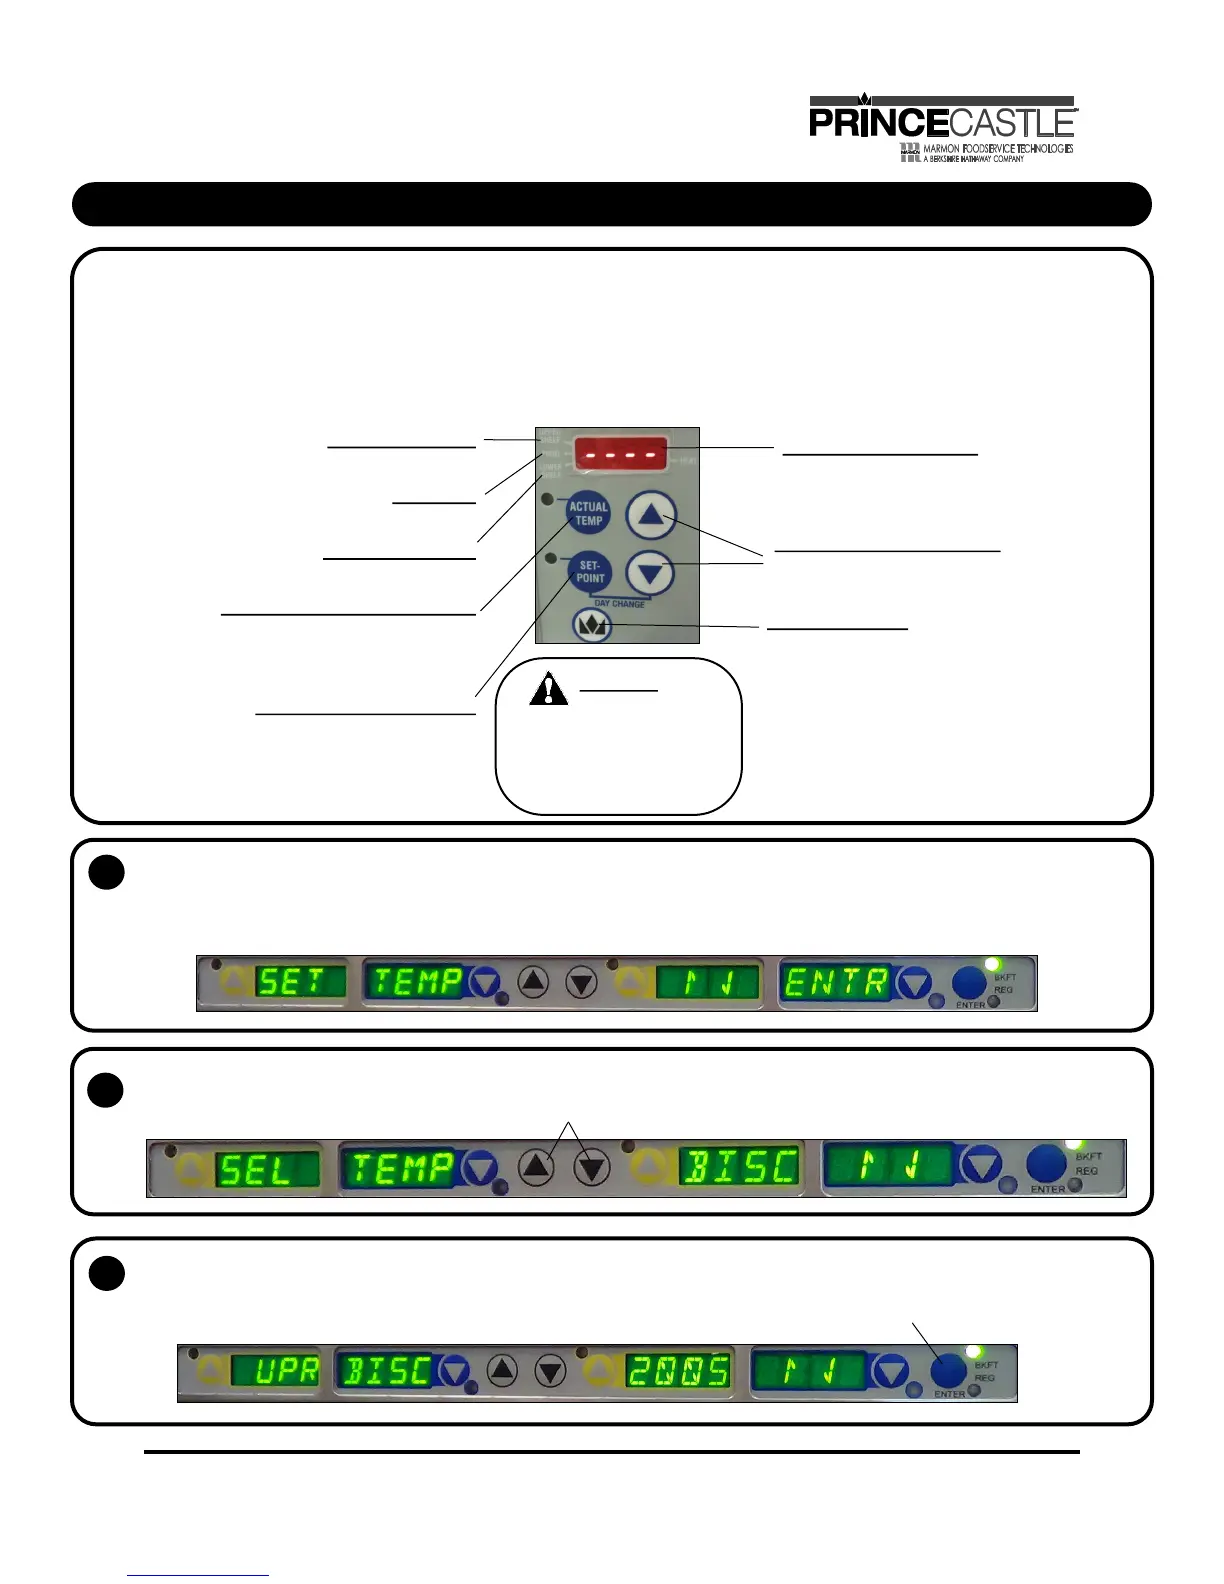
UPPER SHELF LED
This LED will be lit to indicate upper shelf is selected.
PROG LED
This LED will be lit to indicate unit is in Program Mode.
LOWER SHELF LED
This LED will be lit to indicate lower shelf is selected.
ACTUAL TEMP BUTTON and LED
Press to display actual temperature for the
selected heater. LED will be lit when actual
temperature is displayed.
SETPOINT BUTTON and LED
Press to display setpoint temperature of a
selected heater. LED will be lit when setpoint
temperature is displayed.
TEMPERATURE DISPLAY
A, B, C, D ( E, F ) = ZONES
Upper and Lower Heater
UP/DOWN ARROW BUTTONS
Used with other Buttons to scroll through heater
and temperature selections.
CROWN BUTTON
Press to enter temperature selections.
CAUTION:
DISPLAYED TEMPERATURES
ARE HEATER TEMPERATURES
AND DO NOT INDICATE ACTUAL
FOOD TEMPERATURES.
NOTE: To reset all calibrations to the factory set-
tings, turn the unit off, then press and hold the UP and
DOWN Arrow buttons simultaneously while turning the
unit back on. A “P” will appear in the display and all
calibrations will be reset to original factory settings.
Setting the Temperature
The SET PRODUCT TEMP menu is used to change the Hold and Cook-More times.
Press and hold the PRINCE CASTLE LOGO button on the button bar, then immediately press and hold the MENU/ENTER button on the
button bar until the display shows one of six programming menus…..(hold for about 5 seconds)
Use the UP or DOWN Arrow button to scroll to the SET TEMP ↑ ↓ ENTR (Set Product Temperature) menu.
1
2
Press and release the MENU/ENTER button to enter the programming menu, the display should then read SEL TEMP XXXX ↑ ↓
(the XXXX is where the product abbreviation is displayed). Use the UP and DOWN arrows to navigate to the desired product.
3
Press the MENU/ENTER button to select that product profile to update, the display will read SET UPR XXXX ###s↑ ↓ the XXXX
is where the product abbreviation is displayed, and ### is the temperature. Use the UP and DOWN arrows to set the temperature of
the upper heater of that zone. Confirm setpoint by pressing MENU/ENTER


 To Next Page