9
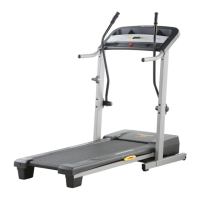
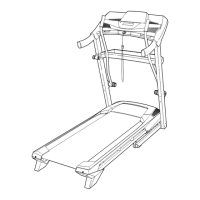
10. Make sure that all parts are properly tightened before you use the treadmill. Note: Extra hardware may
be included. Keep the included allen wrenches in a secure place; the large allen wrench is used to adjust the
walking belt (see page 17). To protect the floor or carpet, place a mat under the treadmill.
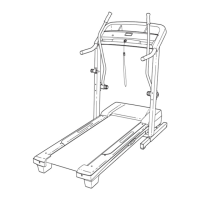
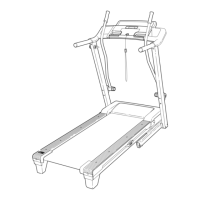
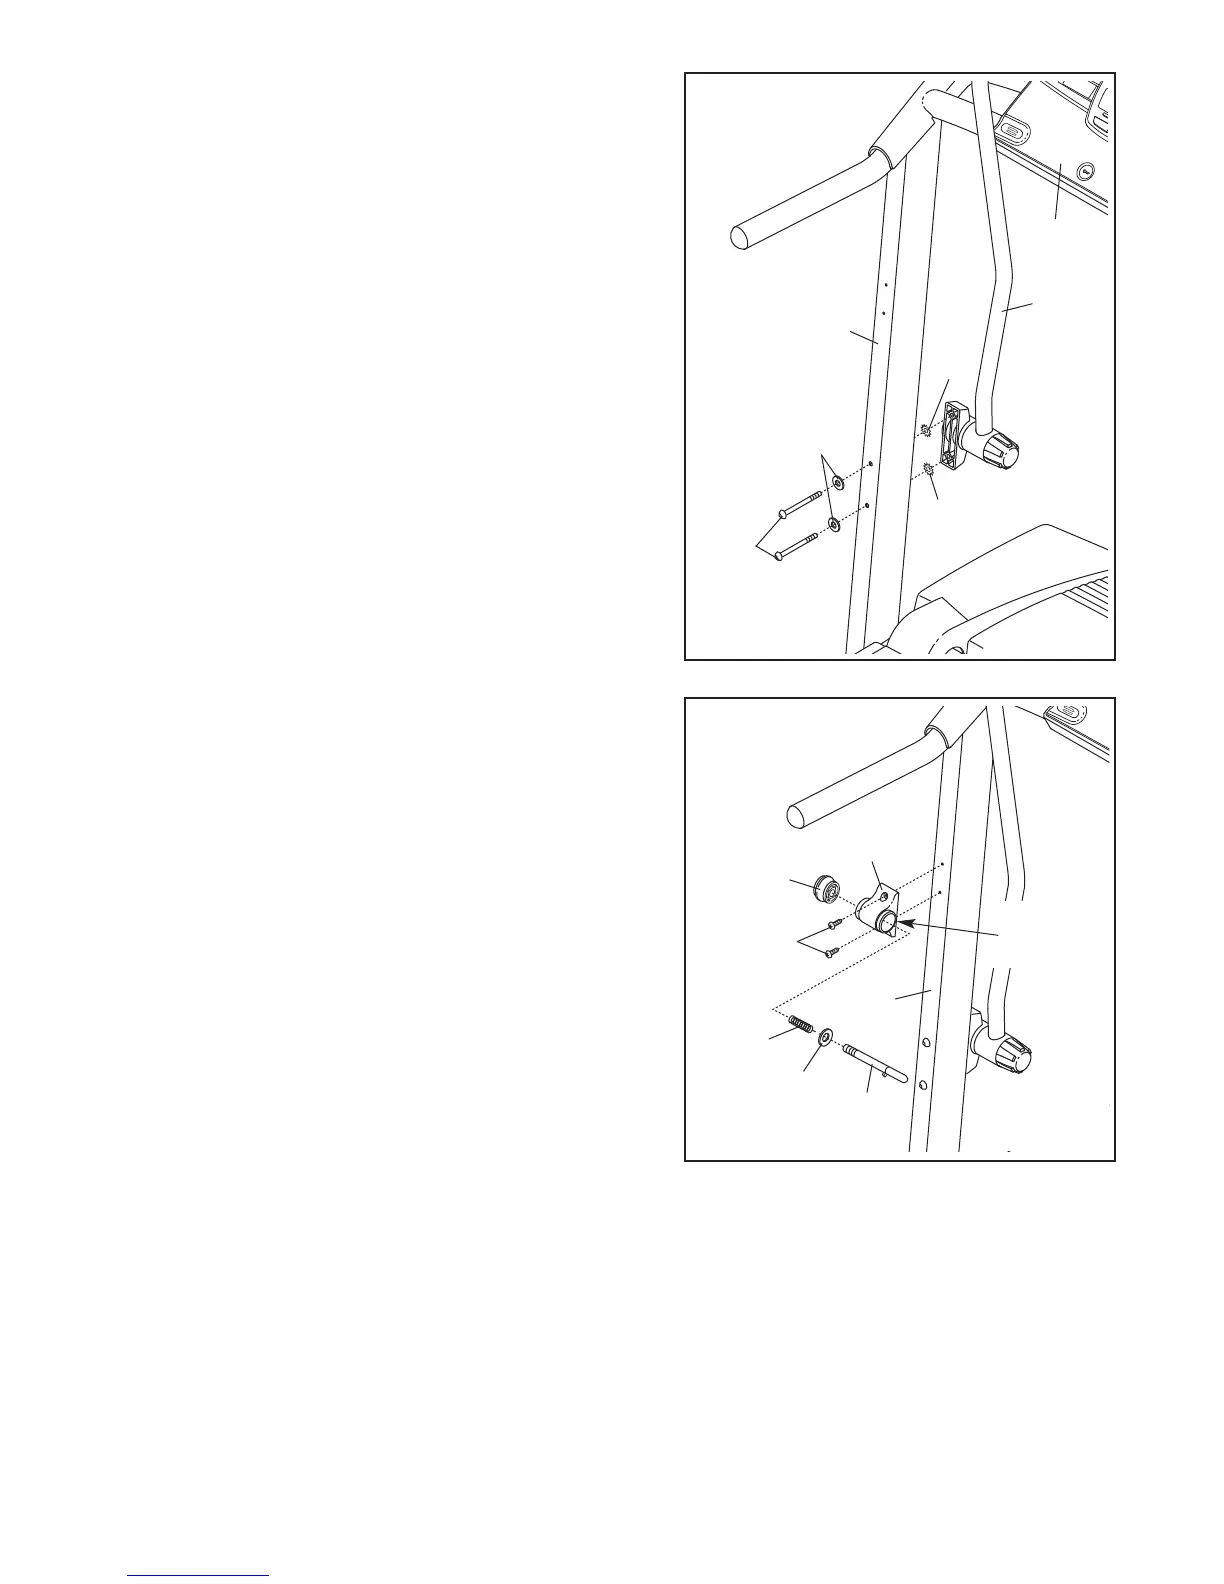
9. Attach the Latch Housing (29) to the left Upright (69) with
two 3/4” Screws (2).
Make sure that the large hole in
the Latch Housing is on the side shown.
Remove the knob from the pin. Make sure that the col-
lar and the spring are on the pin as shown. Then, in-
sert the pin into the Latch Housing (29), and tighten the
knob back onto the pin.
Pin
Collar
Spring
Knob
69
29
2
9
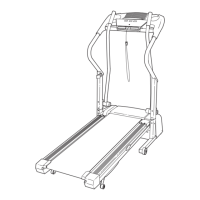
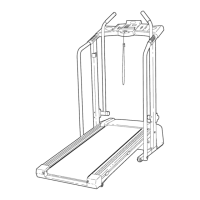
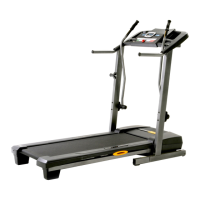
8. Attach the Left Upper Body Arm (24) to the left Upright
(69) with two 3 1/2” Bolts (45), two Washers (38), and
t
wo Star Washers (106) as shown. M
ake sure that the
Left Upper Body Arm is on the indicated side of the
C
onsole Base (47).
Attach the Right Upper Body Arm (not shown) to the right
Upright (not shown) in the same way.
24
47
106
106
38
69
45
8
Large
Hole
 Loading...