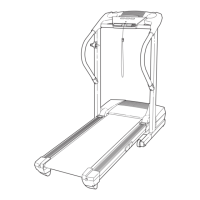
17
19
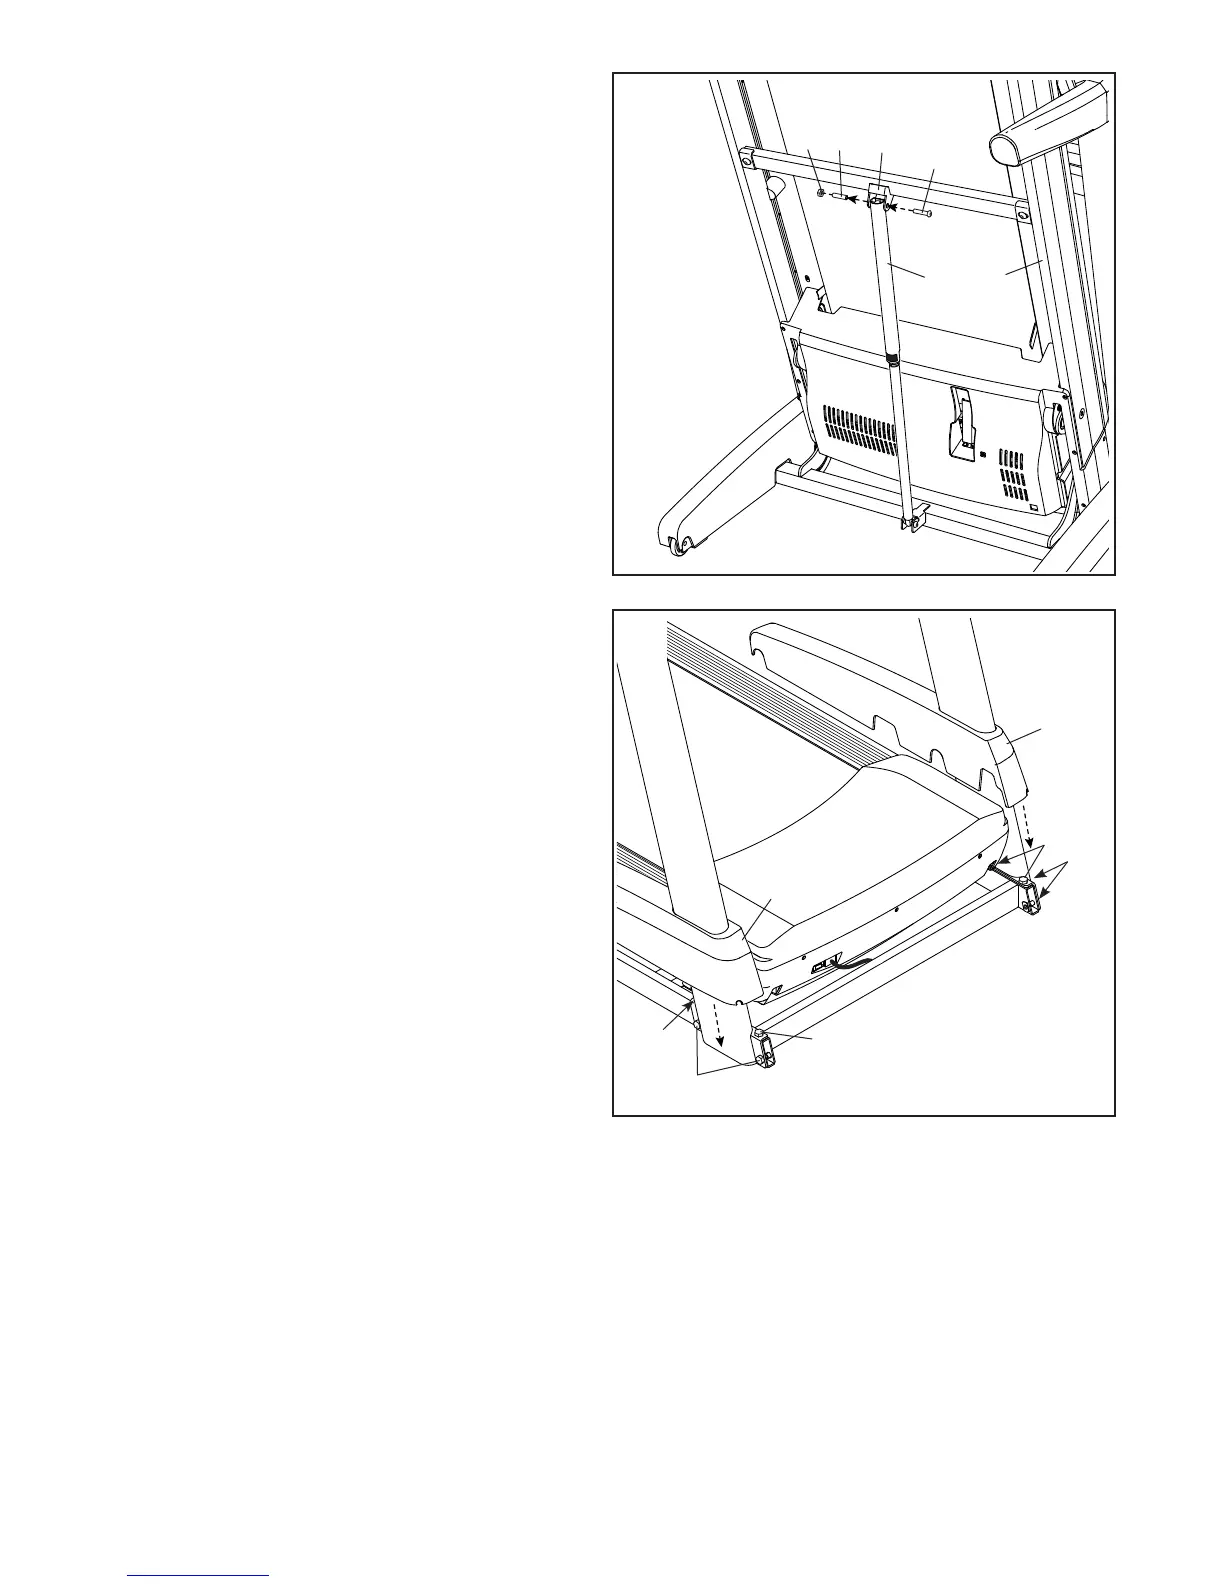
18. Remove the 5/16" Nut (9) and the 5/16" x 2 1/4"
Bolt (4) from the bracket on the Latch Crossbar
(78).
Align the upper end of the Storage Latch (56)
with the bracket on the Frame (52), and insert
the 5/16" x 2 1/4" Bolt (4) through the bracket
and the Storage Latch. This will push a spacer
(M) out of the Storage Latch; discard the
spacer.
Next, tighten the 5/16" Nut (9) onto the 5/16" x
2 1/4" Bolt (4). Do not overtighten the Nut; the
Storage Latch (56) must be able to pivot.
Then, lower the Frame (52) (see HOW TO
LOWER THE TREADMILL FOR USE on page 29).
78
4
9
56
M
18
52
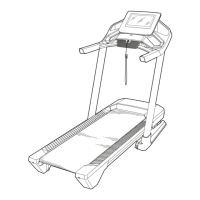
19. Firmly tighten the four 3/8" x 2 3/4" Screws (23)
and the four 3/8" x 1 1/4" Screws (20).
Next, slide and the Left and Right Upright Covers
(89, 90) down until they snap into place.
90
89
23
23
23
20
20