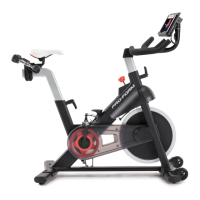
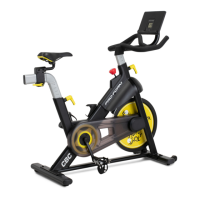
3. 3
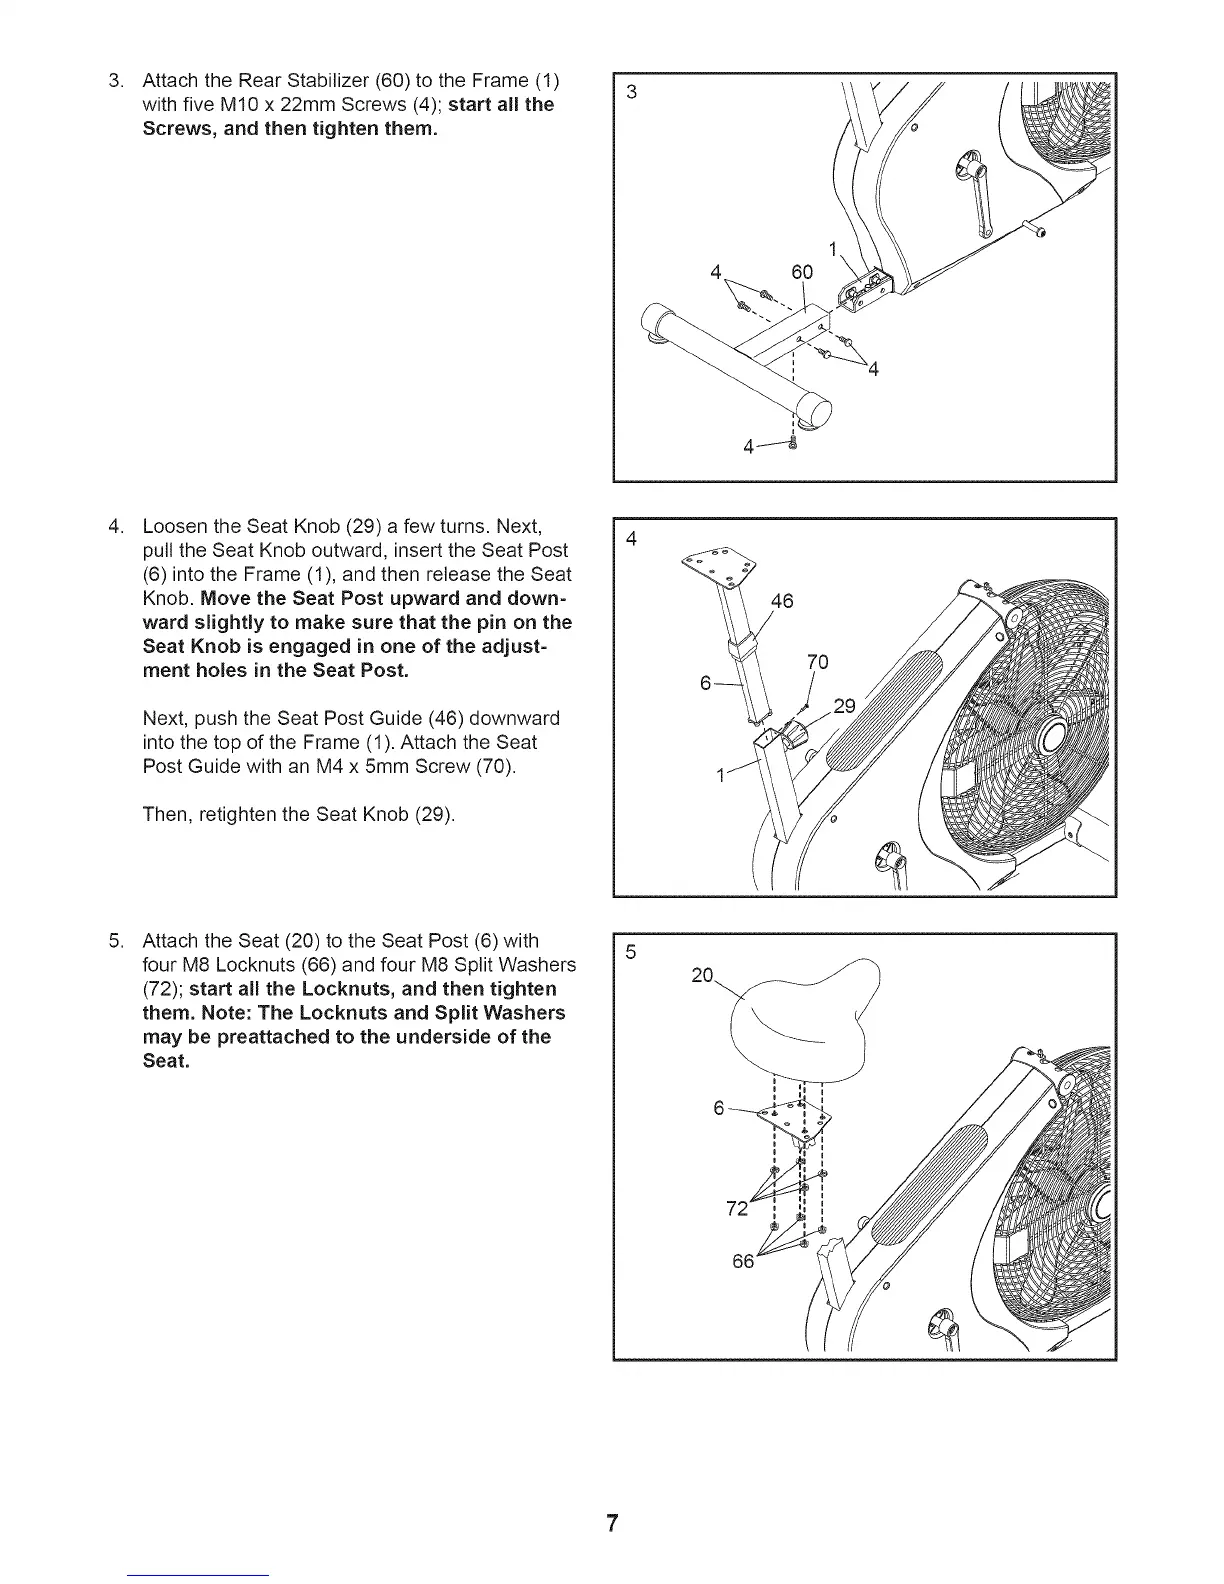
Attach the Rear Stabilizer (60) to the Frame (1)
with five M10 x 22mm Screws (4); start all the
Screws, and then tighten them.
60 1\
,
Loosen the Seat Knob (29) a few turns. Next,
pull the Seat Knob outward, insert the Seat Post
(6) into the Frame (1), and then release the Seat
Knob. Move the Seat Post upward and down-
ward slightly to make sure that the pin on the
Seat Knob is engaged in one of the adjust-
ment holes in the Seat Post.
Next, push the Seat Post Guide (46) downward
into the top of the Frame (1). Attach the Seat
Post Guide with an M4 x 5mm Screw (70).
Then, retighten the Seat Knob (29).
46
70
,
Attach the Seat (20) to the Seat Post (6) with
four M8 Locknuts (66) and four M8 Split Washers
(72); start all the Locknuts, and then tighten
them. Note: The Locknuts and Split Washers
may be preattached to the underside of the
Seat.
5
7