V1.0 PROCUT 30A Digi Plus Plasma Cutter 9085754
Visit www.princessauto.com for more information 17
1. Follow operating and set up instructions in the compressor’s manual
before connecting to the plasma cutter.
2. Connect the air hose to the air inlet (J) on the air regulator. Use
thread sealant to prevent air leaks.
3. Install an air dryer on the compressor air hose to prevent moisture
from reaching the plasma cutter. Remember to compensate for the
slight loss of air pressure the air dryer will cause.
SET UP PROCEDURE FOR PLASMA CUTTING
WARNING! The plasma cutting unit is ‘live’ once turned on and
can cause serious electrical and burn injuries if mishandled. Take
all precautions listed in this manual when handling the plasma
cutting unit.
Please install the machine strictly according to the following steps:
1. Connect the earth-lead to the output terminal (E) of the machine and
tighten.
2. Connect the plasma torch to the plasma cutting machine. Insert the
plasma torch cable connector into the torch connection (F) and screw
hand tight. Do not bend the pins inside the torch connector.
3. Connect the compressed air supply to the air inlet (J) located on the
air regulator. Turn on the air supply.
4. Connect the machine to the correct power supply and switch on the
machine using the ON/OFF switch (H).
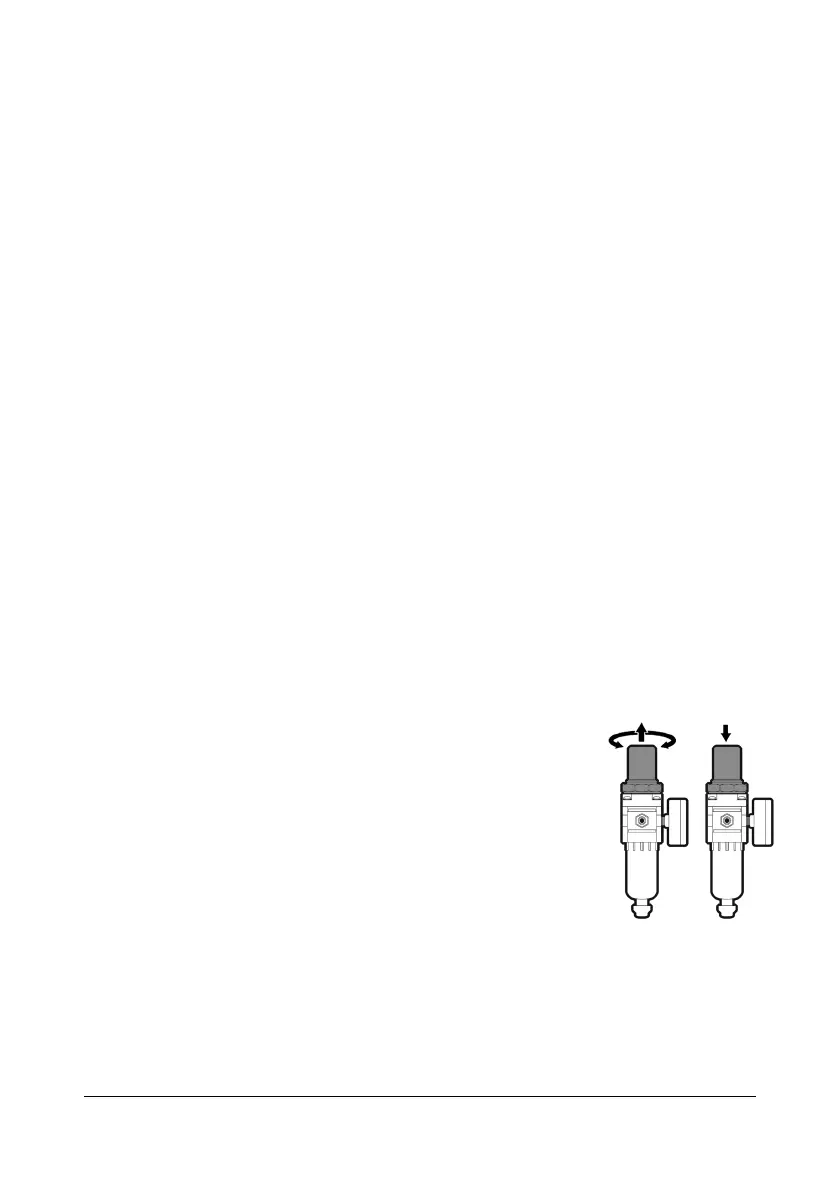
5. Determine if the air is flowing. Press air test button
(D). The indicator will light up.
Lift the air pressure regulator knob and turn it until
the reading is 75 PSI (0.5 MPa) on the air pressure
gauge (L). Push the knob down to lock the setting.
6. Attach the clamp to the workpiece. Make sure the
contact points are touching bare metal.
7. Select the cutting mode.
7.1 Standard – Press the button and the standard cutting mode
indicator will light up (P).
7.2 Perforated – Press the button again and the perforated cutting
mode indicator will light up (P). The machine is now set up to cut
materials that are perforated.