9085754 PROCUT 30A Digi Plus Plasma Cutter V1.0
20 For technical questions call 1-800-665-8685
PREPARATION
1. Check that all personal protective gear is in place and properly fitted.
(See Safety – Personal Safety).
2. Check that work area preparations are in place (See Safety – Work
Area).
3. Check that all cables and hoses are connected in the correct manner.
4. Check that the plasma cutter unit is working.
4.1 Plug the plasma cutting unit power cord into an outlet that meets
the specified power requirements (see Specifications).
4.2 Press the power switch to turn the plasma cutter unit ON. The fan
should start up and the power indicator will light up.
5. Set the air pressure switch to allow air flow through the torch with the
air test function. Confirm the air flow is constant and does not sputter.
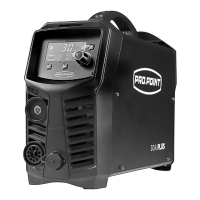
ATTACH THE GROUND CLAMP
1. Clean off dirt, oil, rust, scale, oxidation and paint from the workpiece
where the ground clamp will be attached.
2. Attach the ground clamp to the workpiece (Fig. 4). Connect the ground
clamp directly to the workpiece and as close to the cutting area as
possible to prevent the current from traveling along an unexpected path,
creating an electric shock or fire hazard.
3. If this is not possible, connect the
ground clamp to metal attached to the
workpiece, but is not electrically
insulated from it. The metal must be
of equal or greater thickness than the
workpiece when using this alternate
attachment point.
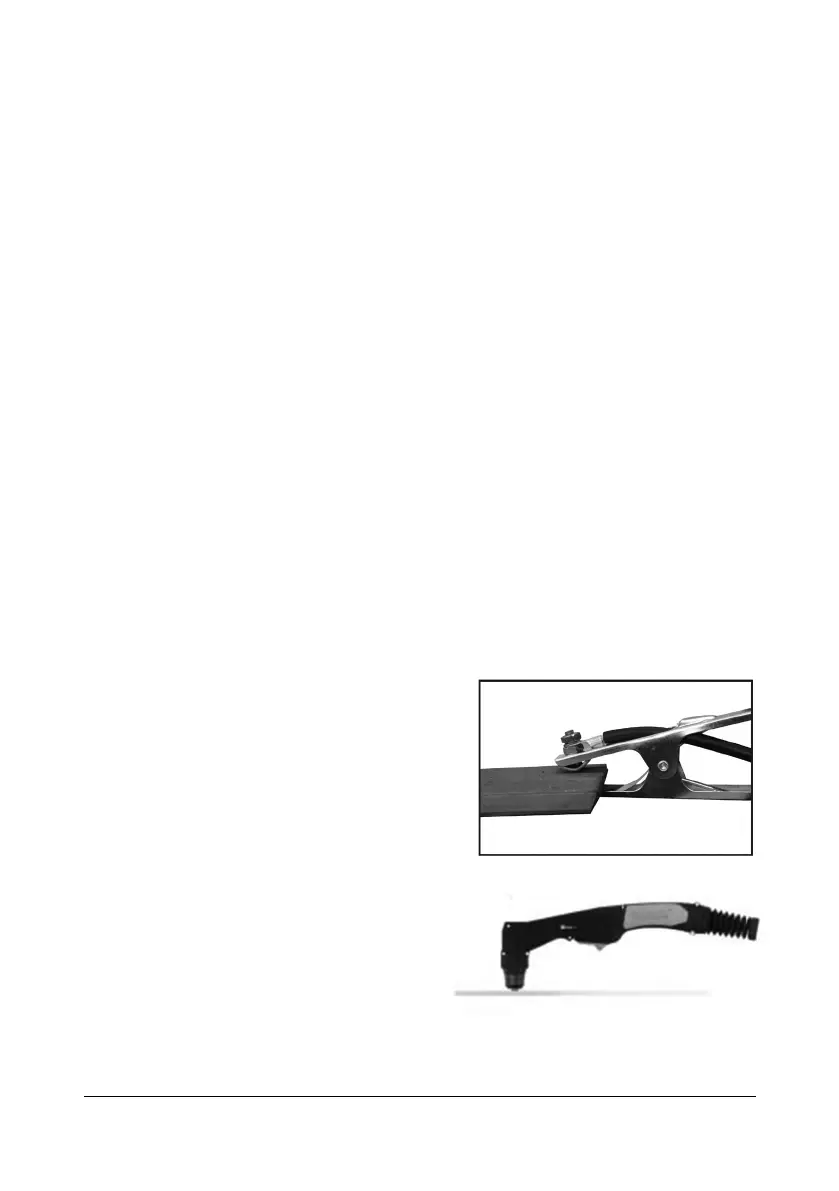
PLASMA CUTTING
1. Place and hold the torch vertical at
the edge of the workpiece. Ensure
the nozzle is parallel with the
surface and not at an angle (Fig. 5).