©2022 Pro-Vision Solutions, LLC. Page 15 of 56
Analog HD Side Camera Installation
The AHD Side Camera (Kit P/N: DVR-920, Camera P/N: PC-1920) is designed to
provide coverage around the outside of the vehicle. The camera is waterproof rated IP-
67 and has a wide-angle lens that can capture a wide area around the outside of the
vehicle. The camera is designed to be mounted directly to a vehicle exterior body panel.
The camera has six (6) infrared (IR) LED’s that provide illumination during low light/dark
conditions. The camera also has a waterproof microphone built into the camera housing.
The camera lens has a wide 145° horizontal and 80° vertical coverage.
Mounting Locations:
The camera’s wide field-of-view allow flexible mounting in either a down facing
or rear facing configuration while still providing very good coverage of the side
of the vehicle. For down facing general recording applications, the camera is
typically mounted directly to the roof or side of vehicle body near the roof
facing outward perpendicular to the direction of vehicle travel at a downward
angle. The camera should be mounted as close to the outside edge of the
roofline as possible to prevent blind spots directly next to the vehicle. For rear
facing applications utilizing the camera to cover blind spots in combination
with a monitor, the camera should be mounted as far toward the front of the
vehicle as possible. When mounting to the vehicle, consider spray and debris
from the tires could affect the camera image, so it is recommended to mount
the camera a minimum of 3 feet off the ground to help prevent this. Always
check the mounting structure under the camera for proper access to route the
cable.
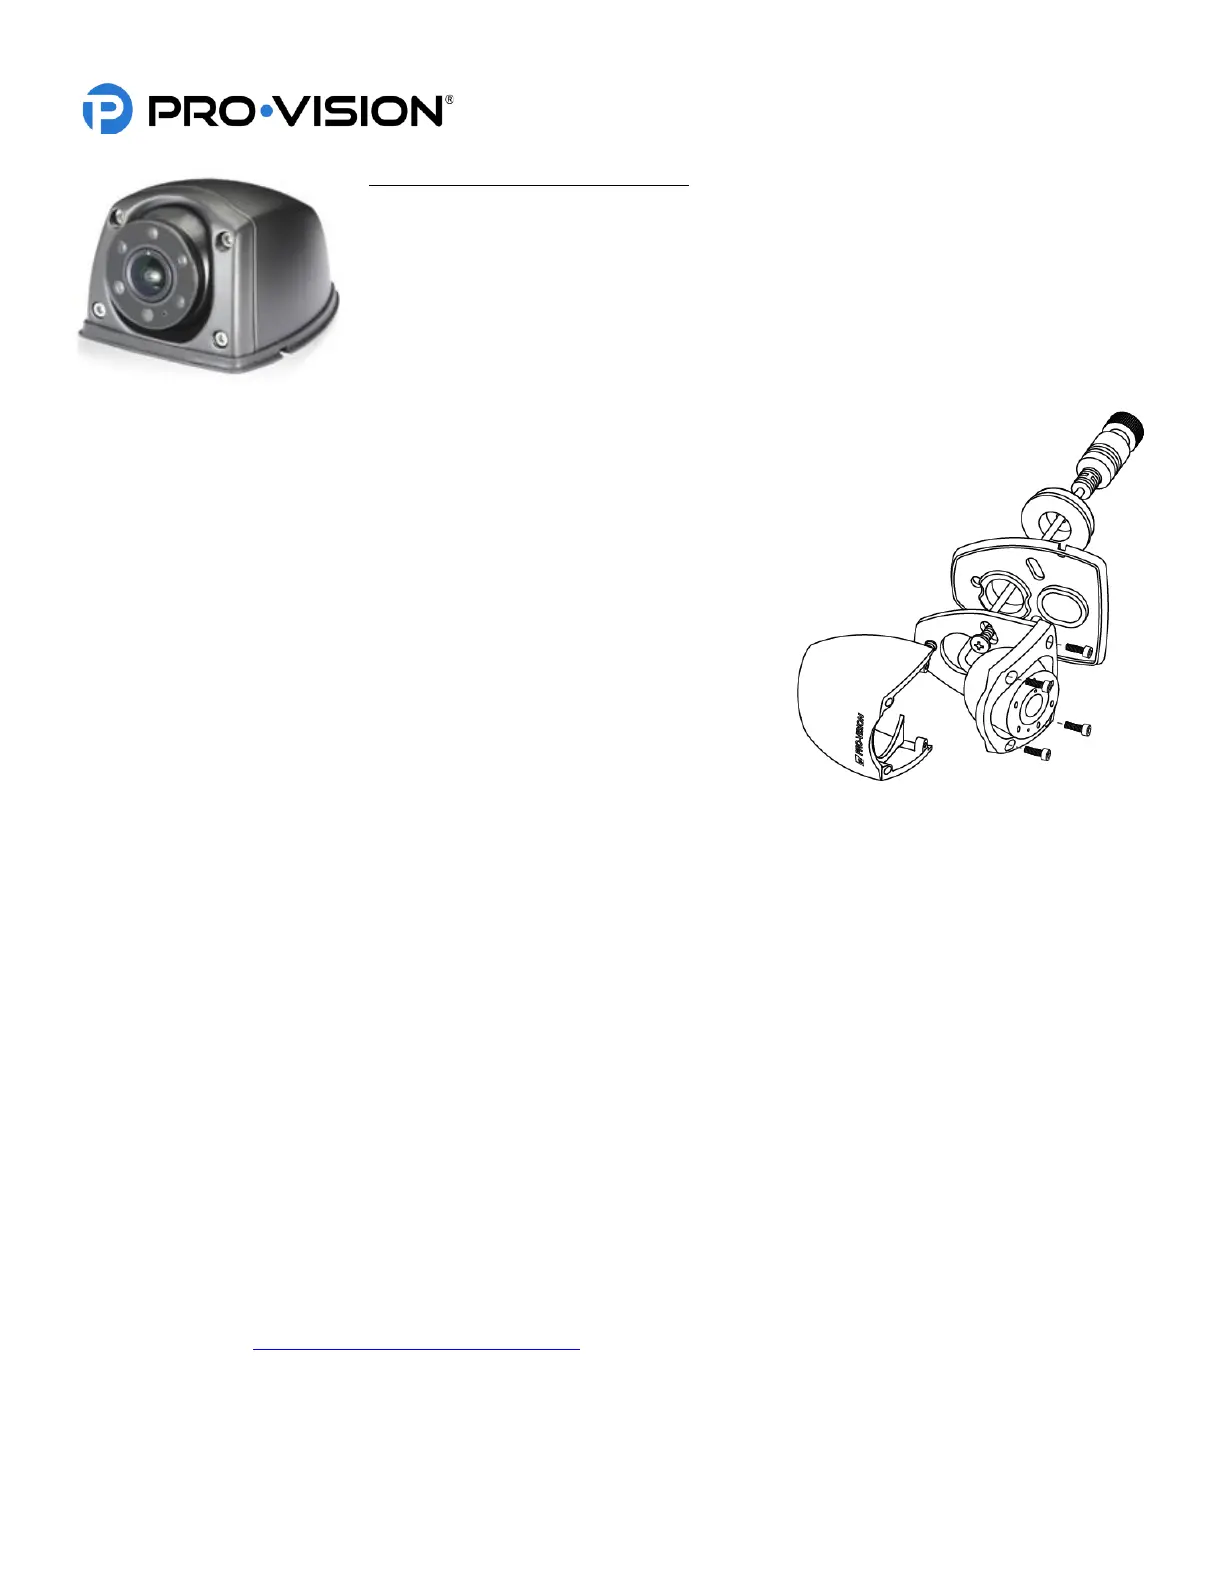
Installation:
1. Remove the four (4) Allen head cover mounting screws from the camera and then remove the camera ball and
cable.
2. With just the camera base and gasket, hold in desired mounting location and mark the three (3) camera base
mounting screw locations and the center of the cable exit hole in the base.
3. It is recommended to power on the DVR unit, temporarily connect the camera to it, set the camera in the
mounting base (with gasket attached), and observe that the view in the desired mounting location is satisfactory
before permanently attaching the camera and routing the cable(s).
4. Before drilling holes, ensure there is adequate clearance for mounting screws and cable routing clearance.
5. If you are certain of the cameras mounting location, drill the center cable hole with a 3/4” or 7/8” drill bit, and it is
also recommended to predrill the three (3) mounting screw holes with an 1/8” drill bit.
6. Route the camera cable through the base and gasket, and then through the cable hole in the mounting surface.
7. Use the mounting hardware provided to attach the camera base to the mounting location.
8. Attach the camera cover to the camera with the four (4) Allen head mounting screws. Leave the screws slightly
loose until the camera is aimed.
9. Power on the DVR unit and connect to the Wi-Fi to view the live camera image to properly aim it on the view
page. (See Viewing Cameras on a Smart Device for connection details)
10. After the camera is aimed, tighten the four (4) Allen head mounting screws to lock the camera aim.
 Loading...