ENGLISH
13
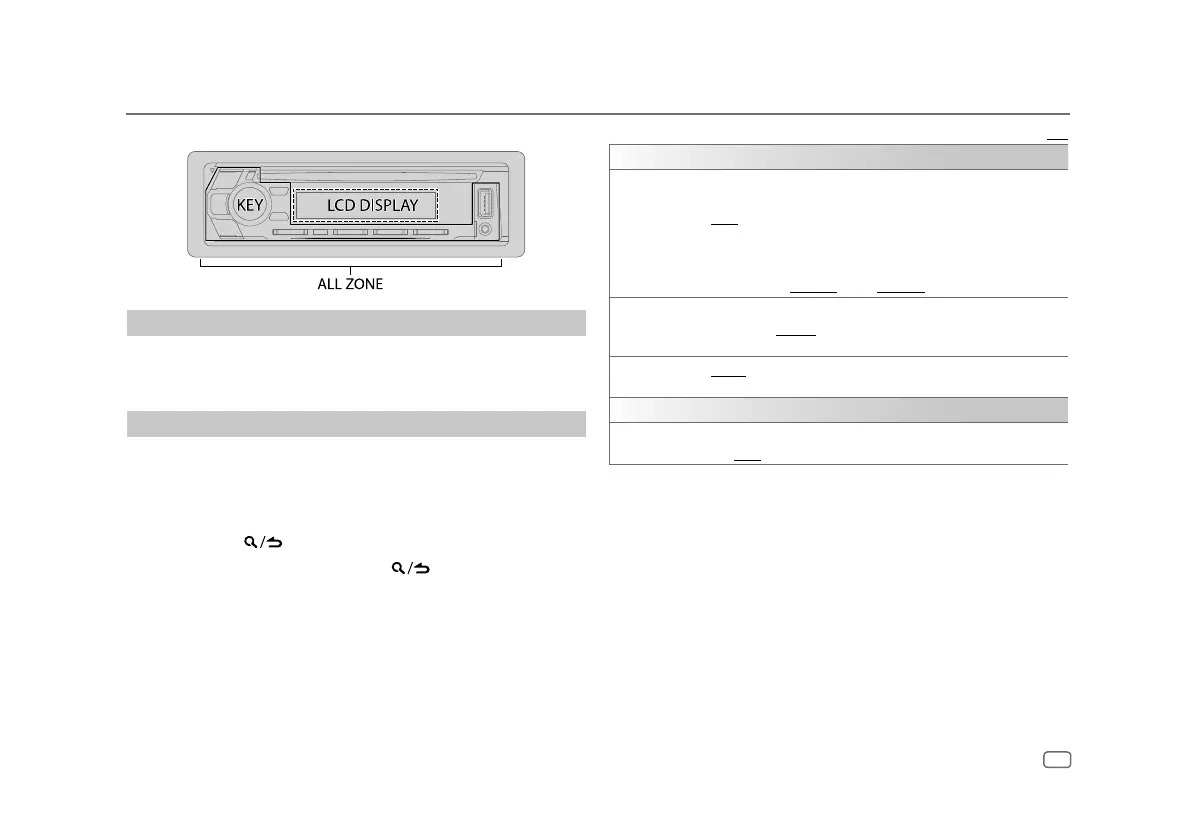
Display Settings
Zone identification for brightness settings
Set the dimmer
Press and hold DISP (DIMMER) to turn on or off the dimmer.
• Once you press and hold this button,
[DIMMER]
setting will be overwritten.
Change the display settings
1
Press the volume knob to enter
[FUNCTION]
.
2 Turn the volume knob to select an item (page 14), then press the
knob.
3 Repeat step 2 until the desired item is selected/activated or follow the
instructions stated on the selected item.
4 Press and hold to exit.
To return to the previous setting item, press
.
Default: [XX]
[DISPLAY]
[DIMMER] Dims the illumination.
[ON]: Dimmer is turned on.
[OFF]: Dimmer is turned off.
[DIMMER TIME]: Set the time to turn on dimmer and to turn off dimmer.
1
Turn the volume knob to adjust the [ON] time, then press the knob.
2
Turn the volume knob to adjust the [OFF] time, then press the knob.
Default: [ON]: [6:00PM] ; [OFF]: [6:00AM]
[BRIGHTNESS]
1
Select a zone. (See the illustration on the left column.)
2
[LVL00] to [LVL31]: Select your preferred brightness level for the selected
zone.
[TEXT SCROLL] [ONCE]: Scrolls the display information once. ; [AUTO]: Repeats scrolling at
5-second intervals. ; [OFF]: Cancels.
[CLOCK]
[CLOCK DISPLAY] [ON]: The clock time is shown on the display even when the unit is turned
off. ; [OFF]: Cancels.