12
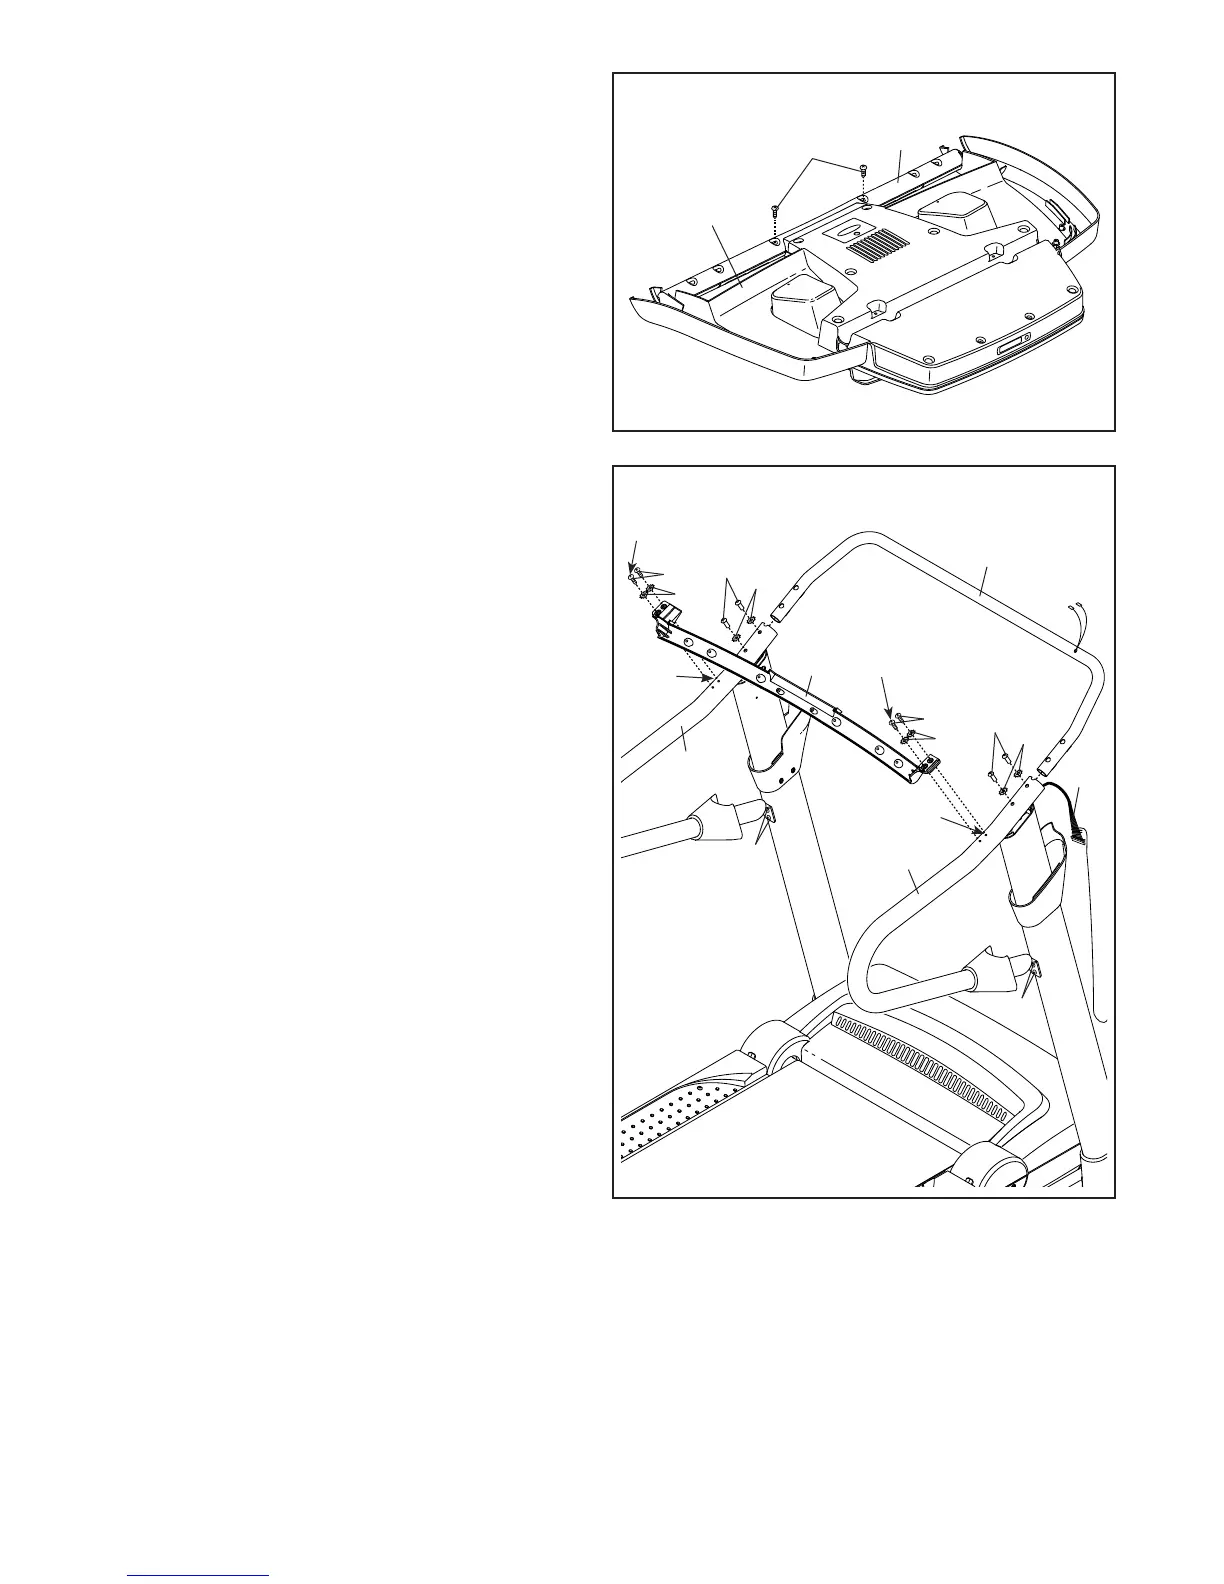
11. IMPORTANT: To avoid damaging the
Crossbar (107), do not use power tools and
do not overtighten the #10 x 3/4" Screws (2).
There may be two Screws (A) in the Handrails
(82, 83) in the indicated locations. If there are,
remove and discard them.
Orient the Crossbar (107) as shown. Attach the
Crossbar to the Handrails (82, 83) with four #10
x 3/4" Screws (2) and four 1/4" Star Washers
(12); do not tighten the Screws yet.
Insert the Console Frame (102) into the
Handrails (82, 83). Attach the Console Frame
with four 1/4" x 1" Screws (9) and four 1/4" Star
Washers (12); do not tighten the Screws yet.
Be careful not to pinch the Upright Wire (87).
Tighten one #10 x 3/4" Screw (2) in each end
of the Crossbar (107); do not overtighten
the Screws. Then, tighten the other #10 x 3/4"
Screw (2) in each end of the Crossbar.
Tighten the four 1/4" x 1" Screws (9) and the four
#8 x 3/4" Screws (1).
11
107
12
9
2
83
102
82
87
9
1
12
12
12
2
1
First
A
A
First
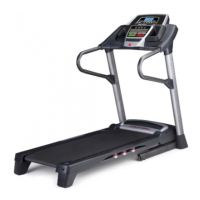
10. Set the console assembly face down on a soft
surface to avoid scratching the console
assembly.
Remove the Screws (A) attaching the Crossbar
(107). Next, lift off the Crossbar. Discard the
Screws.
10
107
Console
Assembly
A
 Loading...