Do you have a question about the ProForm 831.285870 and is the answer not in the manual?
Read all instructions, ensure proper placement, wear appropriate attire, and follow usage restrictions.
Owner ensures user information, restricts use by children/pets/weight limits, and advises on pain/dizziness.
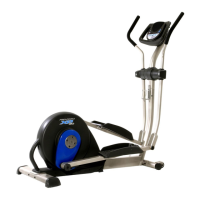
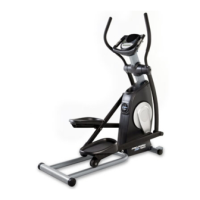
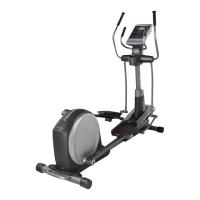
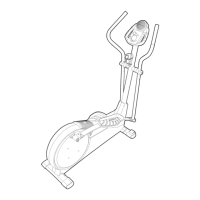
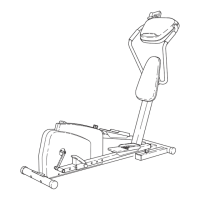
Familiarize yourself with the REBEL's parts and features before operation, consult helpline if needed.
Attach the Stabilizer (68) to the Base (1) using M10 x 75mm Bolts (66) and Nylon Locknuts (54).
Connect Rail Stabilizer (37) to Base (1) and attach Upright (2) with M10 x 68mm Bolts (67).
Connect Extension Wire (49) to Reed Switch Wire (48) and attach Handlebar (7) to Upright (2).
Connect Seat Bar Wire (88) to Handlebar Wire (87) and attach Handlebar (7) with screws.
Install Console (5) by lubricating shaft, sliding into Seat Bar (6), securing with screw, and connecting wires.
Attach Seat (43) to Seat Bar (6) with screws and secure Seat Cover (35) with screws.
Connect Extension Wire (49) to Handlebar Wire (87) and attach Handlebar (7) to Upright (2) with bolts.
Attach the Backrest (40) to the Upright (2) using M6 x 16mm Seat Screws (28).
Assemble Pedal Legs (3, 70) with Toe Pedals (36, 89) and attach to Crank Arms (10) with bolts.
Install two 'AA' batteries into the Console (5) battery clip, ensuring correct polarity.
Ensure all parts are tightened and place a mat under the REBEL to protect the floor.
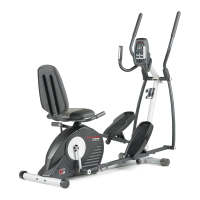
Learn how to convert the REBEL between recumbent bike and elliptical crosstrainer modes.
Instructions for mounting and pedaling the REBEL in elliptical mode for effective motion.
Adjust toe pedal position and control workout resistance using the resistance knob.
Understand the console display, modes (Speed, Time, Distance, Calories), and pulse sensor.
Operate the console, measure pulse, reset display, and understand the automatic power-off function.
Troubleshoot console issues by checking batteries and wire connections.
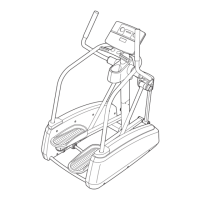
Step-by-step guide on how to remove the left and right side shields for access.
Adjust the reed switch for accurate console feedback by aligning magnet and switch.
Adjust the resistance strap and drive belt for proper tension and smooth operation.
Tighten loose crank arms to prevent wear by adjusting the slotted crank nut.
Determine proper exercise intensity using heart rate zones based on age and condition.
Understand how to target fat burning or cardiovascular improvement through exercise intensity.
Follow guidelines for a proper workout including warm-up, exercise period, and cool-down.
Plan your workout schedule for maintaining or improving condition, with rest days.
Learn basic stretches for hamstrings, calves, quadriceps, and inner thighs.
Find contact numbers for assembly help, missing parts, repair service, and ordering replacement parts.
| Brand | ProForm |
|---|---|
| Model | 831.285870 |
| Category | Elliptical Trainer |
| Language | English |