10
LOCKING MOUNTING ASSEMBLY DETAIL
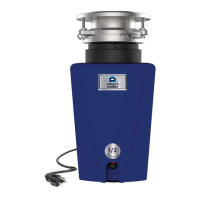
Attach disposer onto the Upper Mount Ring by aligning the three mount tabs on the Lower Mount
Ring with the slide-up Ramps on the Upper Mount Ring and rotating counter clockwise. See
Below.
The lower mounting ring (which is part of the disposer) has 3 tabs that
grab the mounting ring ramp (4A). (A) points to the Upper Mount Ring.
(B) is the tab that slides up onto the “Ramp” (D). (C) is the “Ear” that
is used to help rotate the Lower Mount Ring. Use a screwdriver for
leverage if needed.
A
C
B
D
E
D
Lift and turn the Lower Mount Ring counter clock-wise until all three
mount tabs lock over the Ridges (F) on the slide-up Ramps (D) of the
Upper Mount Ring (4B).
As the Lower Mount Ring is turned counter clockwise each tab slides
up onto the Upper Mount Ring Ramp (D) and locks in position over the
Ridges (E).Use a screwdriver or hammer for leverage if needed (4C).
If a disposer needs to be removed, tapping on the Ear clockwise with a
hammer will easily loosen the Lower Mount Ring.
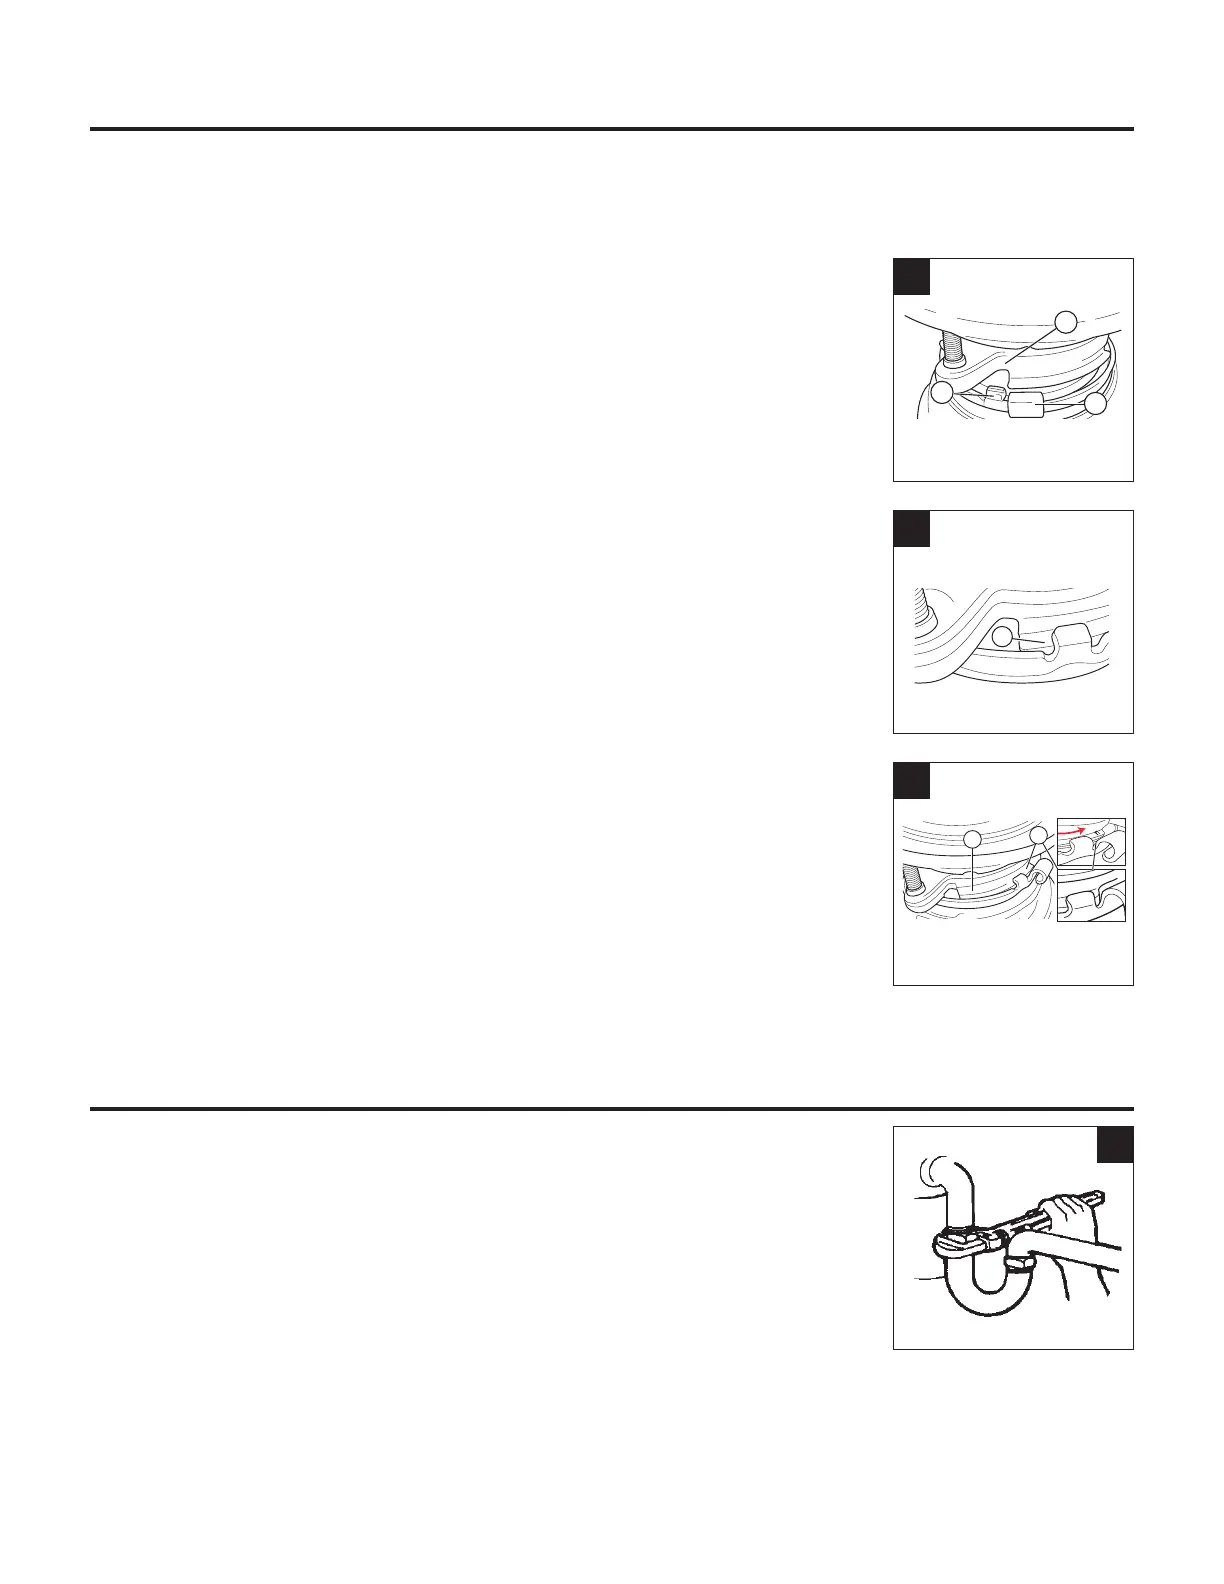
DISCHARGE ELBOW & DISHWASHER CONNECTIONS
1. Connect bottom of the elbow by tightening the slip nut (see 5A).
If you are connecting to a dishwasher, (see 5B). If not, make sure all
plumbing connections are tight and in accordance with all plumbing
codes and ordinances. Run water and check for leaks.
5A
4A
4B
4C