16
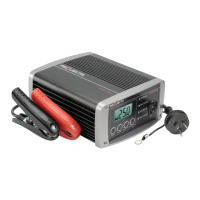
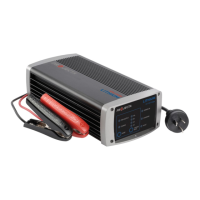
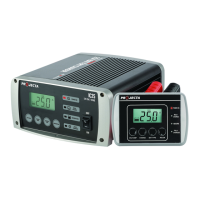
STEP 7 – CHARGING
During normal charging the LCD screen will default to the VOLTS display; to view input
current press the VOLTS/AMPS button.
During Equalisation and Recondition, the LCD screen will display rapid horizontal lines.
STATUS LCD DISPLAY
Equalisation (Calcium Only)
Recondition (Auto) – – –
– – –
– – –
Recondition (Manual) Rapid horizontal (scrolling) lines
The LED indicators will also illuminate and flash various signals, indicating the different
stages of charging. Refer to page 10 for a discription of LED signals.
When the battery is fully charged, the green FULLY CHARGED LED will illuminate. This
is known as the float stage and the charger can be left connected to the battery without
over charging.
If the red POWER LED is flashing, or the LCD screen displays an error signal, there
is a fault; refer to the “Fault & Errors” explanation on page 18 of this manual.
STEP 8 – DISCONNECTION
Ensure the 240V mains switch is turned off and the charger is disconnected from
the 240V mains power.
Battery out of vehicle
Remove the BLACK lead (battery clip) from the battery.
Remove the RED lead (battery clip) from battery.
Battery in vehicle
Remove the chassis connection.
Remove the battery terminal connection.
STEP 9 – CHECK THE ELECTROLYTE LEVEL (CALCIUM MODE ONLY)
Check the electrolyte level and top up if required.
 Loading...