PRC2402M User Manual v1.1
Page 8 / 49
Step 6. Wait for the Pairing sequence to complete, once successful, both the Mesh
Router LED and the Mesh Node LED will be solid blue
Option 2: Via Web Browser
Step 1. Connect your computer to the existing Mesh System, launch a web browser and
access via any one of below options:
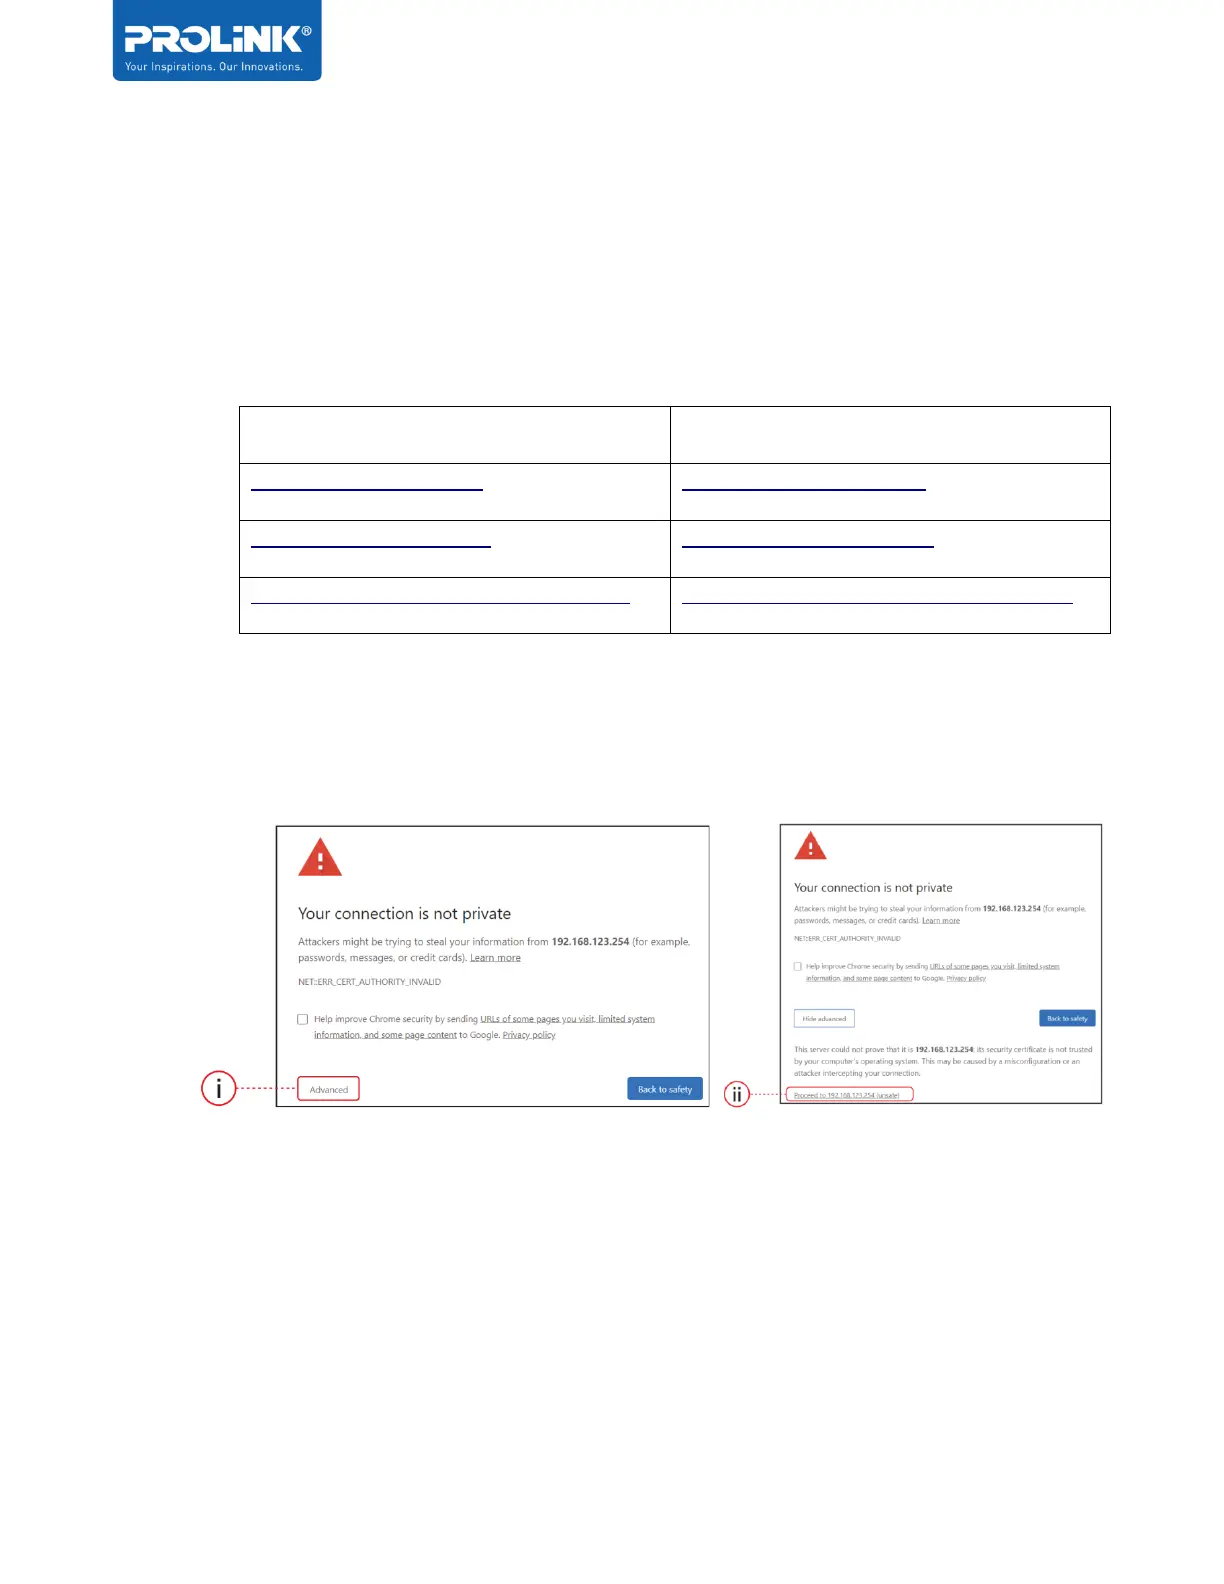
Note for https, when you are prompted with ‘Your Connection is not private’ page,
click on (i) Advanced, followed by (ii) Proceed to 192.168.123.254 (unsafe), as per
below screenshot example:
Step 2. Login and navigate to Wi-Fi > Mesh Network
Step 3. Give a name for the new Mesh Node where it is intended to be places and enter
the 5GHz MAC Address respectively. The 5GHz Mac Address information can be found
from the Product Label located beneath the Mesh Node unit. Enter the MAC Address
Information in All Capital letters.