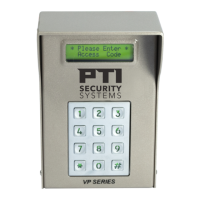
VP Keypad Access Device
9
rev. 7-2017 114A3868.E
Installation Instructions
1
Open the device by removing the four stainless steel button
head machine screws on the side of the keypad case using the
security hex key provided with the unit. The front and back half
will separate.
2
Mount the back plate to the desired keypad location using the
three-keyed holes. Seal around the back of each screw hole
and around the back of the wire hole with an outdoor silicone
sealant as shown in
3
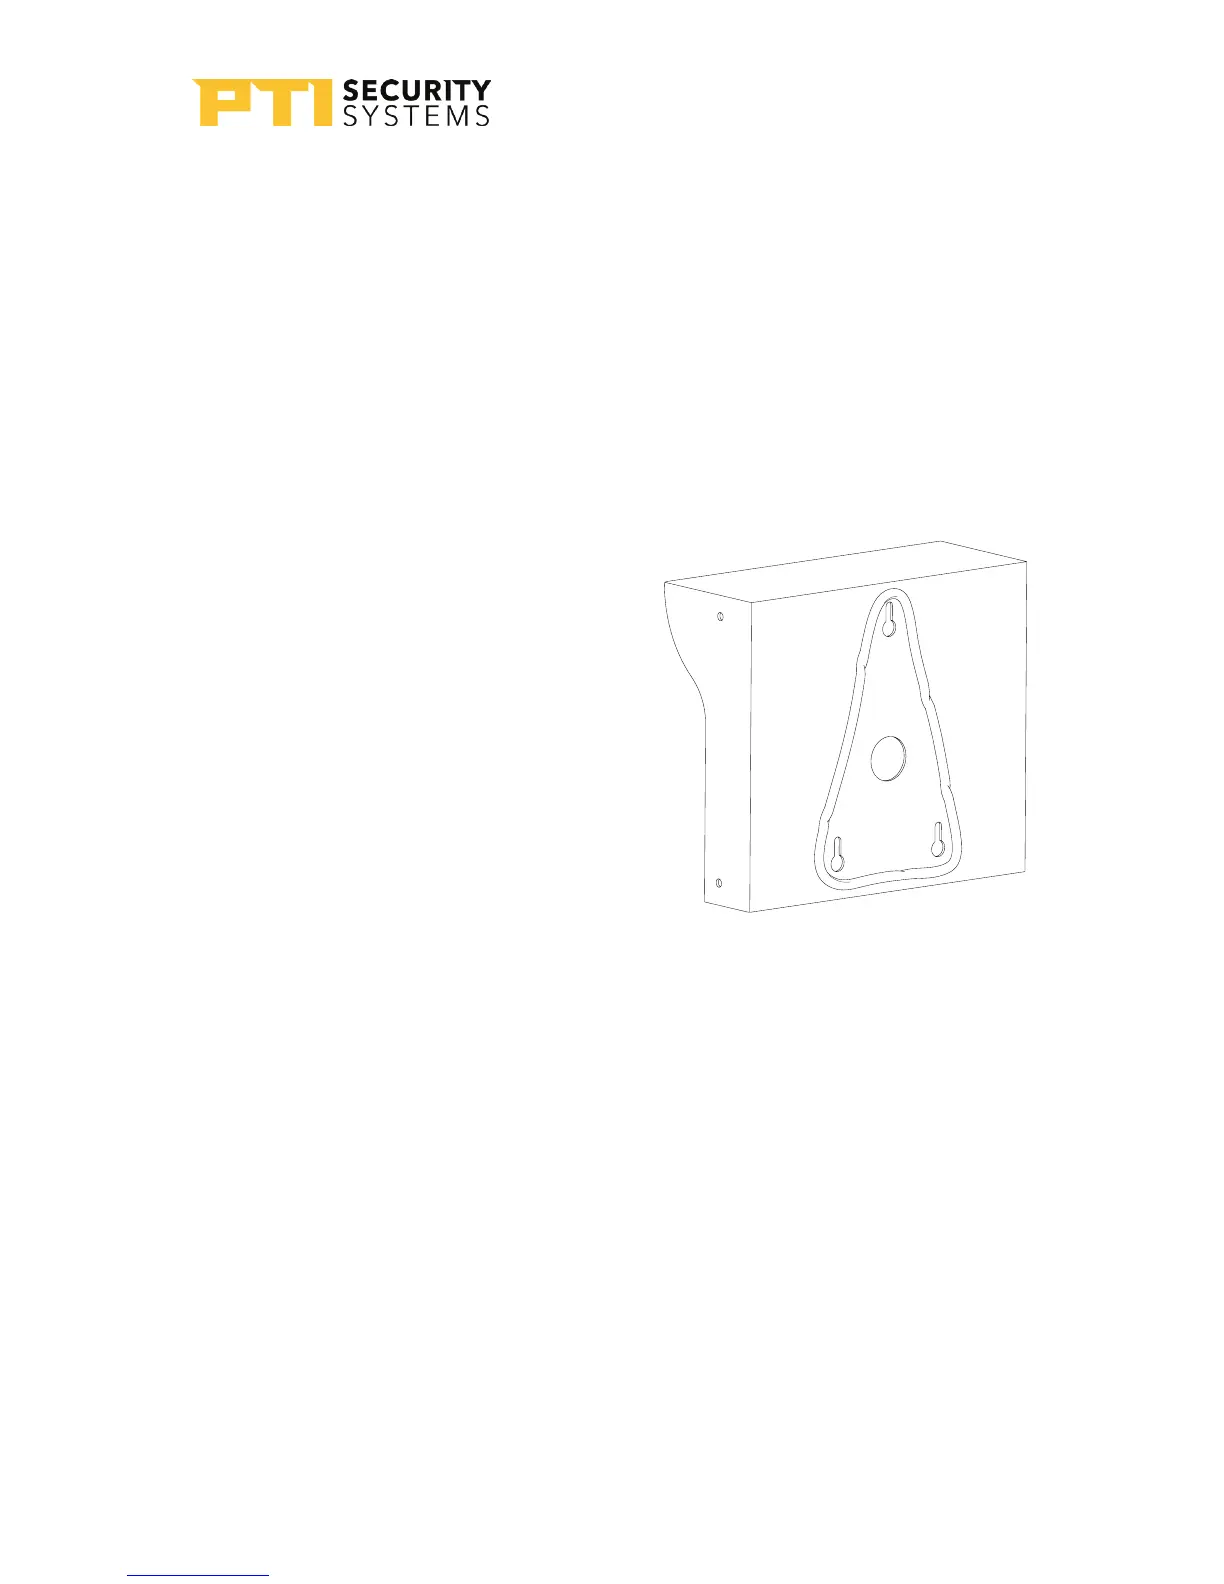
If the keypad is being mounted
on a gooseneck or bollard, run
a bead of silicone in a triangle
around the three screw holes
as shown in Drawing 6 on page
9:
If the keypad is being mounted
on a wall, before mounting, run
a bead of silicone in a square
around the back of the keypad
about ½ inch from the edge.
4
Pull the necessary wires through the wire hole on the back
of the housing. Allow an extra 1 foot of wire to remain inside
the housing. After the wire connections are complete, excess
wire can be pushed back into the gooseneck or wall or it
can be carefully positioned inside the keypad housing for
future maintenance and service. Each keypad should have
the following wires as shown in “Drawing 7: Wires for the VP
keypad” on page 10:
Drawing 6: Silicone seal for
gooseneck