6
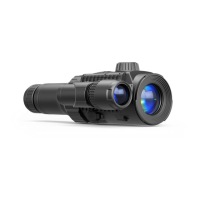
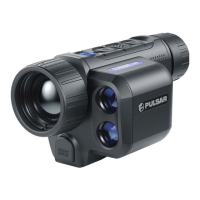
USER MANUAL FOR AXION THERMAL IMAGING SCOPE
IMAGE DETAIL BOOST
The Image Detail boost function increases the contour sharpness of heated objects to improve the image
detail. The results of the function depend on the selected mode and the observation conditions: the higher
the object contrast the more noticeable the effect. This option is enabled by default but can be disabled in the
main menu.
QUICK MENU FUNCTIONS
The basic settings (adjusting brightness and contrast, using the Smooth Digital Zoom and Stadiametric
Rangender functions) can be changed using the quick access menu.
•
Enter the menu by briey pressing the MENU (3) button.
•
A short press of the МENU (3) button enables you to toggle between functions, as described below.
Brightness
– press the UP (4) / DOWN (2) buttons to change display brightness from 0 to 20.
Contrast
– press the UP (4) / DOWN (2) buttons to change image contrast from 0 to 20.
Smooth Digital Zoom × – press the UP (4)/DOWN (2) button to change the value of the digital zoom from 3.5 to
14. The digital zoom changes in 0.1 increments.
Stadiometric Rangender
- change the position of special marker lines to determine the distance to
the object being observed by pressing the UP (4) / DOWN (2) buttons (for more details see the Stadiametric
Rangender section).
Base Mode
– allows you to select one of the three other modes as the base for the User mode.
•
Press and hold the MENU (3) button to exit the menu or wait for 10 seconds to exit automatically.
MAIN MENU FUNCTIONS
•
Enter the main menu with a long press of the MENU (3) button.
•
Press the UP (4) / DOWN (2) buttons to move through the menu items.
•
Press the MENU (3) button briey to select the menu item.
•
Press and hold the MENU (3) button to exit the menu or wait for 10 seconds to exit automatically.
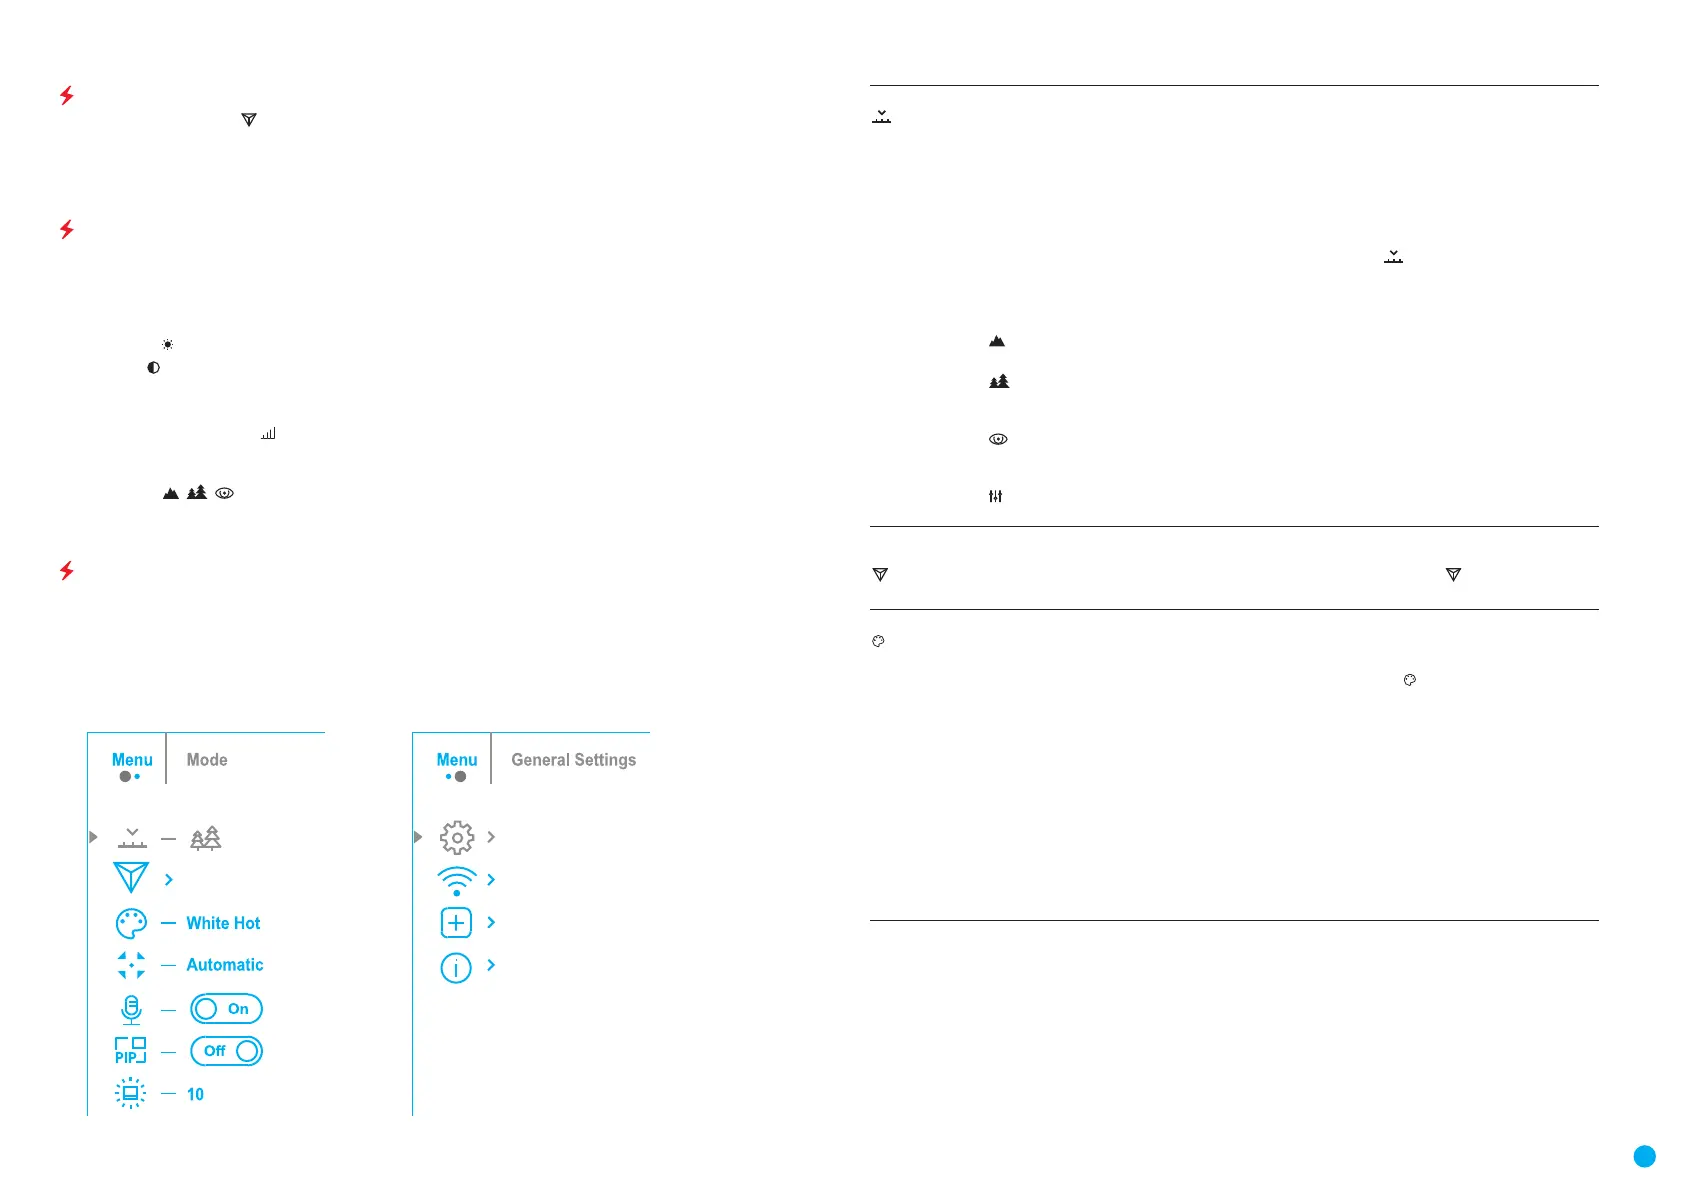
GENERAL VIEW OF MENU:
Tab 1 Tab 2
MAIN MENU CONTENTS AND DESCRIPTION
Mode
Observation mode selection.
There are four observation modes: Forest (mode for low temperature contrast conditions),
Rocks (mode for high temperature contrast conditions), Identication (high detail mode), and
User (personalized brightness and contrast settings mode).
Option 1:
•
Press the UP (4) button briey to switch the observation mode
Option 2:
•
Press and hold the MENU (3) button to enter the main menu.
•
Use the UP (4) / DOWN (2) buttons to select the Mode icon .
•
Press the MENU (3) button briey to enter the Mode submenu.
•
Use the UP (4) / DOWN (2) buttons to select one of the modes described below.
•
Press the MENU (3) button briey to conrm the selection.
Rocks. The most suitable mode for observing objects after a sunny day or in urban
environments.
Forest. The most suitable mode when searching and observing in the eld against a
background of foliage, shrubs and grass. This mode provides a high level of information on
both the observed object and landscape details.
Identication. The most suitable mode for observation in adverse weather conditions
(fog, mist, rain, snow). It allows the characteristic features of objects to be more clearly
recognized. The increased detail may result in a small graininess of the image
User. It allows you to congure and save custom brightness and contrast settings, as well
as one of the three other modes as the base.
Image Detail
Boost
Enable / disable Image Detail Boost.
•
Press and hold the MENU (3) button to enter the main menu.
•
Use the UP (4) / DOWN (2) buttons to select Image Detail Boost icon .
•
Press the MENU (3) button briey to turn the function on / off.
Color modes
Color palette selection
White Hot is the default display mode. To select an alternative palette, do the following:
•
Press and hold the MENU (3) button to enter the main menu.
•
Use the UP (4) / DOWN (2) buttons to select Color Modes icon .
•
Press the MENU (3) button briey to enter the submenu.
•
Use the UP (4) / DOWN (2) buttons to select the desired palette.
•
Press the MENU (3) button briey to conrm the selection.
Black Hot – a black and white palette where white corresponds to cold temperatures and
black to hot temperatures.
Red Hot
Red Monochrome
Rainbow
Ultramarine
Violet
Sepia
 Loading...