4
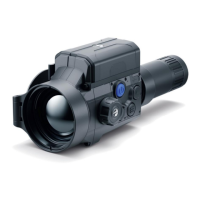
USER MANUAL FOR KRYPTON XG50 THERMAL IMAGING MONOCULAR
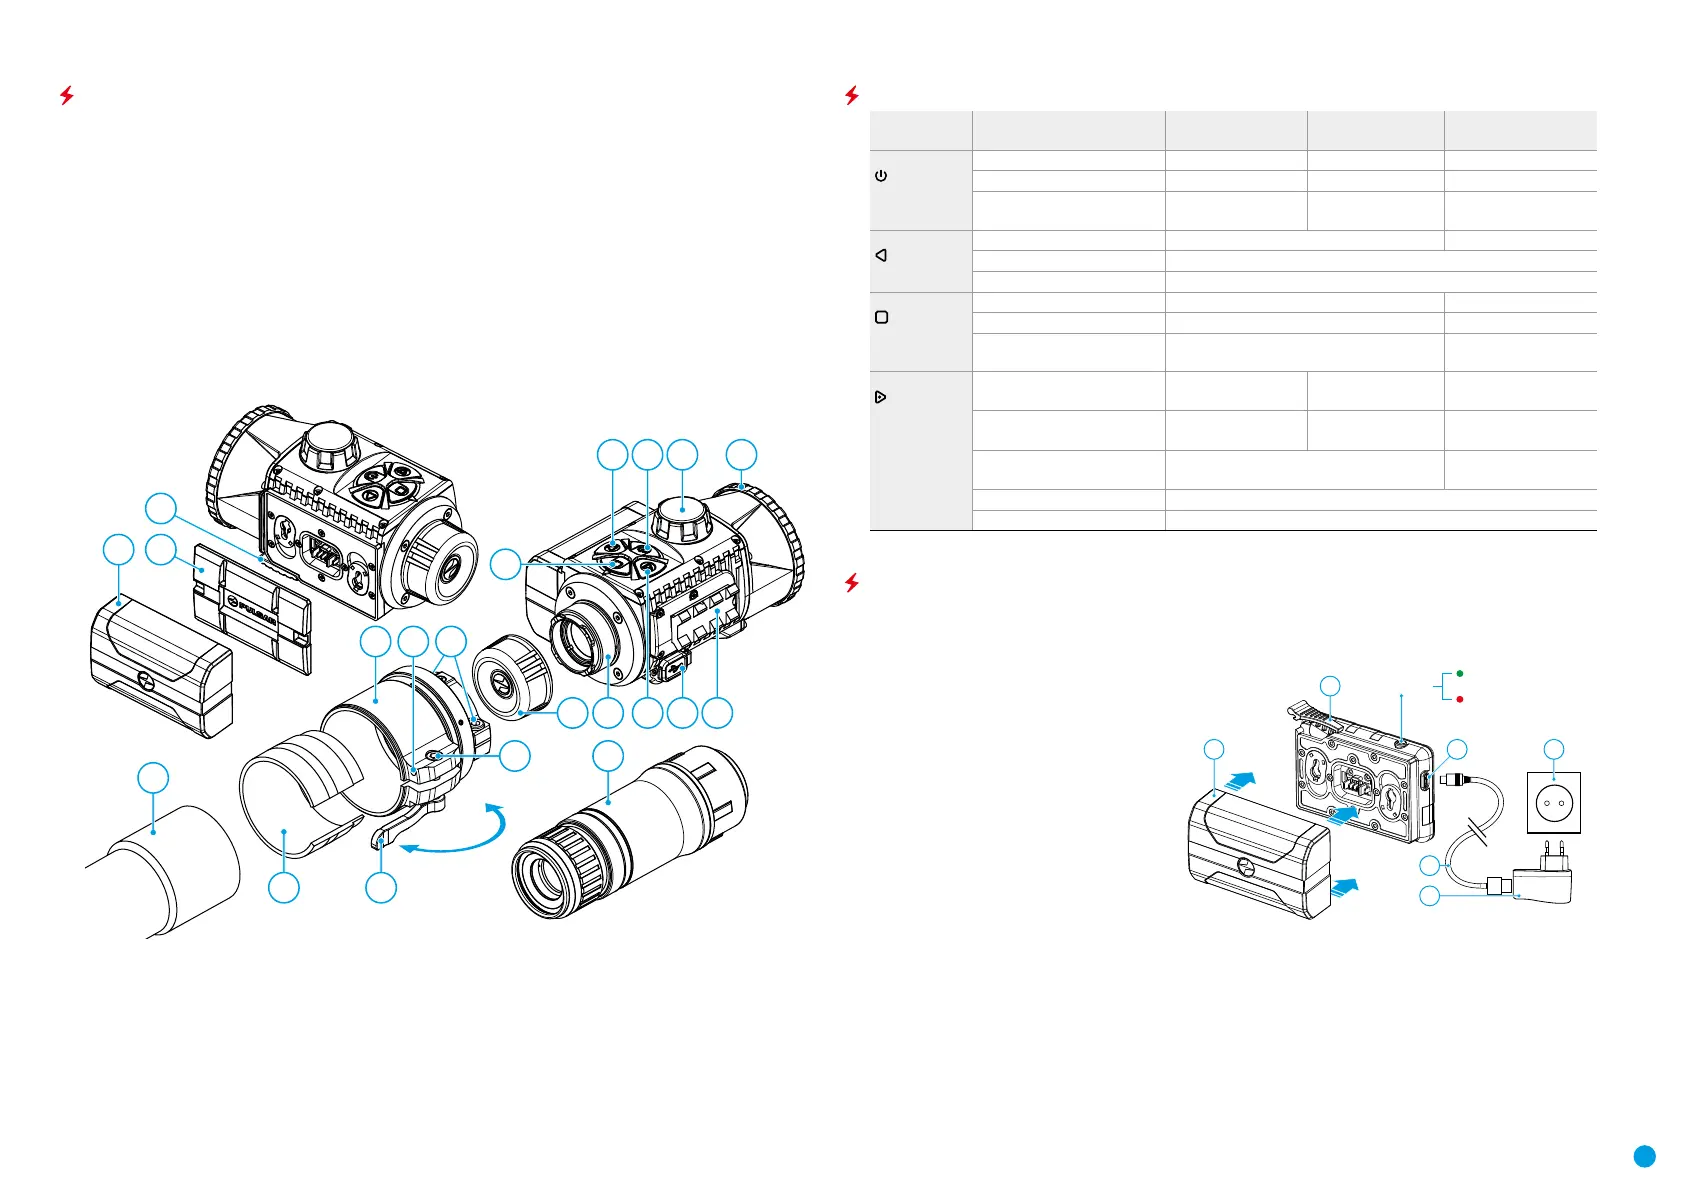
COMPONENTS AND CONTROLS
1. Lens cover
2. Eyepiece cover
3. Battery compartment cover
4. Battery locking lever
5. Battery pack
6. RIGHT/REC button
7. MENU button
8. LEFT/MODE button
9. ON/CALIBRATION button
10. Lens focus knob
11. USB port
12. Weaver rail
13. Objective lens end of daylight optical device
14. Insert
15. Adapter
16. Screws
17. Tightening screw
18. Screw
19. Adapter lever
20. Mount
21. Pulsar 5x30 B Monocular
Open
Close
5
18
2 20 6 11 12
21
4
3
13
14 19
7
1715
10 1
16
8 9
BUTTONS OPERATION
Control Mode of operation Single short press Subsequent short
presses
Long press
ON (9)
Device is turned off Turn on device Device calibration Turn on device
Display is turned off Turn on display Device calibration Turn off device
Device is turned on, quick
menu, main menu
Turn off display/Turn
off device
LEFT/MODE (8)
Device is turned on Observation modes Select color palette
Quick menu Decrease value
Main menu Down, counter-clockwise navigation
MENU (7)
Device is turned on Enter quick menu Enter main menu
Quick menu Upwards navigation Exit quick menu
Main menu Conrm value, enter menu items Exit menu items, main
menu
RIGHT/REC (6)
Device is turned on, video
mode
Start video recording Pause Toggle between
video/photo mode
Device is turned on, video
mode, recording is on
Pause Continue video
recording
Stop video recording
Device is turned on, photo
mode
Photography Toggle between
video/photo mode
Quick menu Increase value
Main menu Up, clockwise navigation
USING BATTERY PACK
The KRYPTON XG50 thermal imager comes with a rechargeable Lithium-ion IPS7 Battery Pack that allows you to
use the device for up to 8 hours. Charge the battery completely before rst use.
CHARGING BATTERY PACK:
•
Lift up the lever (4) of the Charger.
•
Remove the protective cover from the
rechargeable battery.
•
Insert the Battery Pack (5) into the Charger
until it stops; lock the Battery by lowering
the lever (4).
Once installed on the charger, a green
indicator lights up and begins ashing at a
set interval:
once if the battery charge ranges from
0% to 50%;
twice if the battery charge ranges from
51% to 75%;
three times if the battery charge ranges
from 76% to 99%.
When the indicator is continuously green, the battery is completely charged. Disconnect the charger from the
mains; disconnect the battery from the charger.
•
To charge the battery, connect the micro-USB plug of the USB cable (23) to the Micro USB port (22) of the
charger.
•
Connect the second plug of the USB cable (23) to the Power adapter (24).
•
Plug the Power adapter (24) into a 100-240 V socket (25) – the battery charging process will start.
22 25
4
5
24
23
LED Indicator
Green LED light stays on
continuously – battery is full
Blinking red LED light –
battery is empty