AUTO ALIGNING TIME CLOCK INSTRUCTIONS
Model 2500/2650
10 PROGRAMMING 888.479.7264
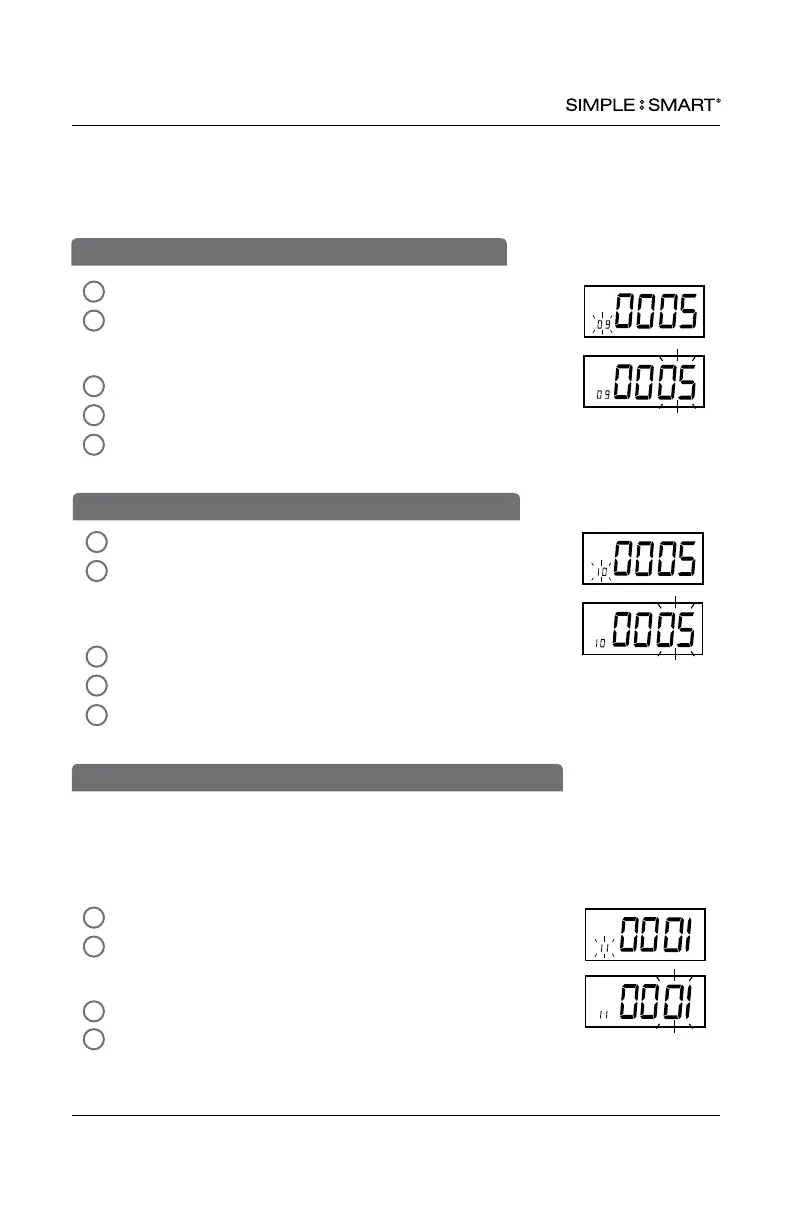
09-SET PRINT POSITION UP/DOWN OPTIONAL
Functions 09 and 10 are only necessary if adjustment is required to properly align the
print position within the “punch square” on the time card. To perform a “print test” to
determine if the time clock is printing properly, switch the SETTING button to the left.
Run a test card through the time clock. If the alignment is acceptable, skip sections 09
& 10 and proceed to stop 11.
In SETTING mode, Press “ENTER” to begin “09” setting mode.
Press “+” or “-” to adjust the desired vertical printing position.
Increasing the number (06-09) will move the print up on the card.
Decreasing the number (00-04) will move the print down on the card.
Press “ENTER” to conrm setting.
The setting mode advances to “10”.
Continue to next steps or slide the SETTING switch to the left
to exit setting mode.
4
2
5
3
1
In SETTING mode, Press “ENTER” to begin “10” setting mode.
Press “+” or “-” to select the desired horizontal printing
position. Increasing the number (06-09) will move the print to
the right on the card. Decreasing the number (00-04) will move
the print left on the card.
Press “ENTER” to conrm setting.
The setting mode advances to “11”.
Continue to next steps or slide the SETTING switch to the left
to exit setting mode.
10-SET PRINT POSITION LEFT/RIGHT OPTIONAL
4
2
5
3
1
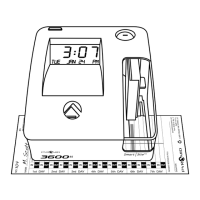
Because this time clock uses a double sided time card, the auto-detect feature assures
the time card is inserted on the correct side corresponding to the date printed on the
time card (days 1-31) If the time card is inserted backwards (on the wrong side), the
time clock will eject the card until the correct side is inserted. Auto-detection “01” is
recommended.
In SETTING mode, Press “ENTER” to begin “11” setting mode.
Press “+ or “-” to select “01” or “02”
01-auto-detect time card
02-turns off auto-detect time card
Press “ENTER” to conrm setting.
Slide the SETTING switch to the left to exit setting mode.
2
1
11-SET ON/OFF FUNCTION FOR AUTO-DETECT TIME CARD SIDE
4
3