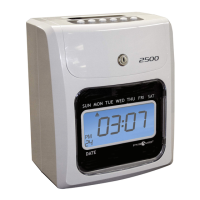
AUTO ALIGNING TIME CLOCK INSTRUCTIONS
Model 2500/2650
13pyramidtimesystems.com REPLACING RIBBON CARTRIDGE
Use only genuine Pyramid part number 43079 Replacement Ink Ribbon Cartridge.
Unlock and remove the time clock cover.
Prior to removing old ribbon, slide “SETTING” switch to the right.
CAUTION: Do not
attempt to change the ribbon when in operation mode, as this may result in injury.
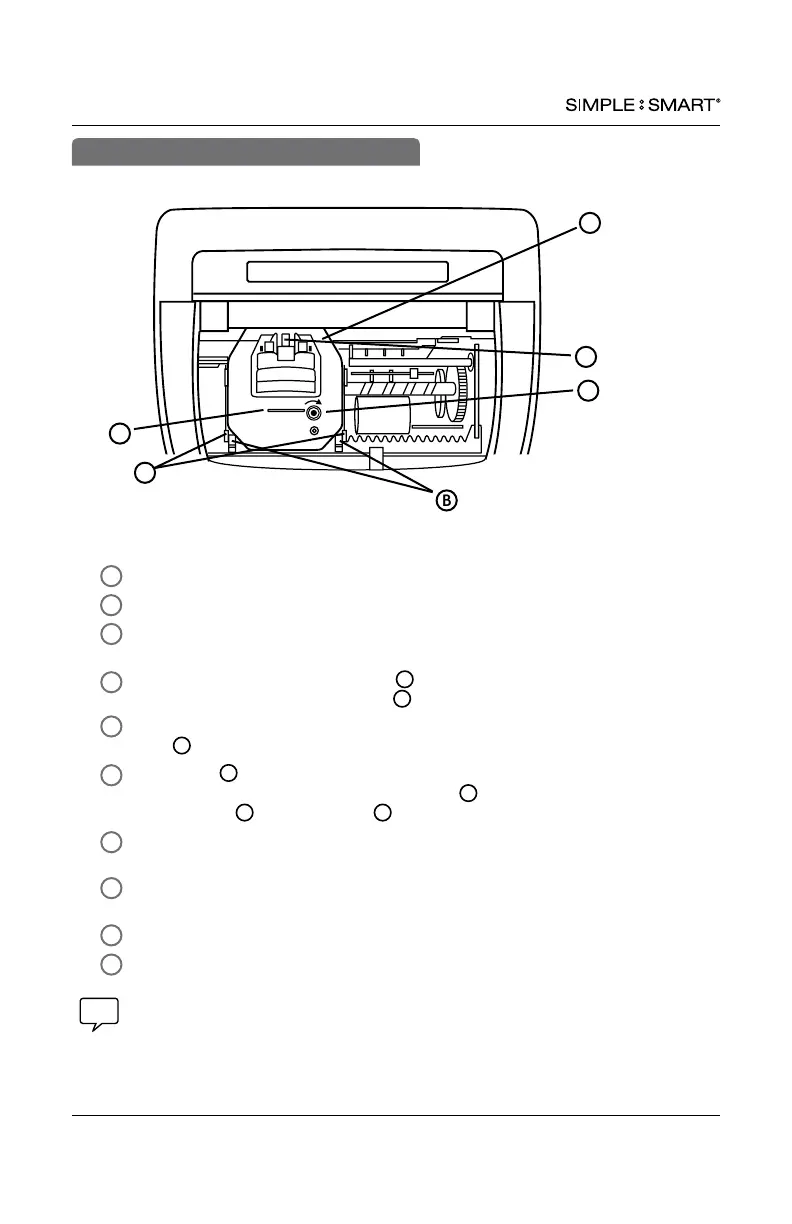
To remove old ribbon, pull two clips towards you & simultaneously lift ribbon
cartridge, pull straight up using tab located on top of cartridge.
Remove new ribbon cartridge from packaging & turn the manual ribbon advance
knob clockwise to straighten ribbon.
Holding tab
install ribbon cartridge into print carriage, making certain to
lower the ribbon in front of the ribbon guide rst, then make certain
retaining pins
are within clips (see diagram).
Gently push down cartridge until it snaps into carriage while turning the manual
ribbon advance knob clockwise.
Turn manual ribbon advance knob clockwise a few rotations to ensure ribbon is
positioned correctly in front of print head.
Replace the cover & lock unit.
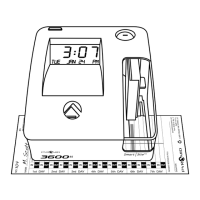
Feed a time card through unit to test print quality.
REPLACING RIBBON CARTRIDGE
1
2
3
4
5
6
7
8
9
If time clock prints incomplete characters, the ribbon is not fully installed over print head. If time
clock prints lines that become increasingly light, the cartridge is not fully snapped into the holder.
Reinstall ribbon cartridge, following steps 1-7 until a complete & consistent time card prints.
For assistance, please contact customer support at 888.479.7264.
B
B
E
D
C
C
F
A – Ribbon Cartridge C – Tab E - Manual Advance Knob
B – Clips D – Ribbon Guide F – Retaining Pins
For optimum performance, replace ribbon cartridge every 6 months.
A
B
D
E
C
F
10